hpdz.net
High-Precision Deep Zoom
Technical Info - Hardware
This page has photographs and detailed specifications of the new Core i7 980X system. For performance data and comparisons with previous systems, see this page.
Core i7 980X System
Since November 2010, the main fractal rendering system has been a Core i7-980X based system on an ASUS P6X58D motherboard.
Directory
Click on a link below, or scroll down to see all the pictures of the new system.
I didn't take pictures of the optical storage unit, which is a LightScribe DVD, or of the video card, which is an EVGA NVIDIA GT240.
The system was configured with Windows 7 Professional 64-bit OEM version.
Click on the thumbnails for full-size images
Processor
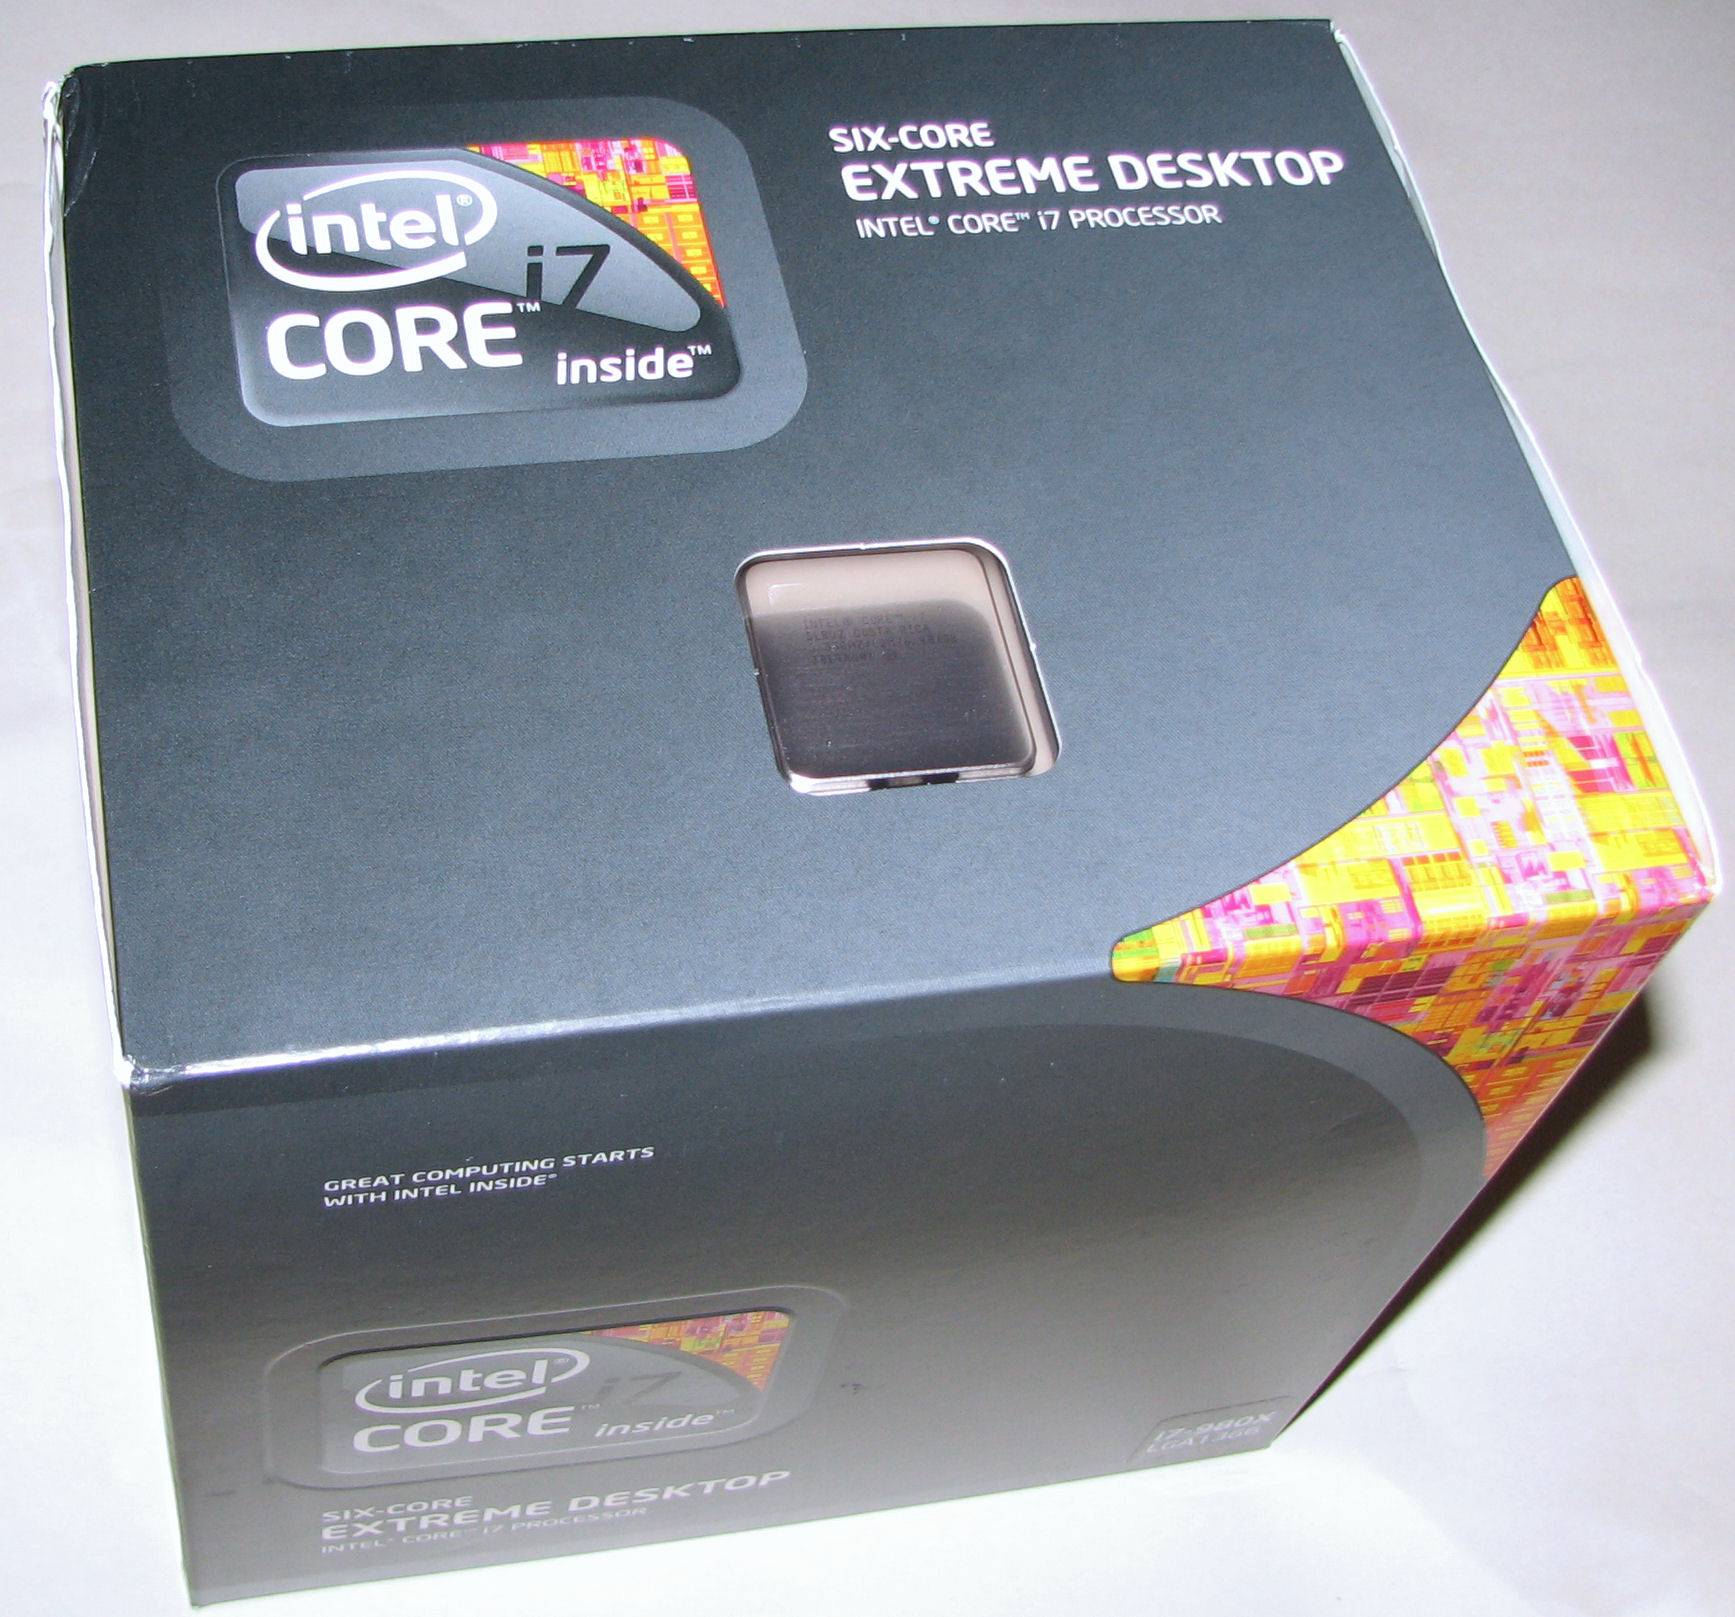

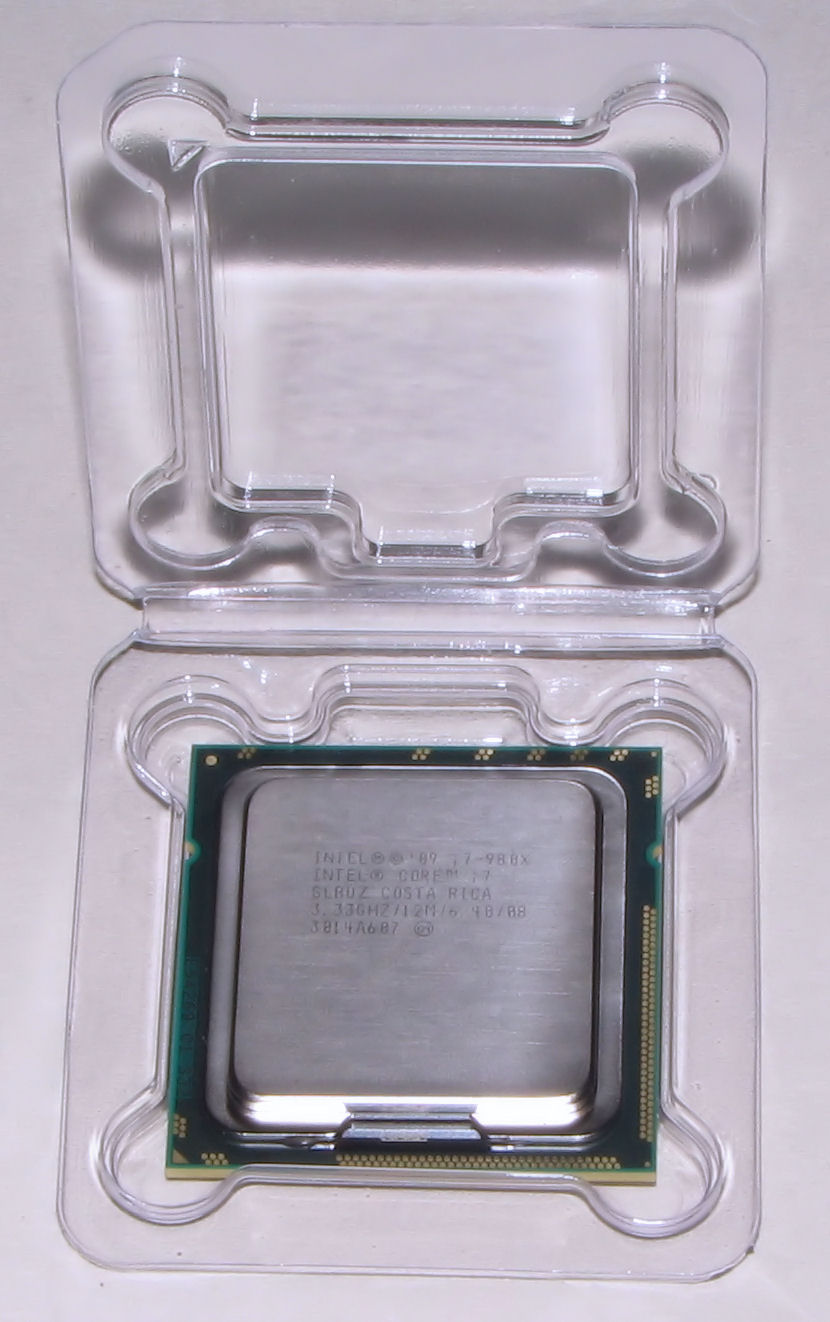
The processor is a Core-i7 980X Extreme, SLBUZ, Gulftown. It has 6 physical cores, which the operating system sees as 12 logical cores due to HyperThreading technology. This processor is based on the 32 nm Nehalem architecture. Its rated speed is 3.3GHz and it has 12MB of L3 cache.
Most of the box is occupied with the heat sink. The stock heat sink that comes with this CPU is impressive, much larger than I expected, and far superior to most of the thermal solutions that Intel has delivered historically. Still, I chose not to use it, anticipating the need for a larger one when the CPU is overclocked and higher voltages are needed. I went with something significantly larger.
Overclocking to 4 GHz was effortless. The Extreme versions of Intel processors have unlocked clock multipliers, so it is a simple matter of changing this setting in BIOS. This particular processor ran at 4 GHz immediately, with no change in CPU voltage, and it has been rock-solid stable no matter what burn-in software I have tested it with. I have not pursued clock speeds above 4 GHz so far.
Motherboard
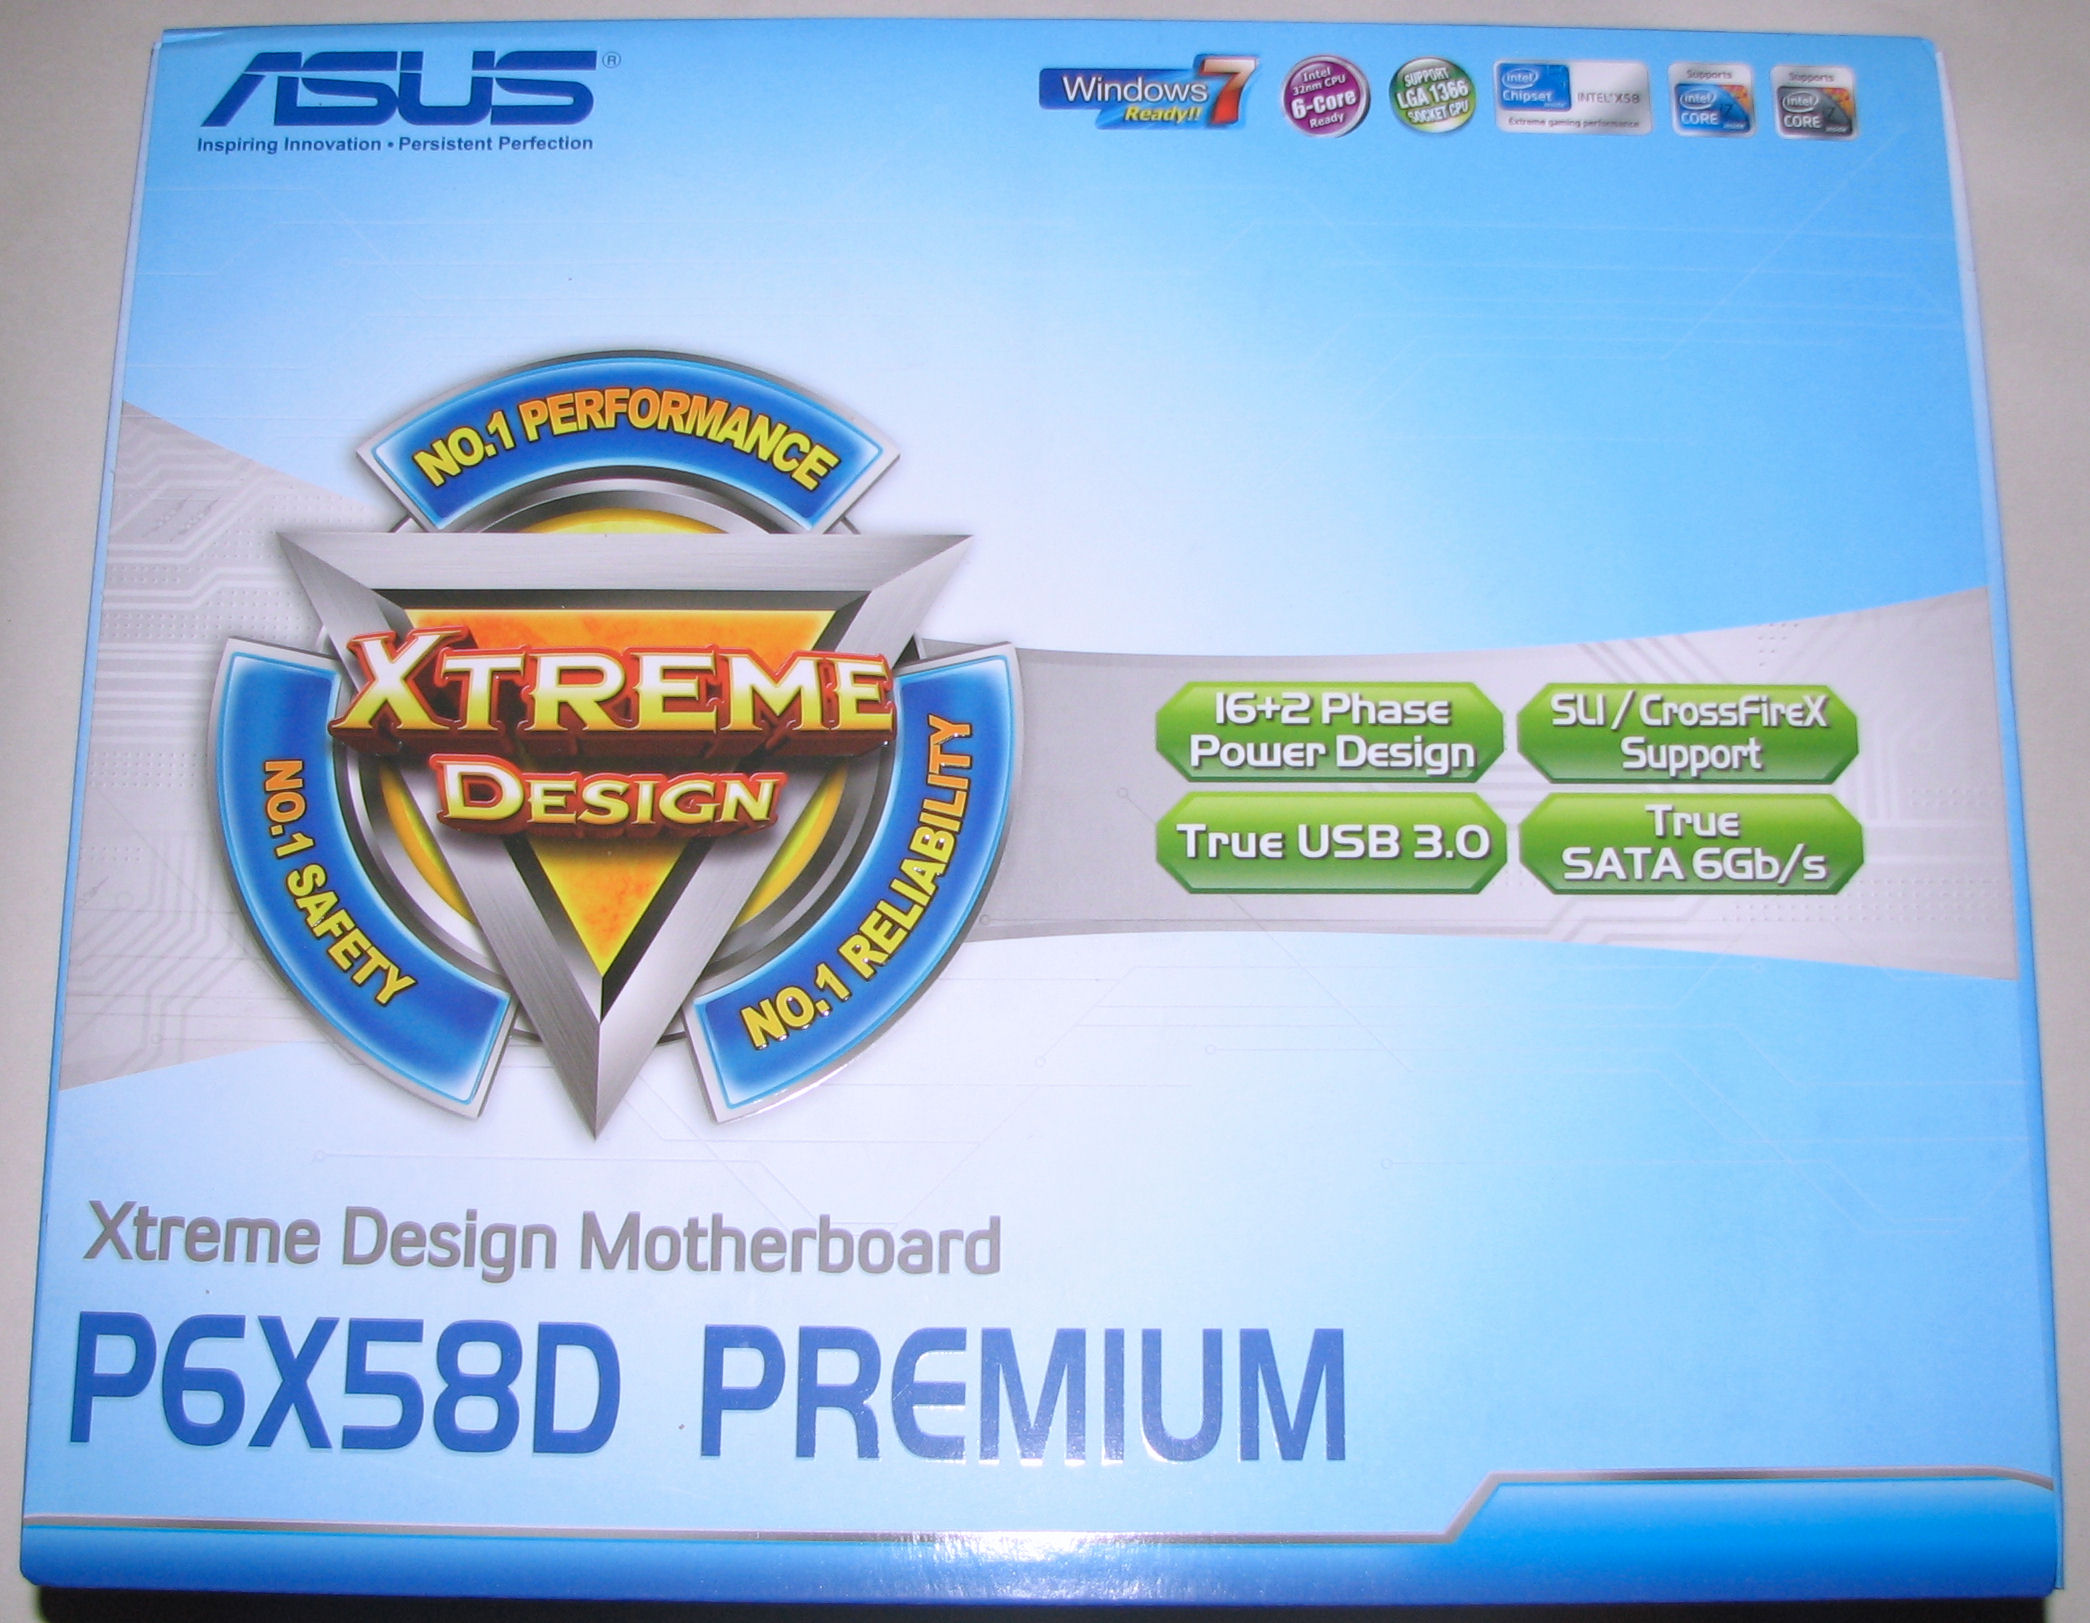


This is an ASUS P6X58D Premium. It uses the Intel X58 chipset and provides 6 channels of SATA 3GB/s. A Marvell controller on-board also provides 2 channels of SATA 6GB/s.
Two banks of three-channel DDR3 memory are supported, for up to 24GB, and up to DDR3-2000 speed.
Two USB 3.0 ports are provided. I just need to find something to plug into them.
Memory

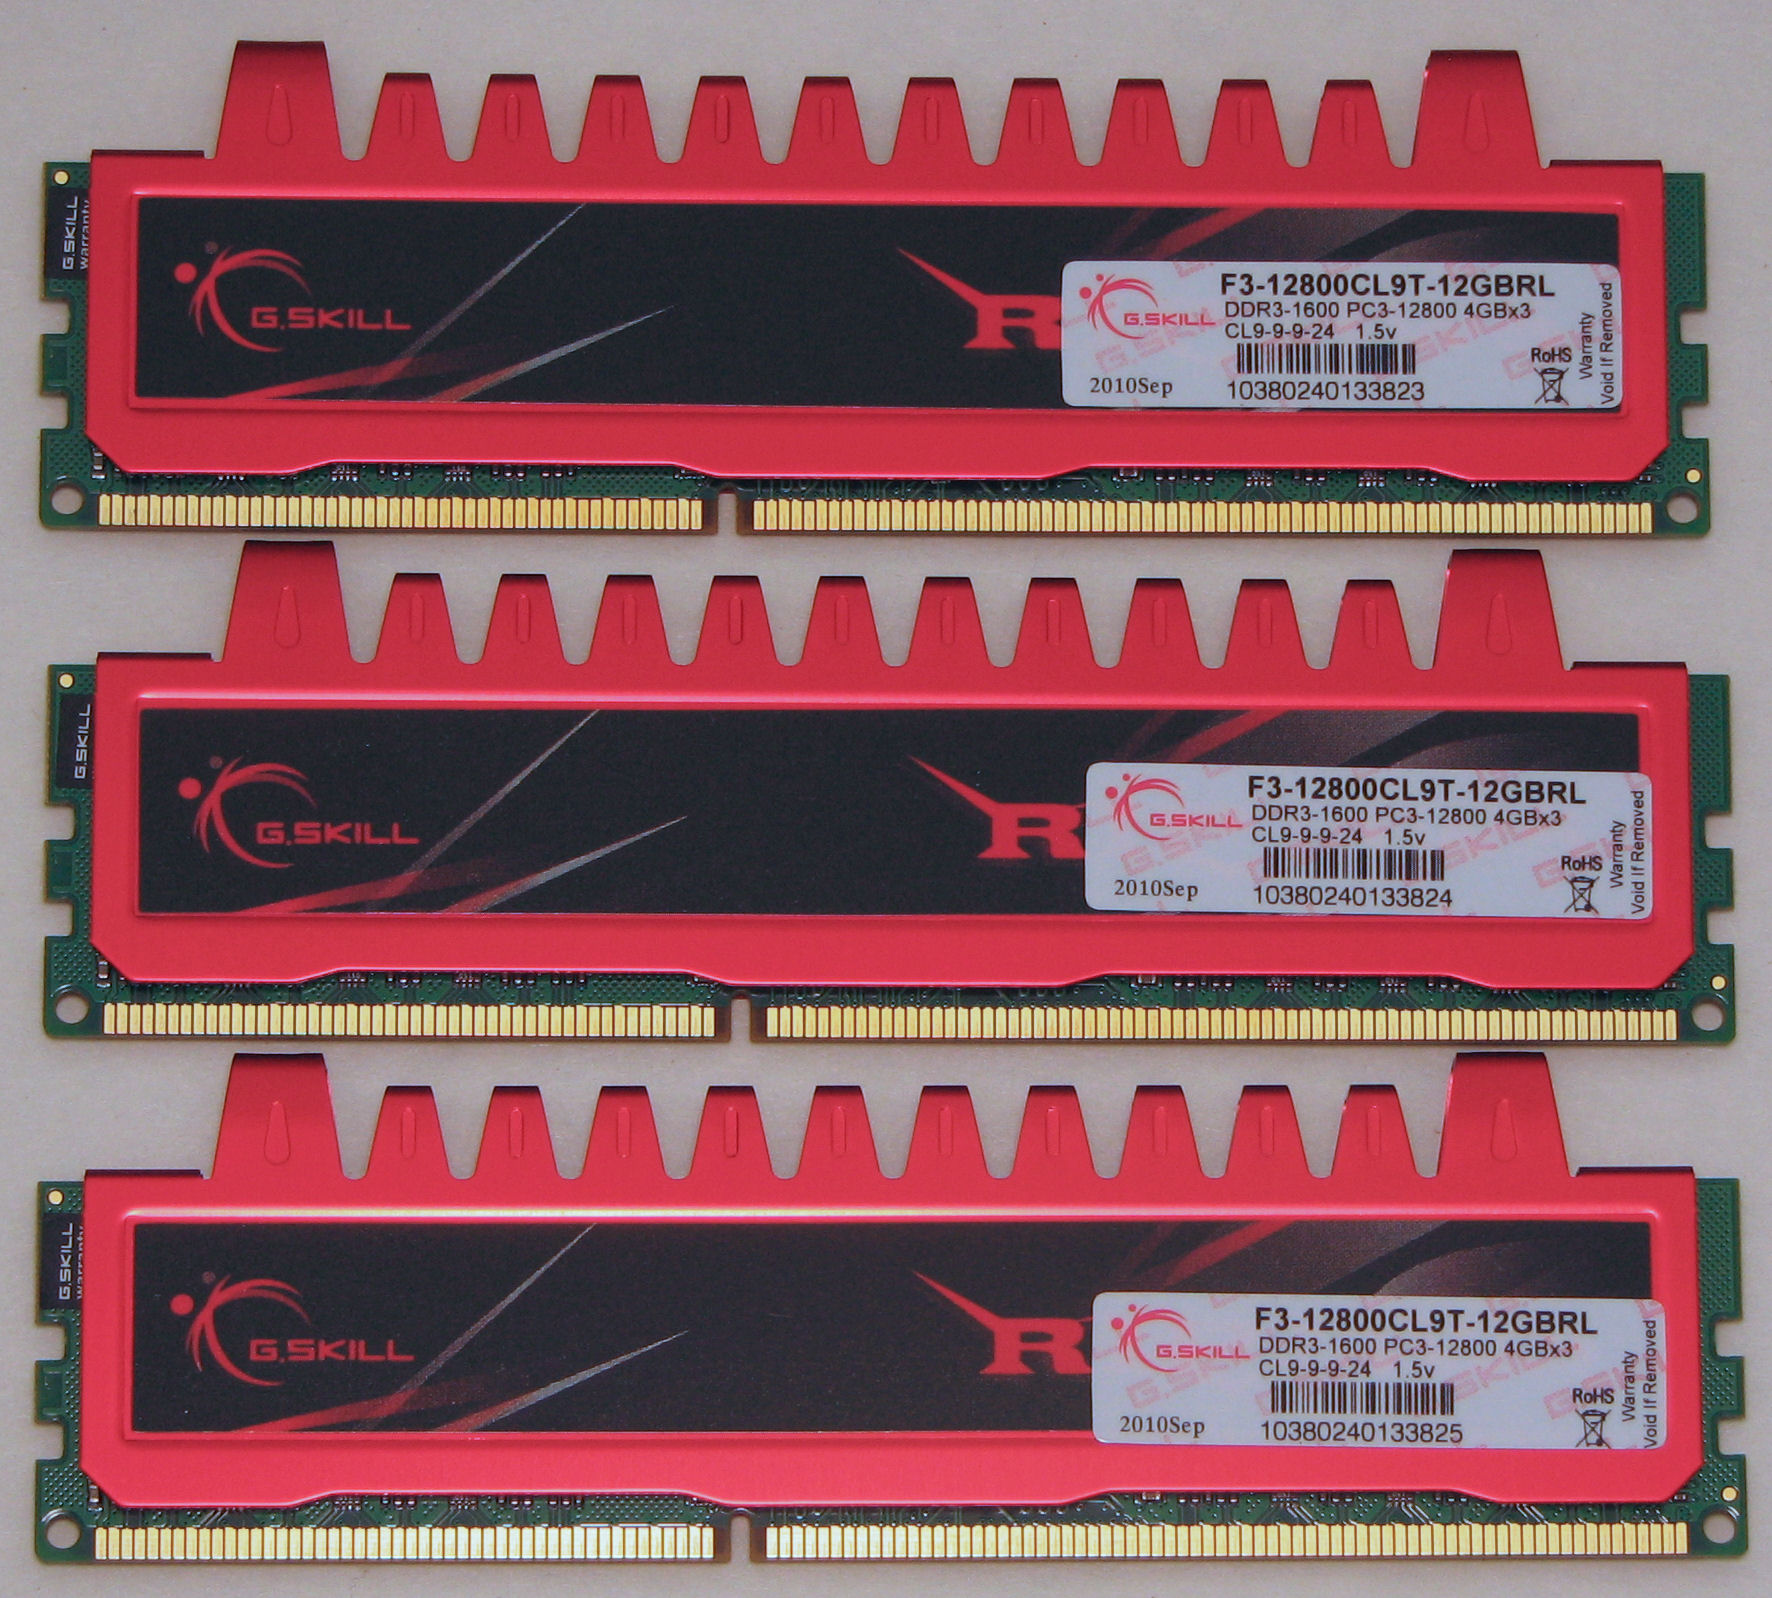
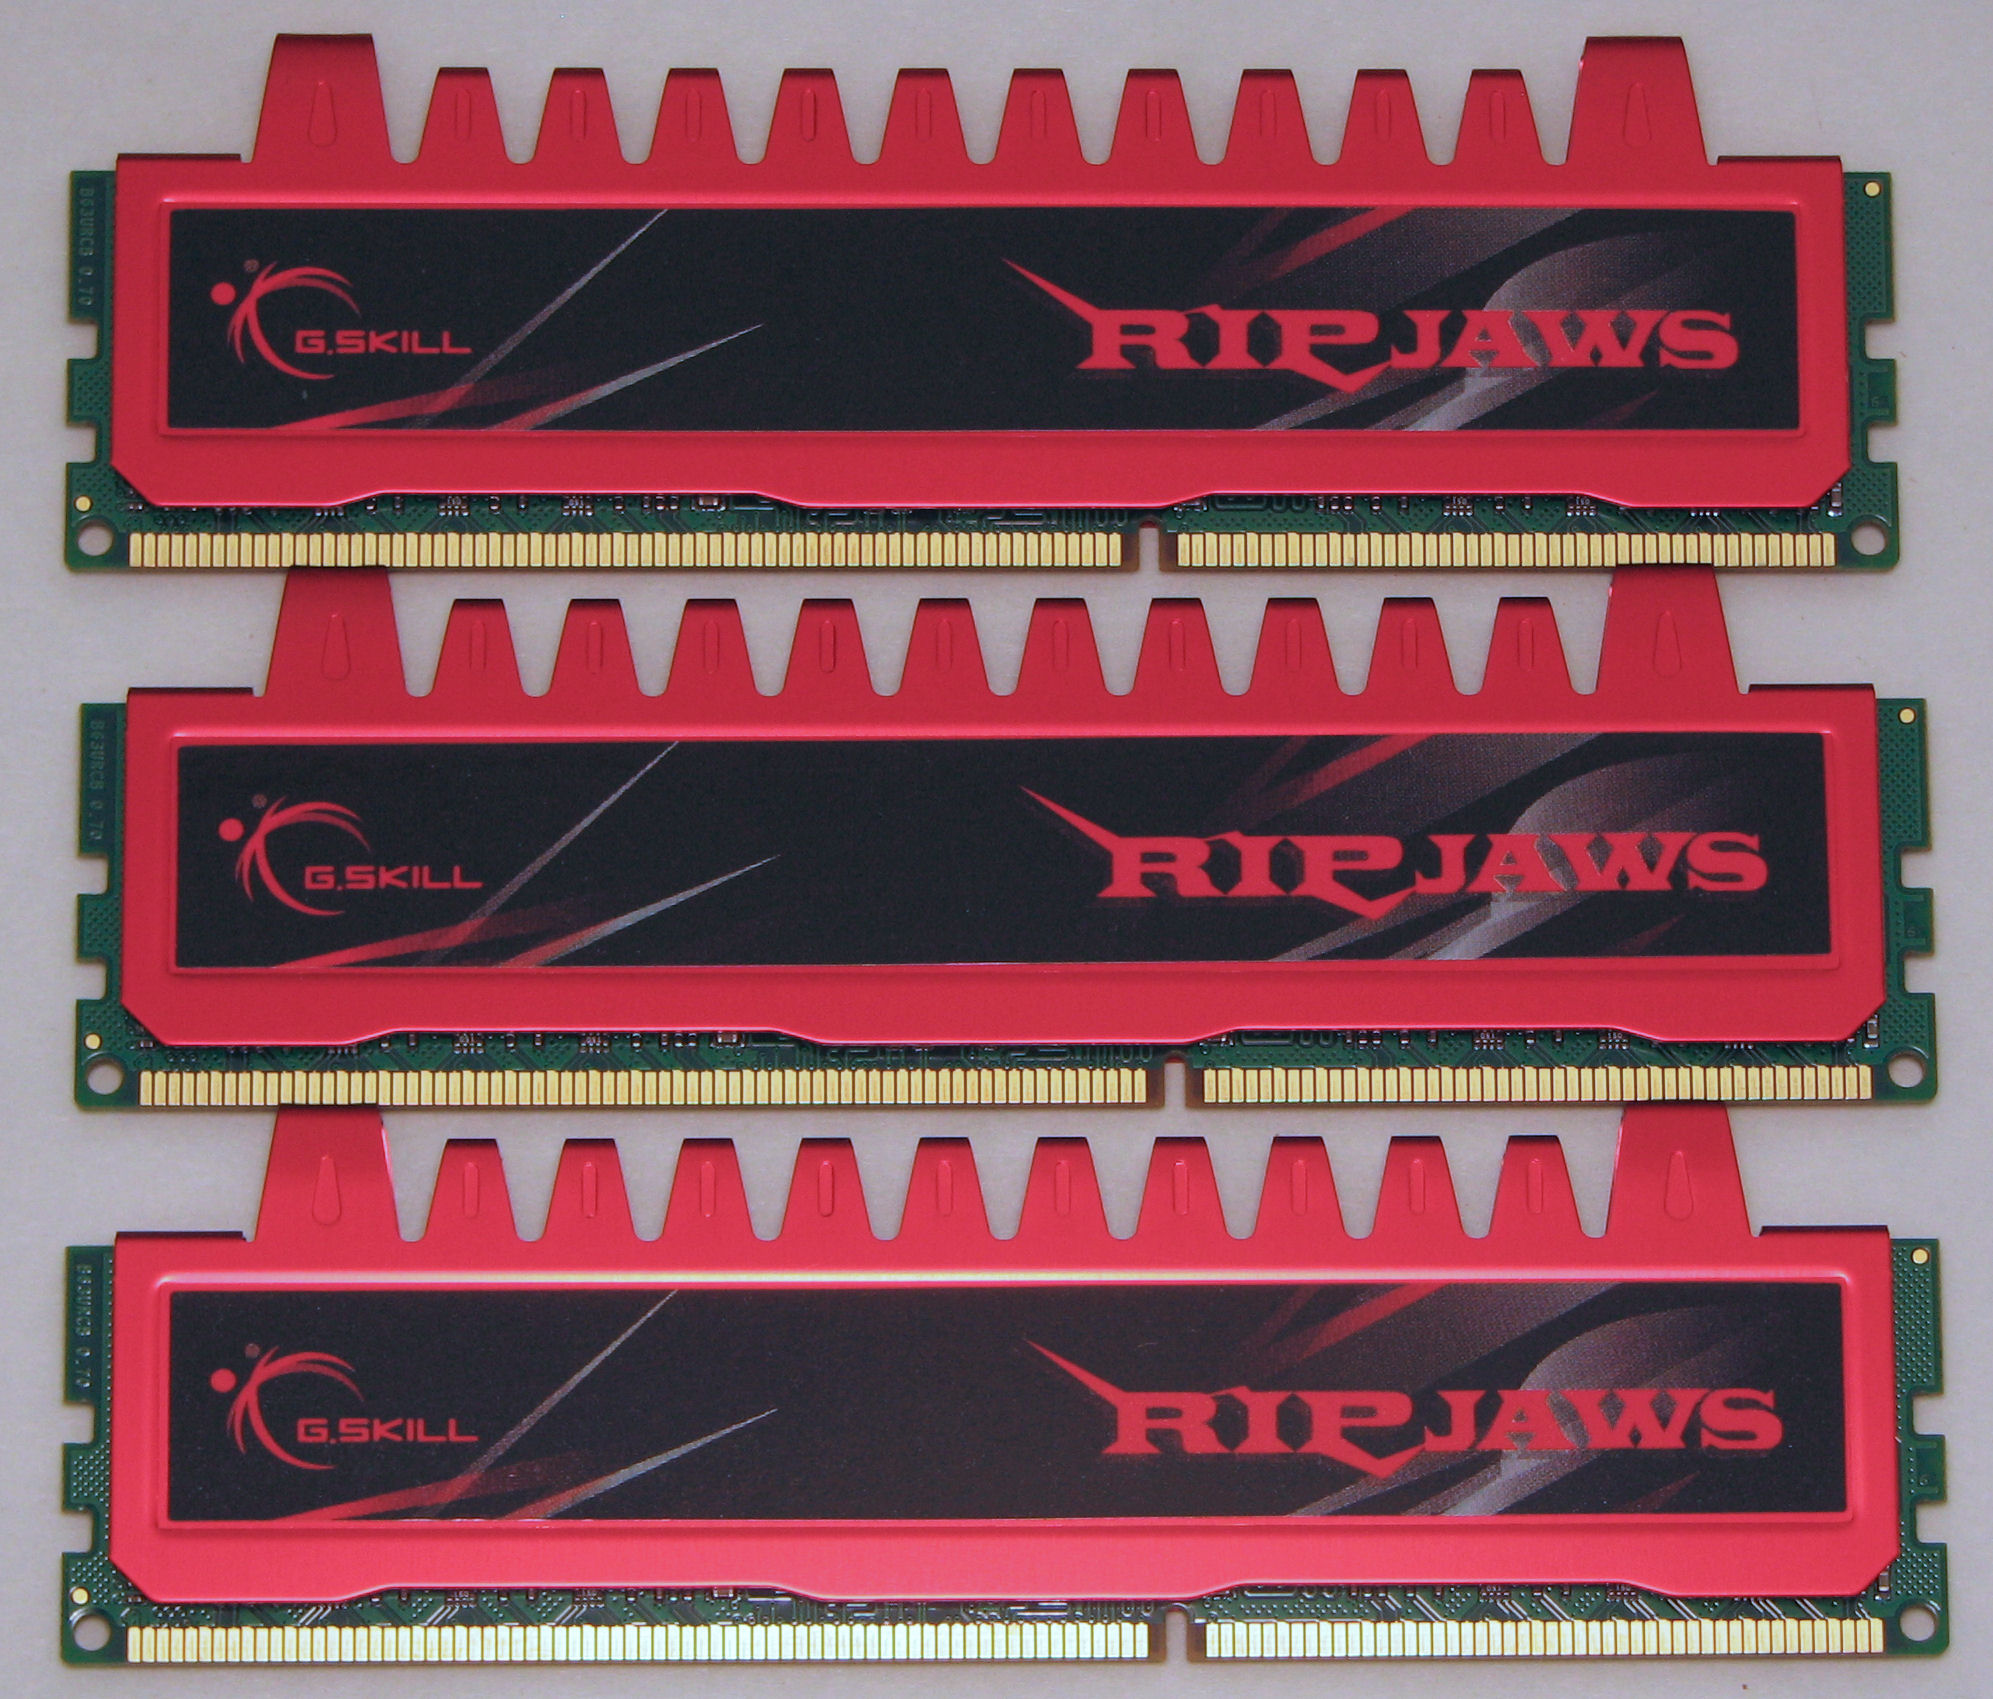
G.Skill DDR3-1600, 4GB per stick.
These are really seriously fast, but not the fastest possible ones available. I chose not to try to get any faster memory than this because I don't think main memory speed affects the speed of the fractal formula calculations very much. The CPU has an enormous 12 MB L3 cache, so it can fit the entire executable and all the fractal data for an entire high-def video frame into its on-board cache.
Some other operations, most notably the frame colorize/join step, may be affected by main memory speed. I am not sure about this yet, but some experiments have shown that different data access patterns can affect the time of this process significantly, which suggests that the main memory cache is playing a role. More testing needs to be done to determine whether increasing main memory speed will do much, but I suspect that the answer is probably not.
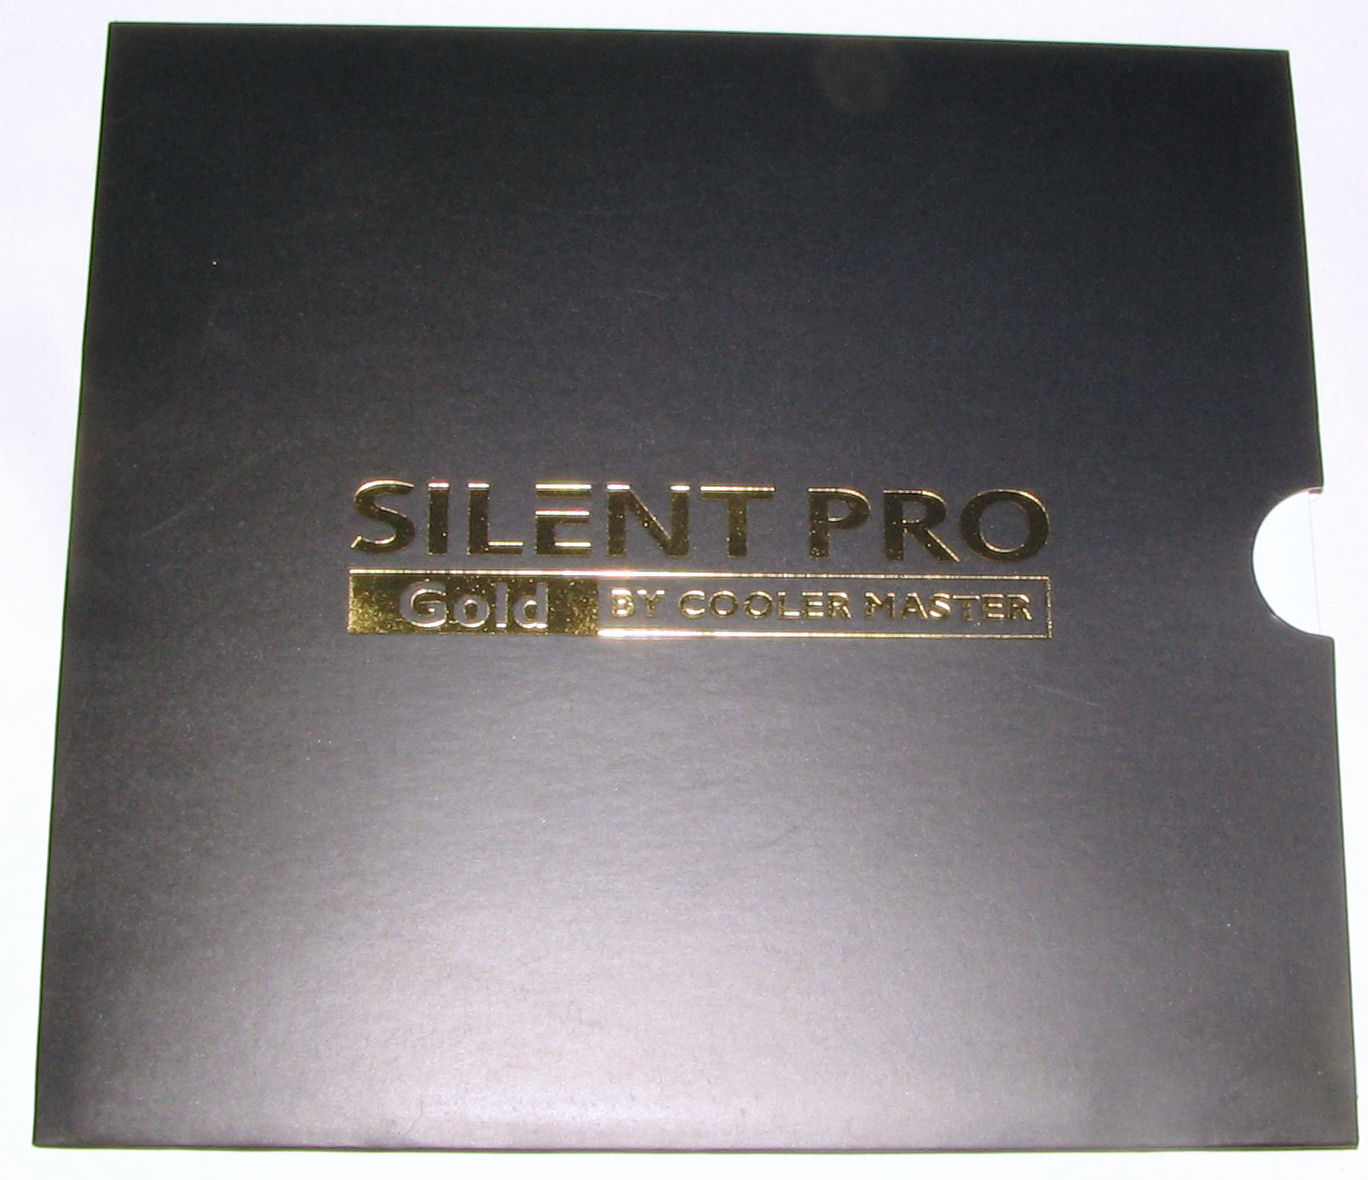
Power Supply
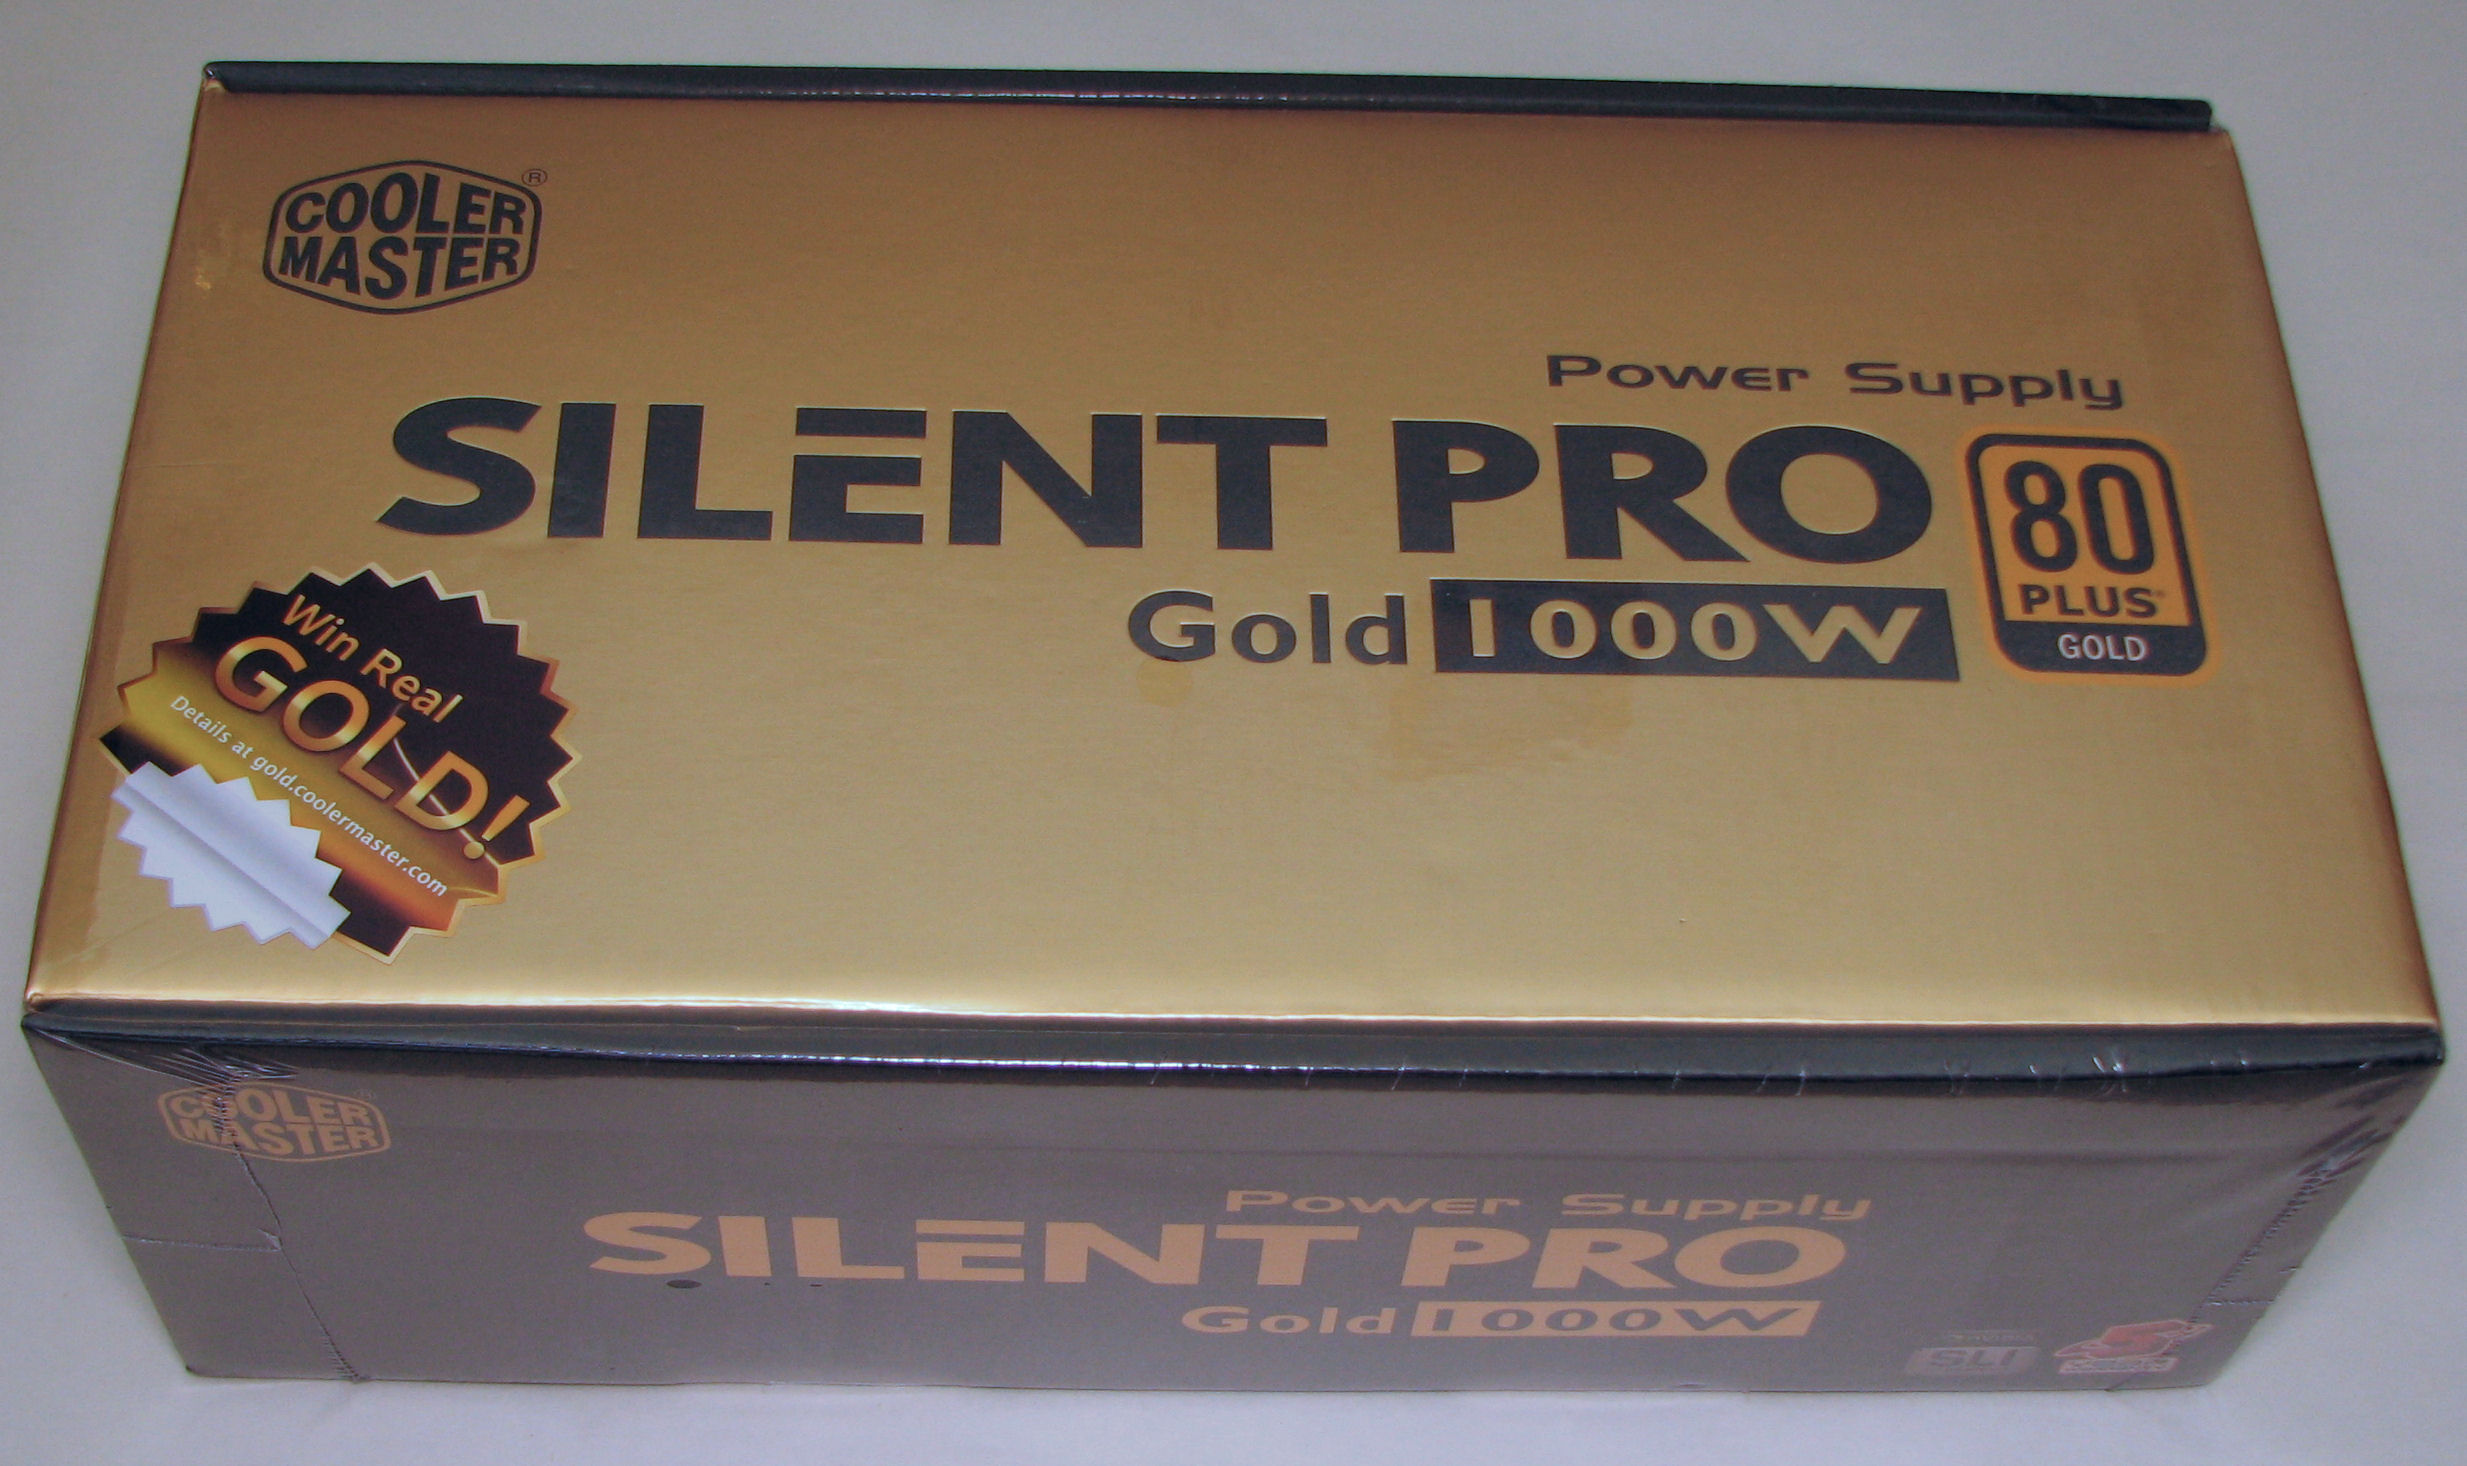
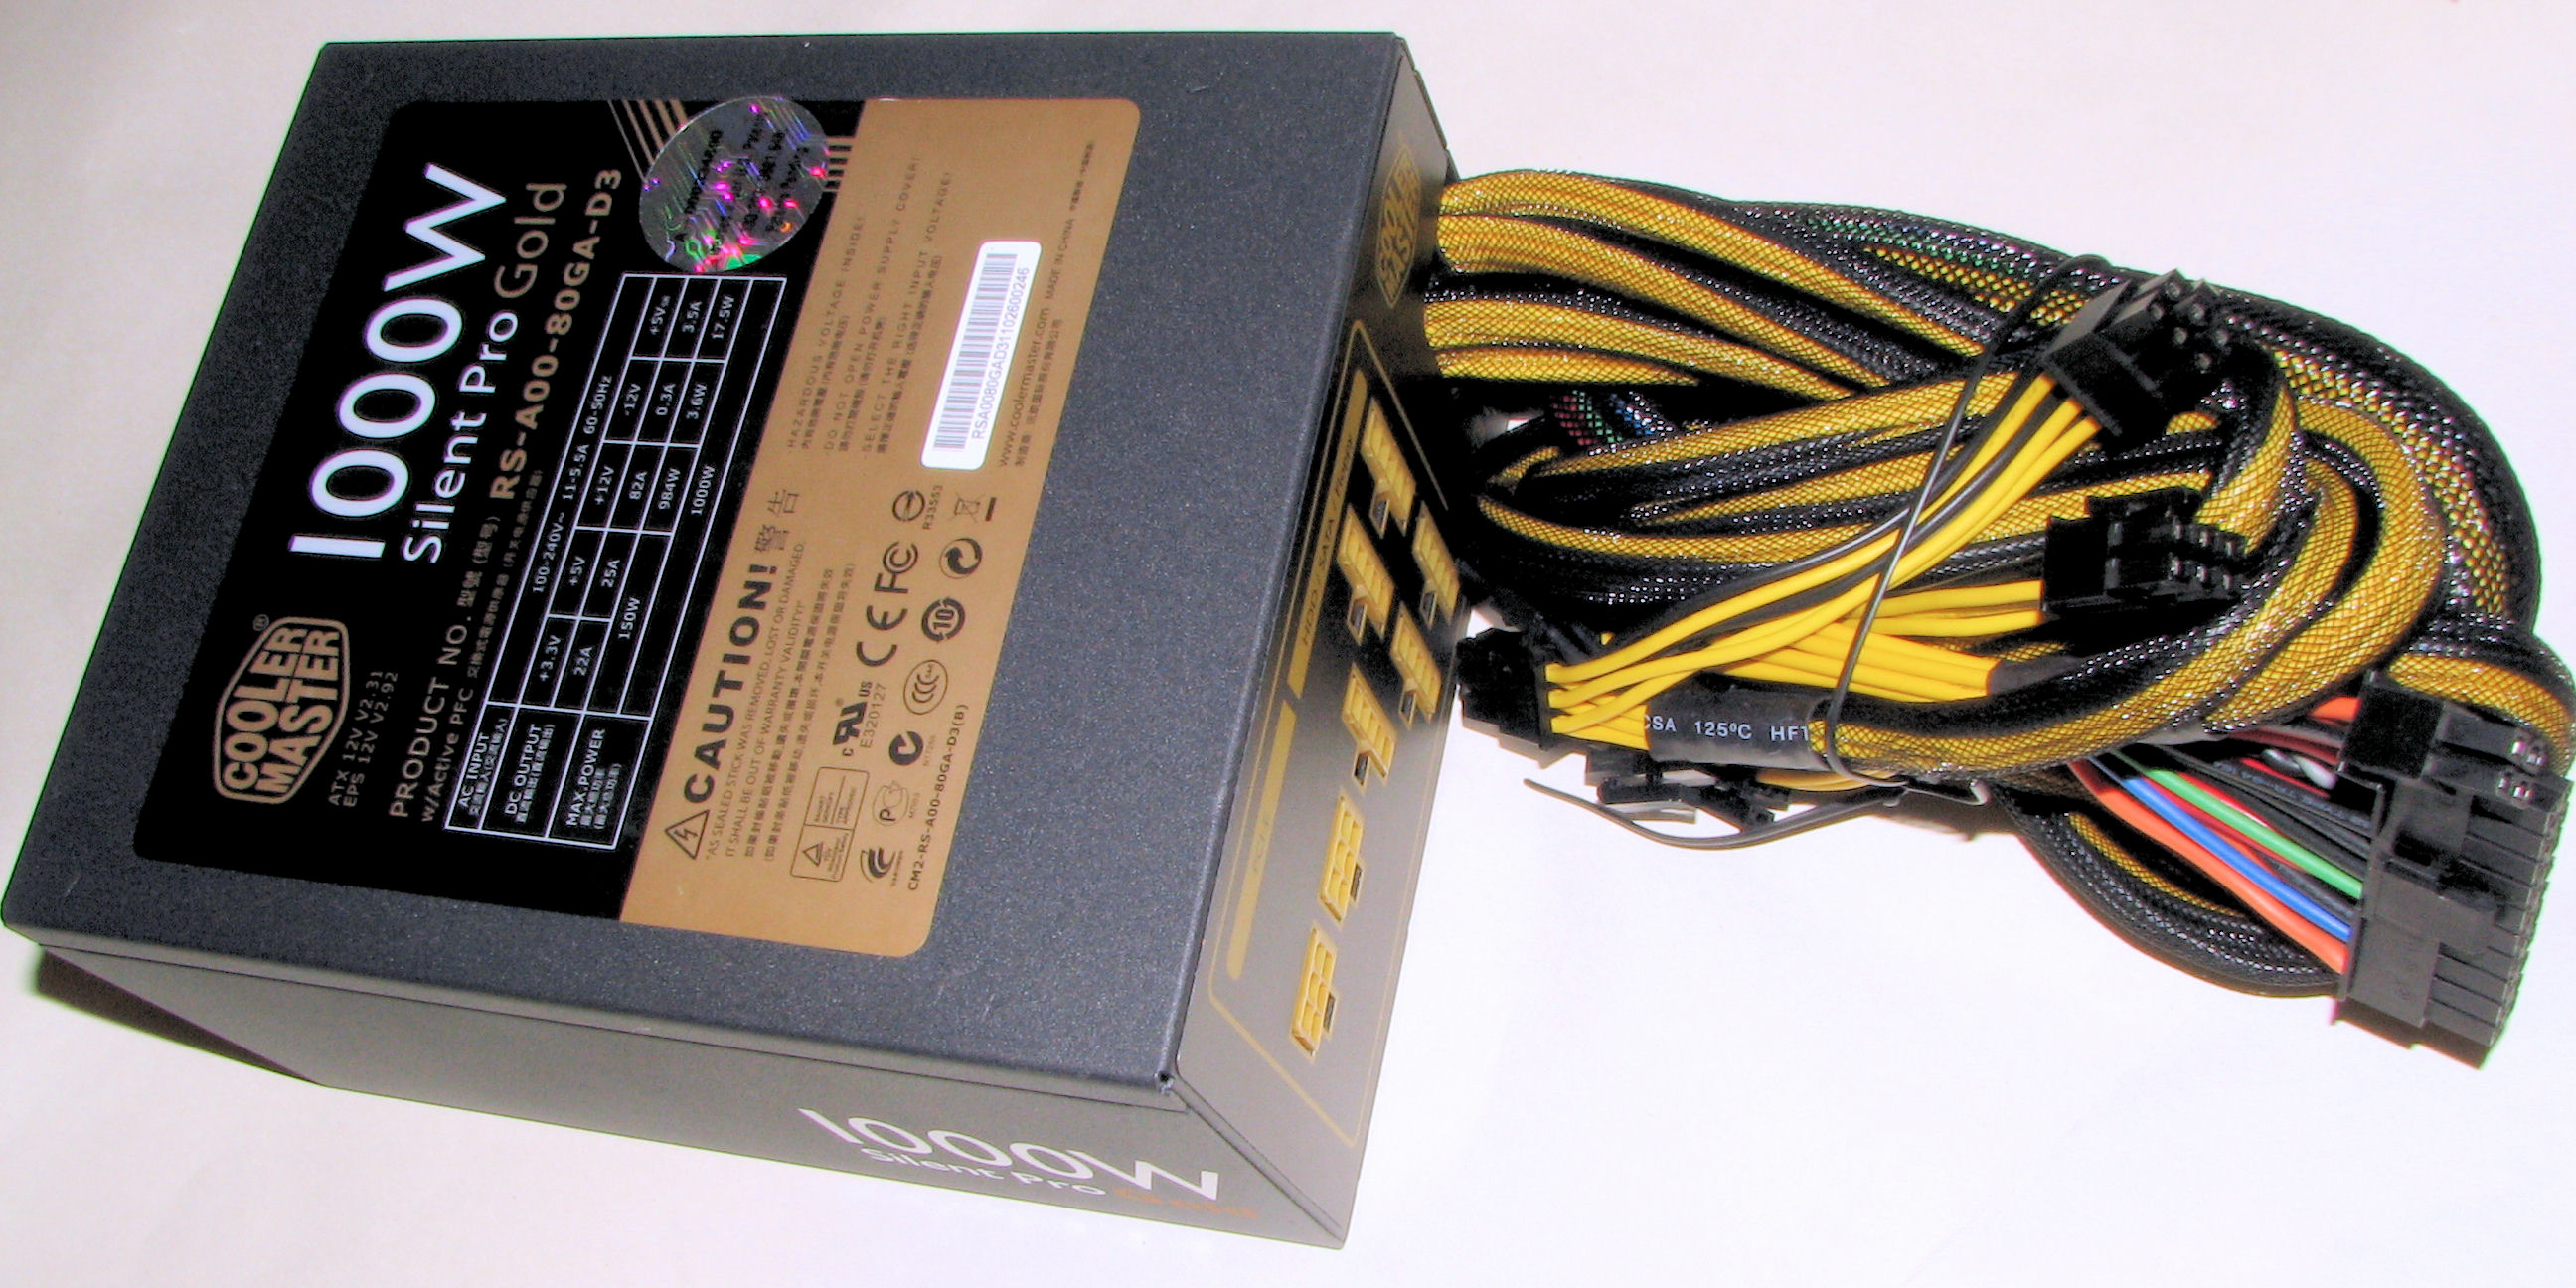
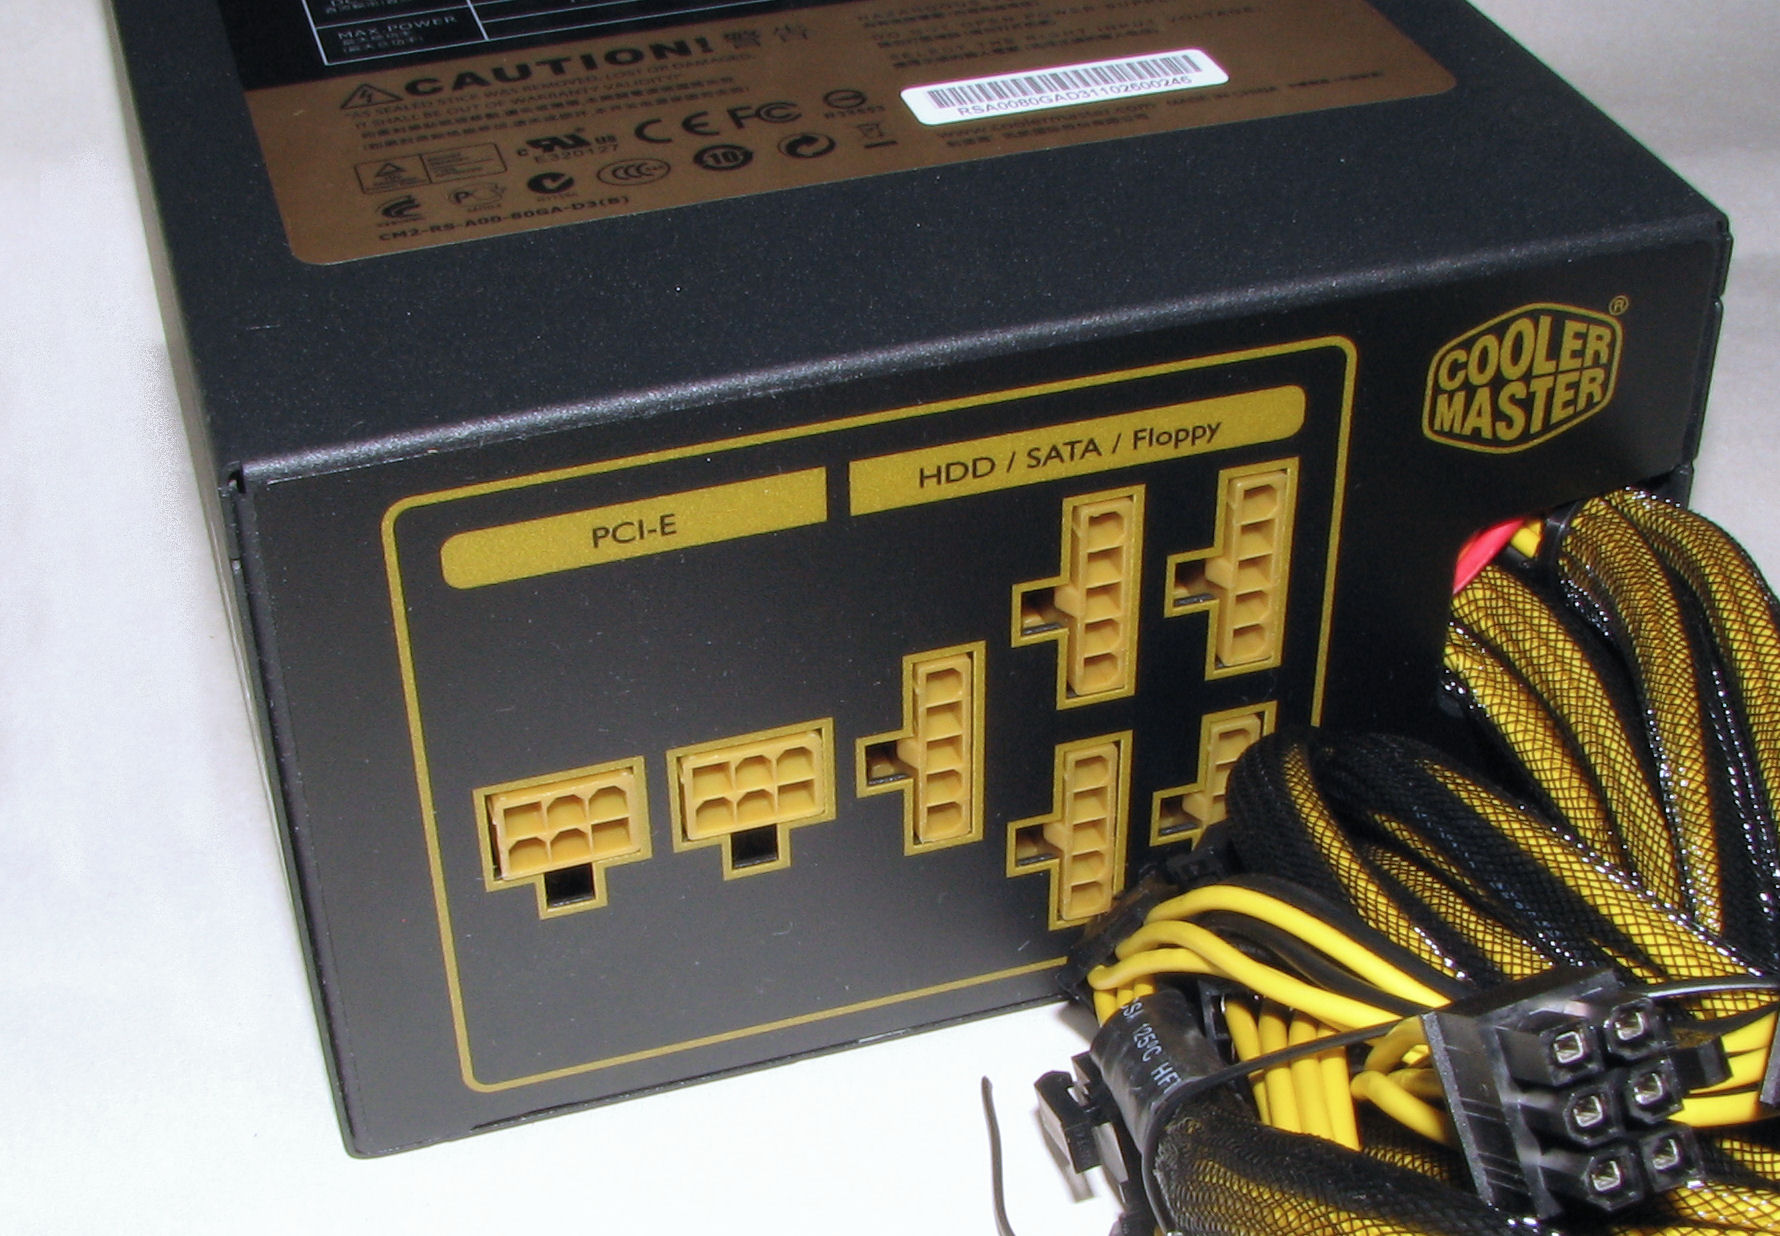
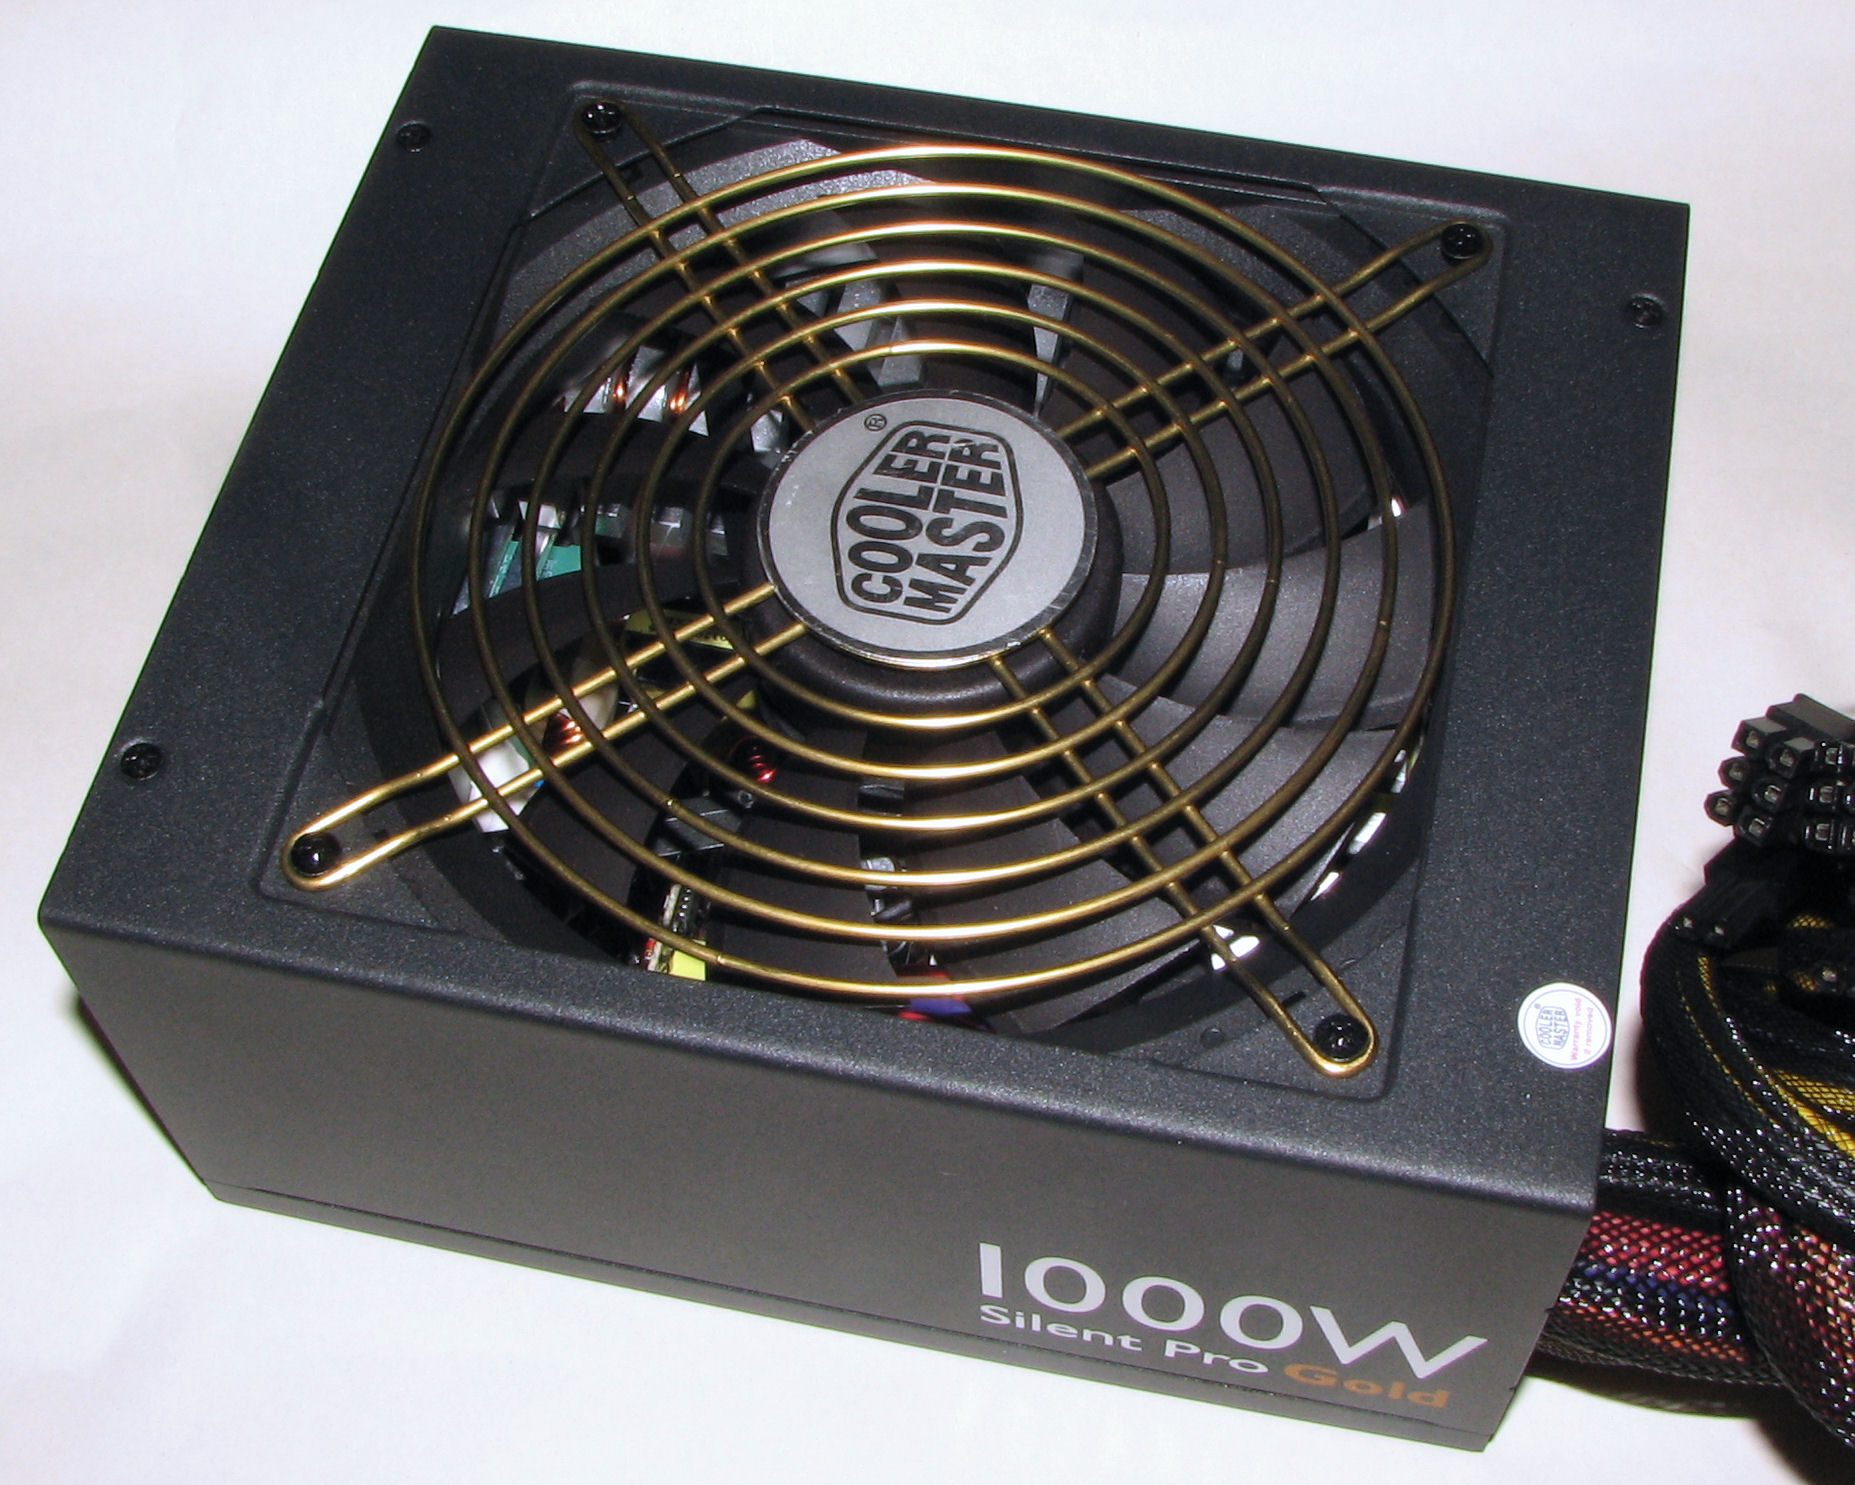
Cooler Master SilentPro Gold 1000W RS-A00-80GA-D3
I wanted a power supply that would be able to power the 980X, which can consume about 130 Watts all by itself, and also have plenty of headroom if I chose to expand into CUDA GPU computing, so I went for something large. This is a very nice power supply, with lots of modular cable connectors for additional hardware to hook to.
It is highly efficient, from about 88% at full-load to 90% at peak efficiency (around half load).
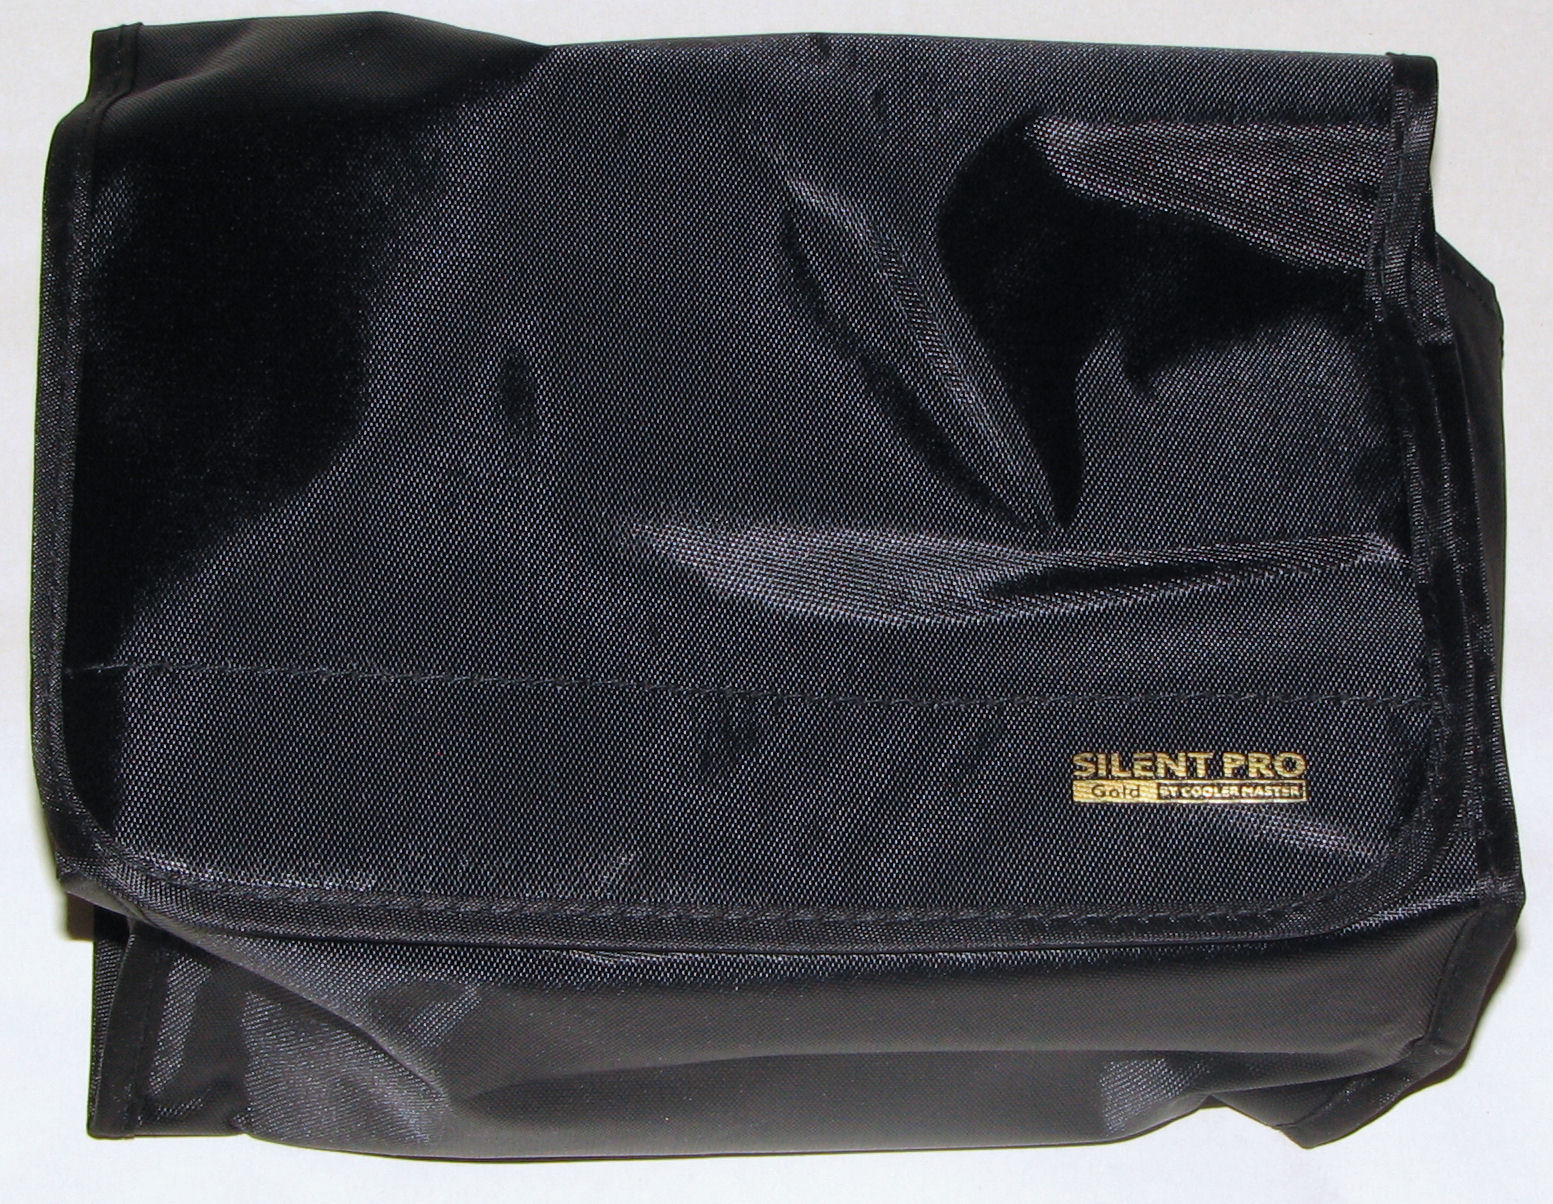
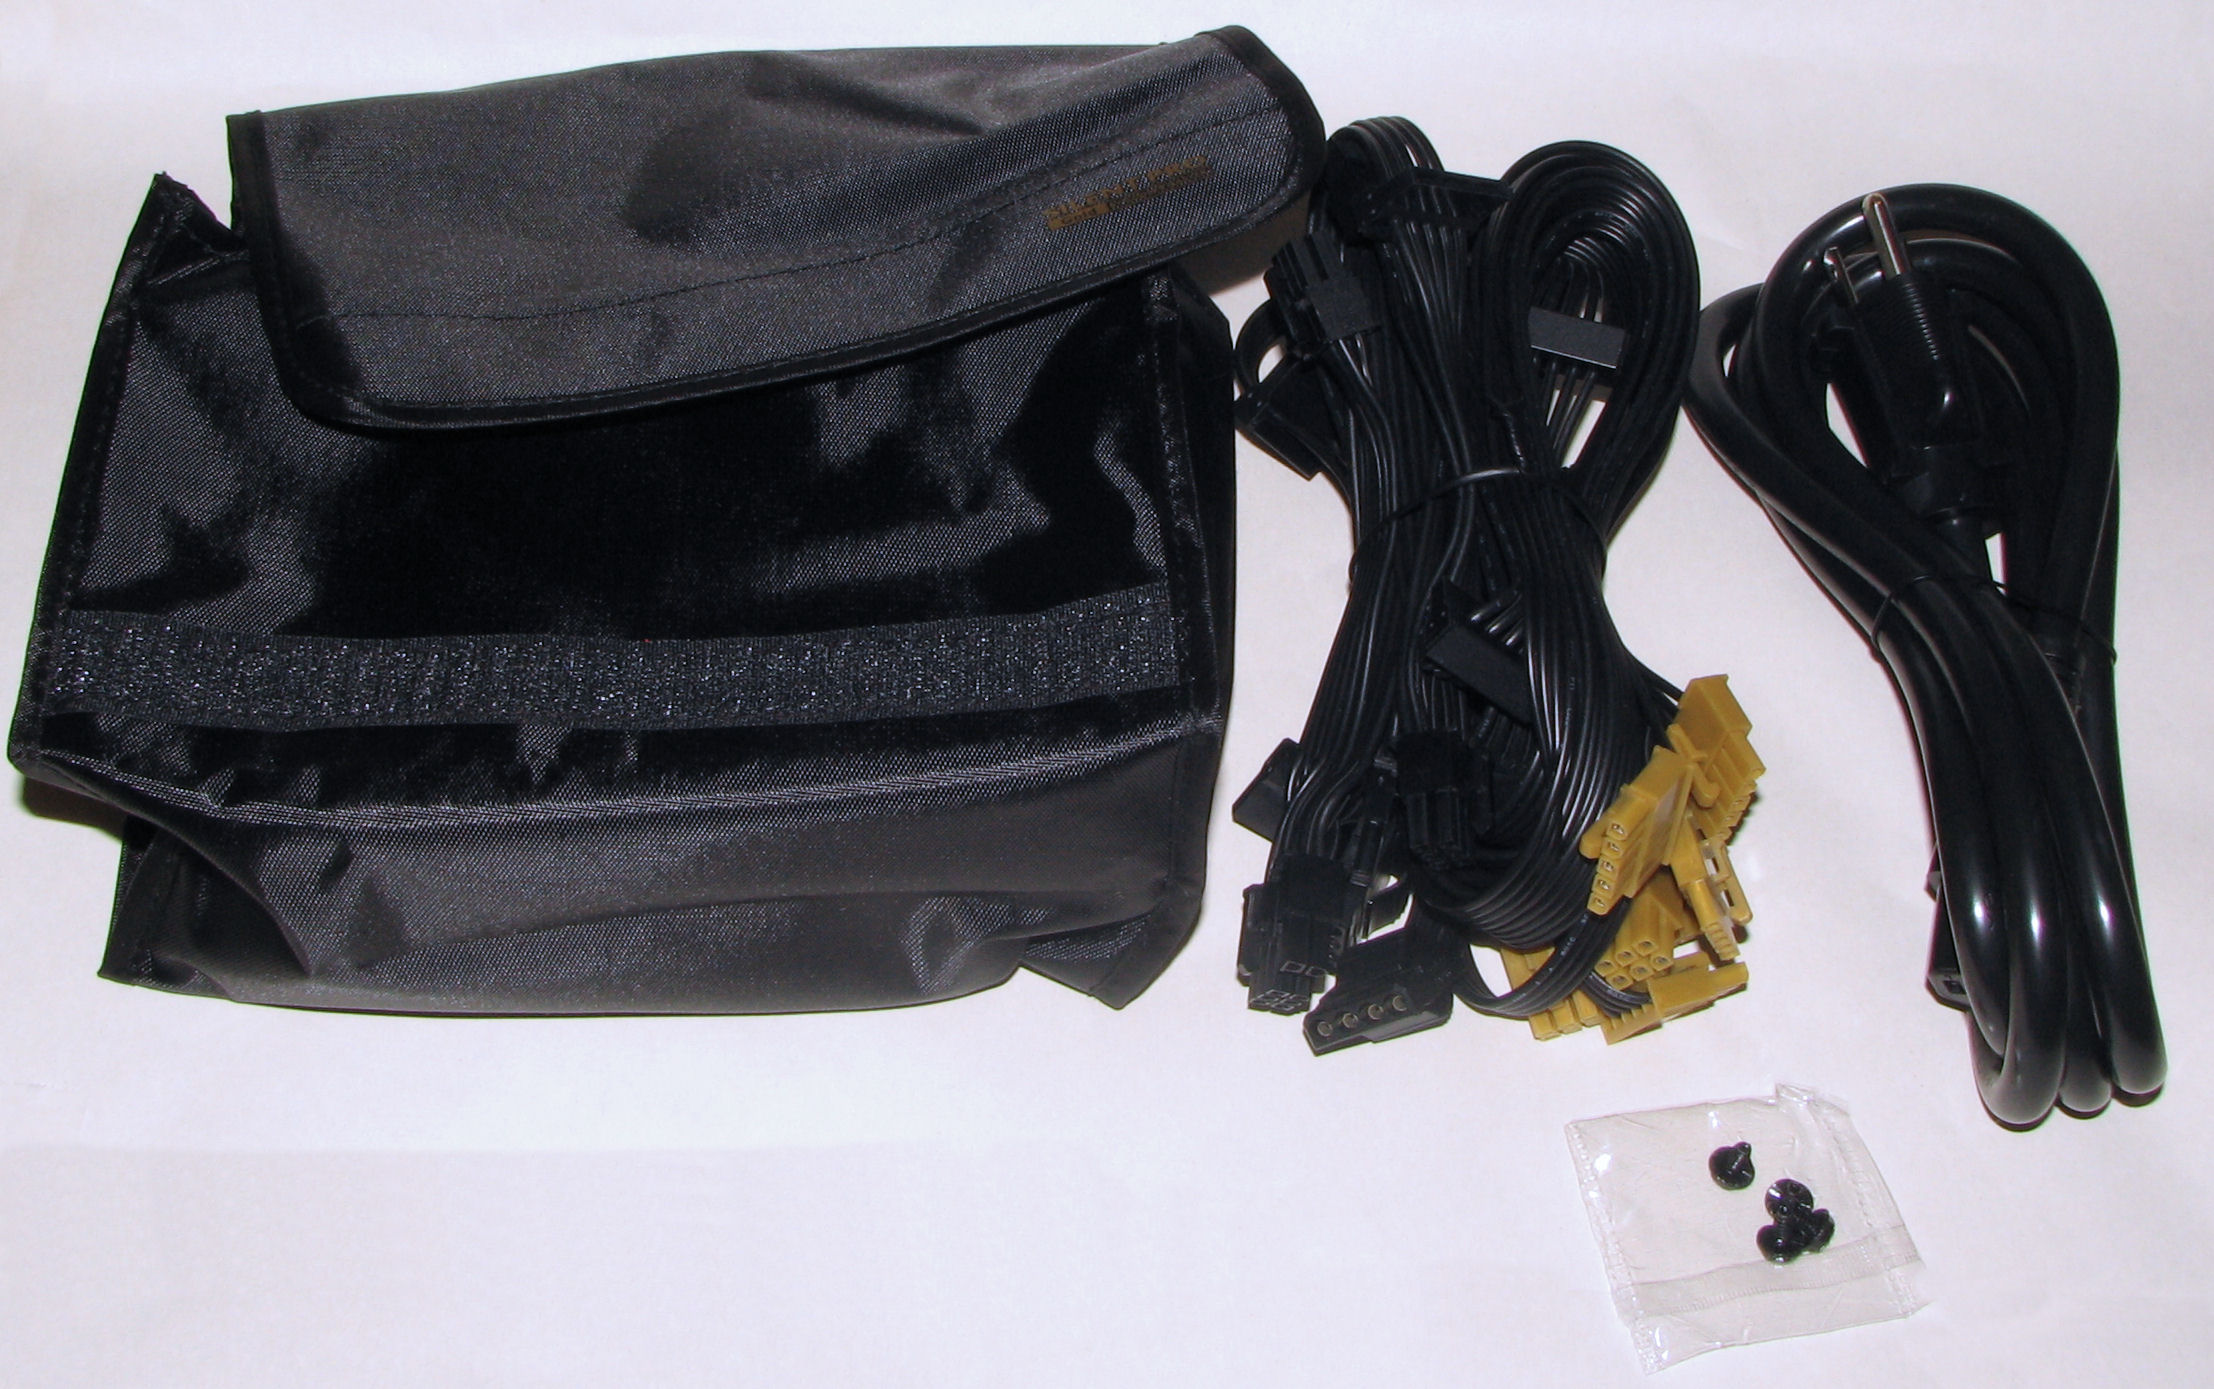
The power supply came with a nice set of cables and a very spiffy nylon bag to hold them all.
Hard Drive
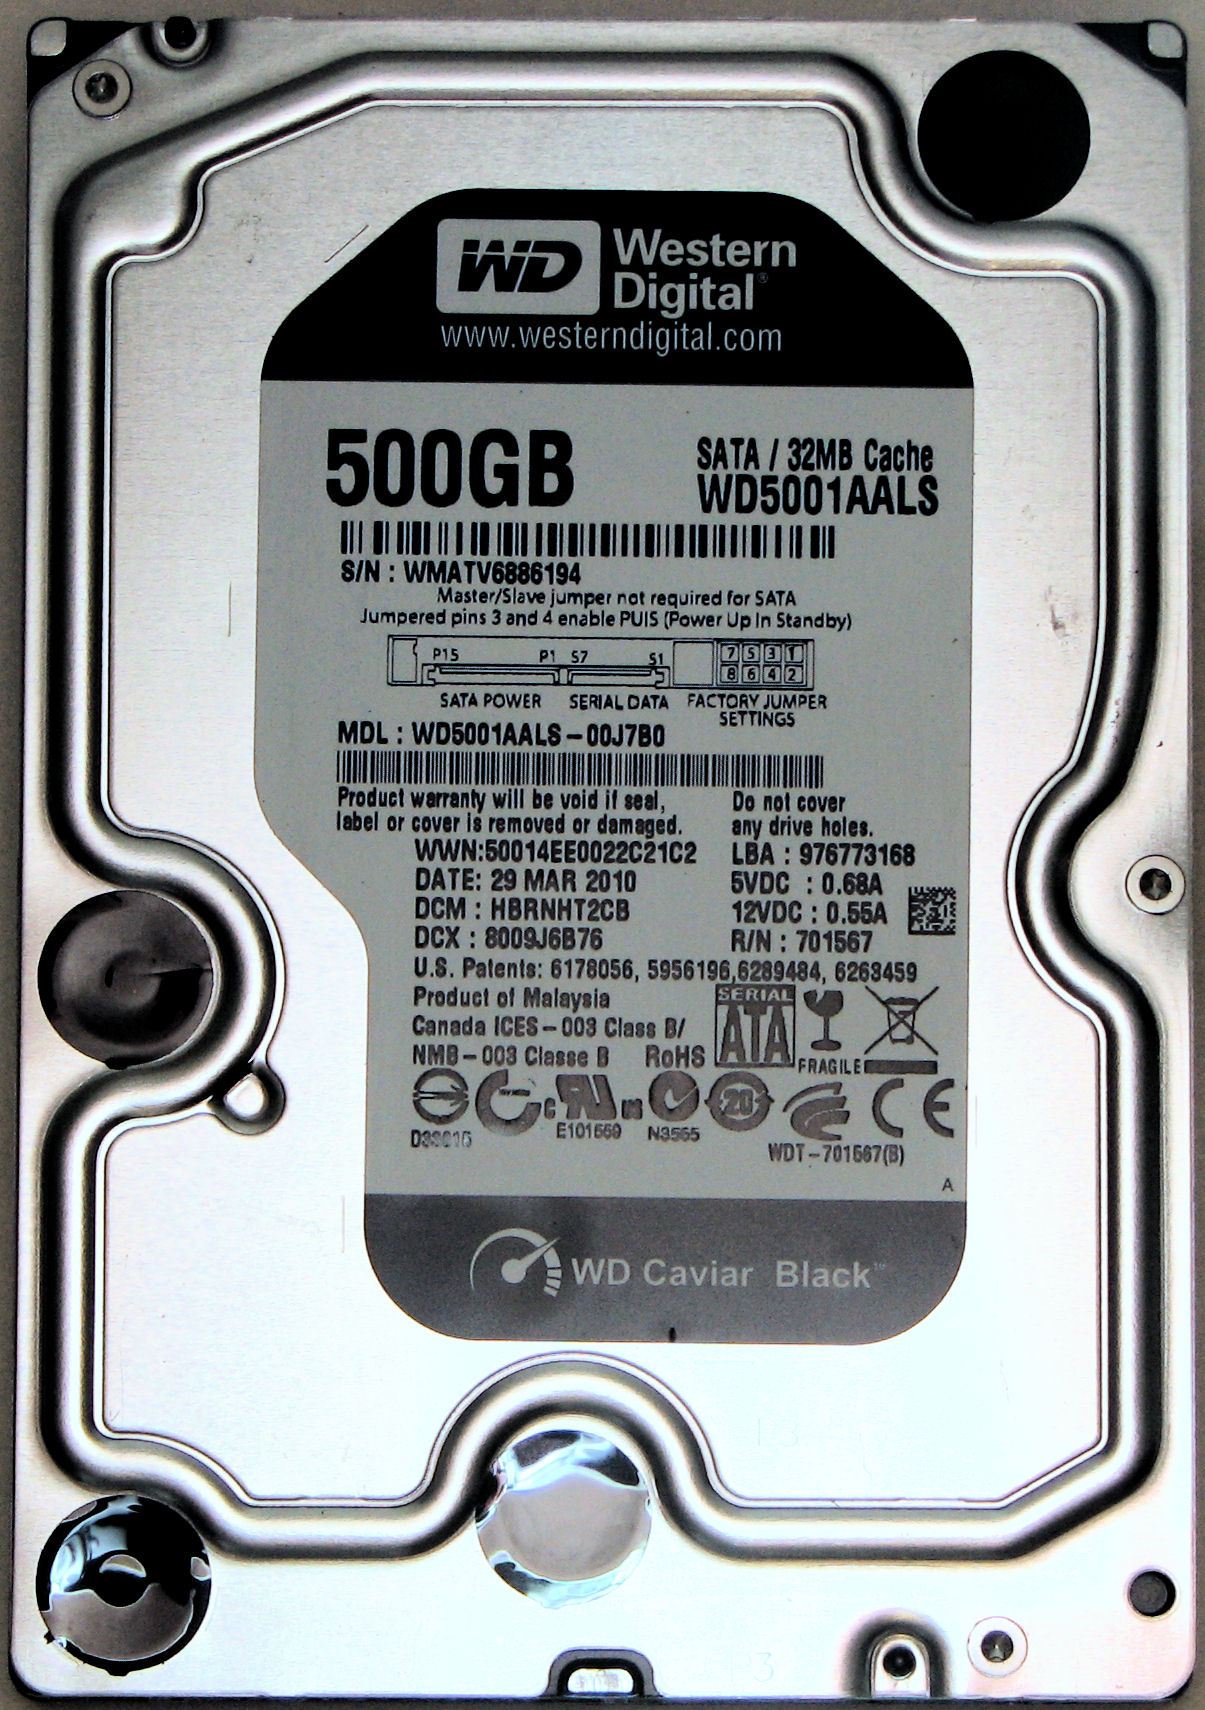
The Western Digital Caviar Black series is among the fastest 7200 RPM SATA drives on the market, although certainly not the fastest available. These are the WD5001AALS drives, 500MB capacity, with a 32MB cache and 4.2 ms average latency. The interface is a standard SATA 3Gb/s connection. These are a nice compromise between high-end performance and price.
These drives have a peak burst transfer rate of about 190 MB/sec. Average read and write rates to an unformatted blank disk are about 110 MB/sec. Latency is 12-13 ms. That is measured by HDTune Pro 4.60.
I originally put three of these into this system, with two in a RAID0 configuration, and the third is non-RAID. That setup was really fast, with an average read rate of 164 MB/sec. Still, I undid it after realizing that hard drives are not really reliable enough to justify RAID0 (I had the Windows bootup partition on the RAID0 drive, which was a big mistake). For now, each drive is configured as a simple NTFS volume, two of which are used as scratch storage for intermediate video files. A high-def video project can easily generate 30 GB of raw data, and another 30 GB of uncompressed video, so hard drive speed has a big impact on post-processing times, like colorizing and compressing to the final publication MP4 and WMV formats. For that reason, I may reconfigure two drives into RAID0.
I also originally decided not to use any SATA 6Gb/sec drives, or solid-state drives, since the price/performance was not at a good spot. But the price has come down, and this option may be something to consider soon.
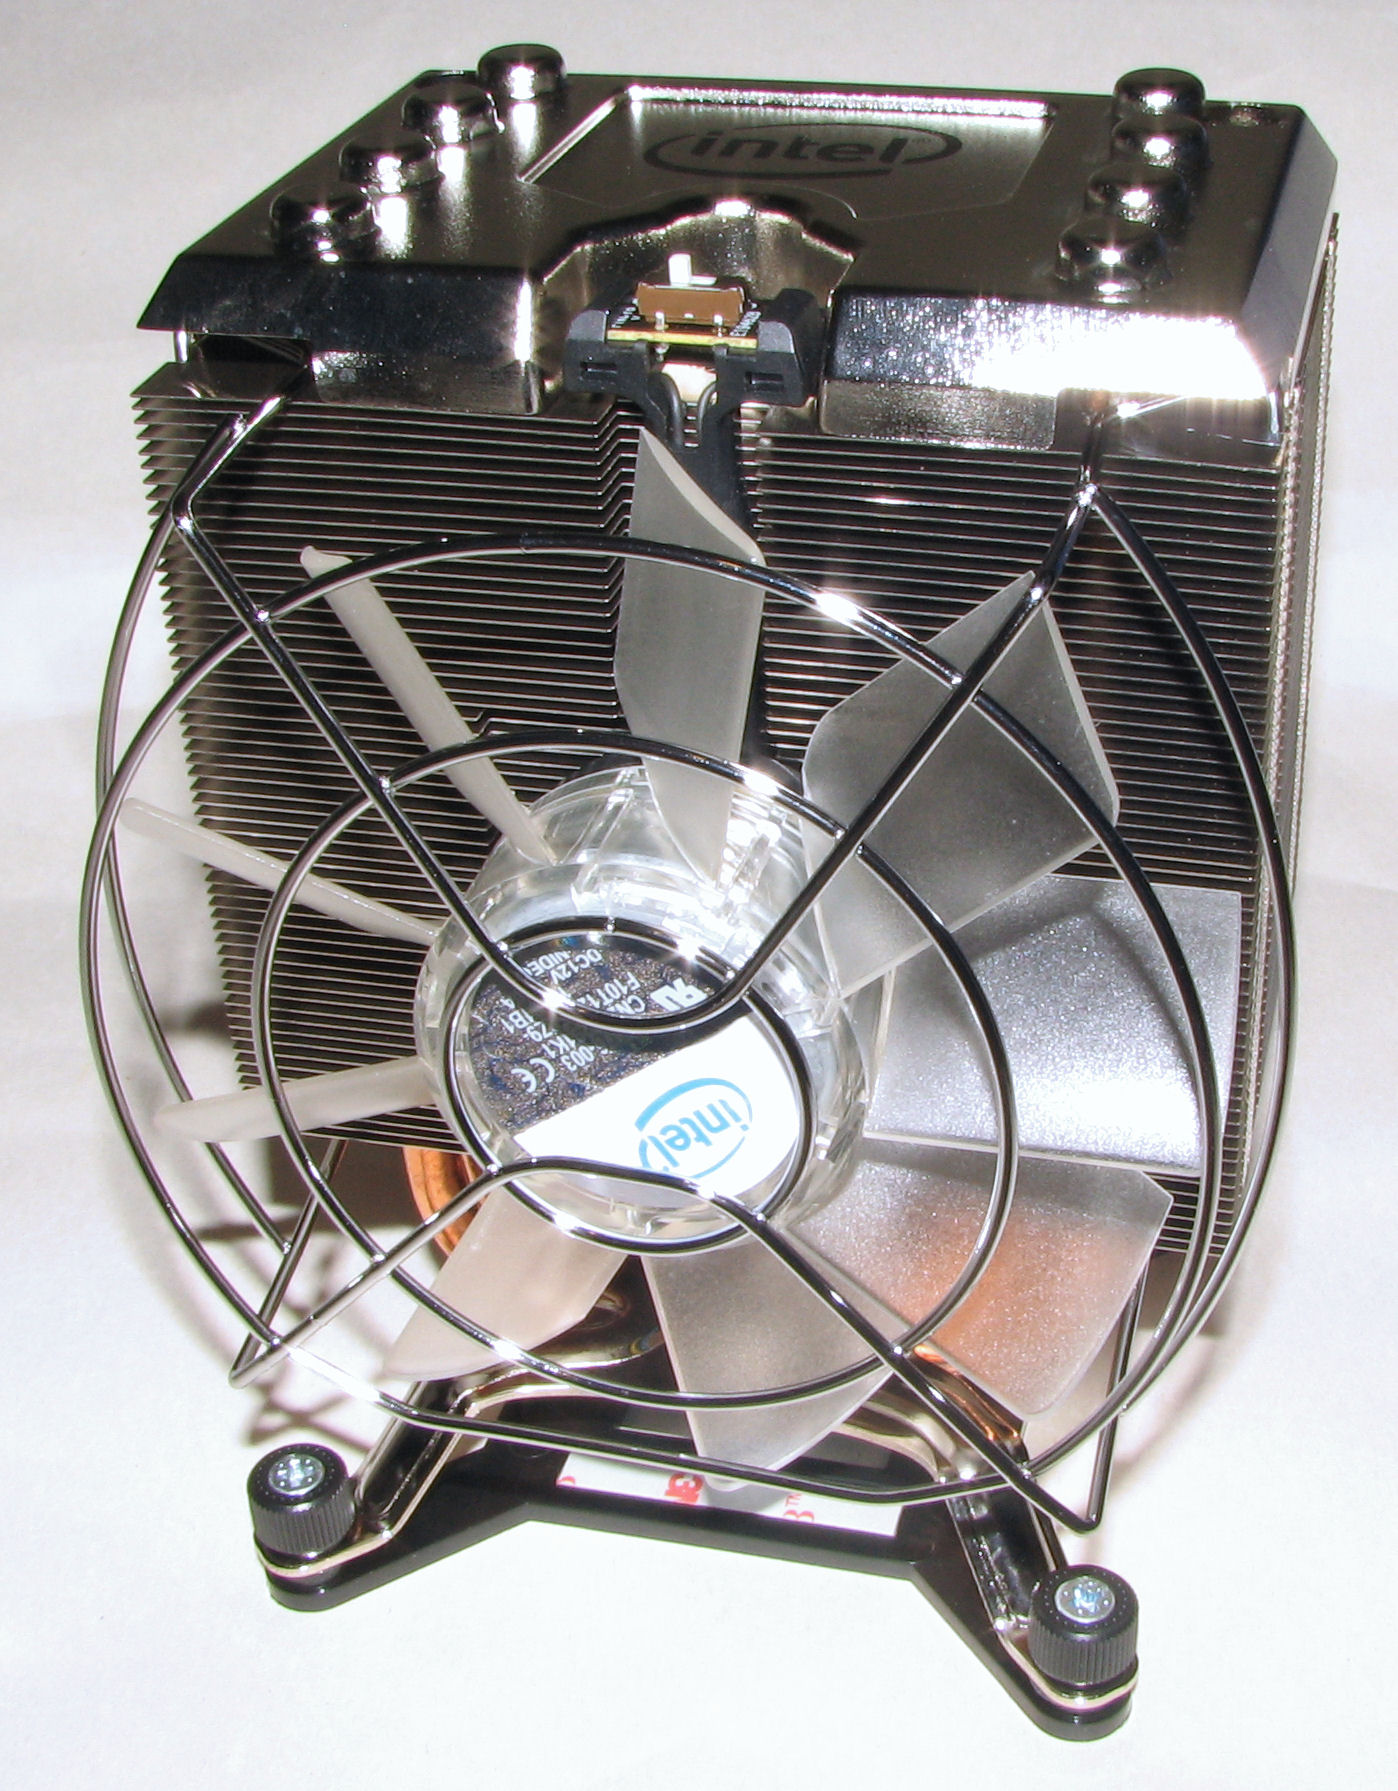
CPU Cooling
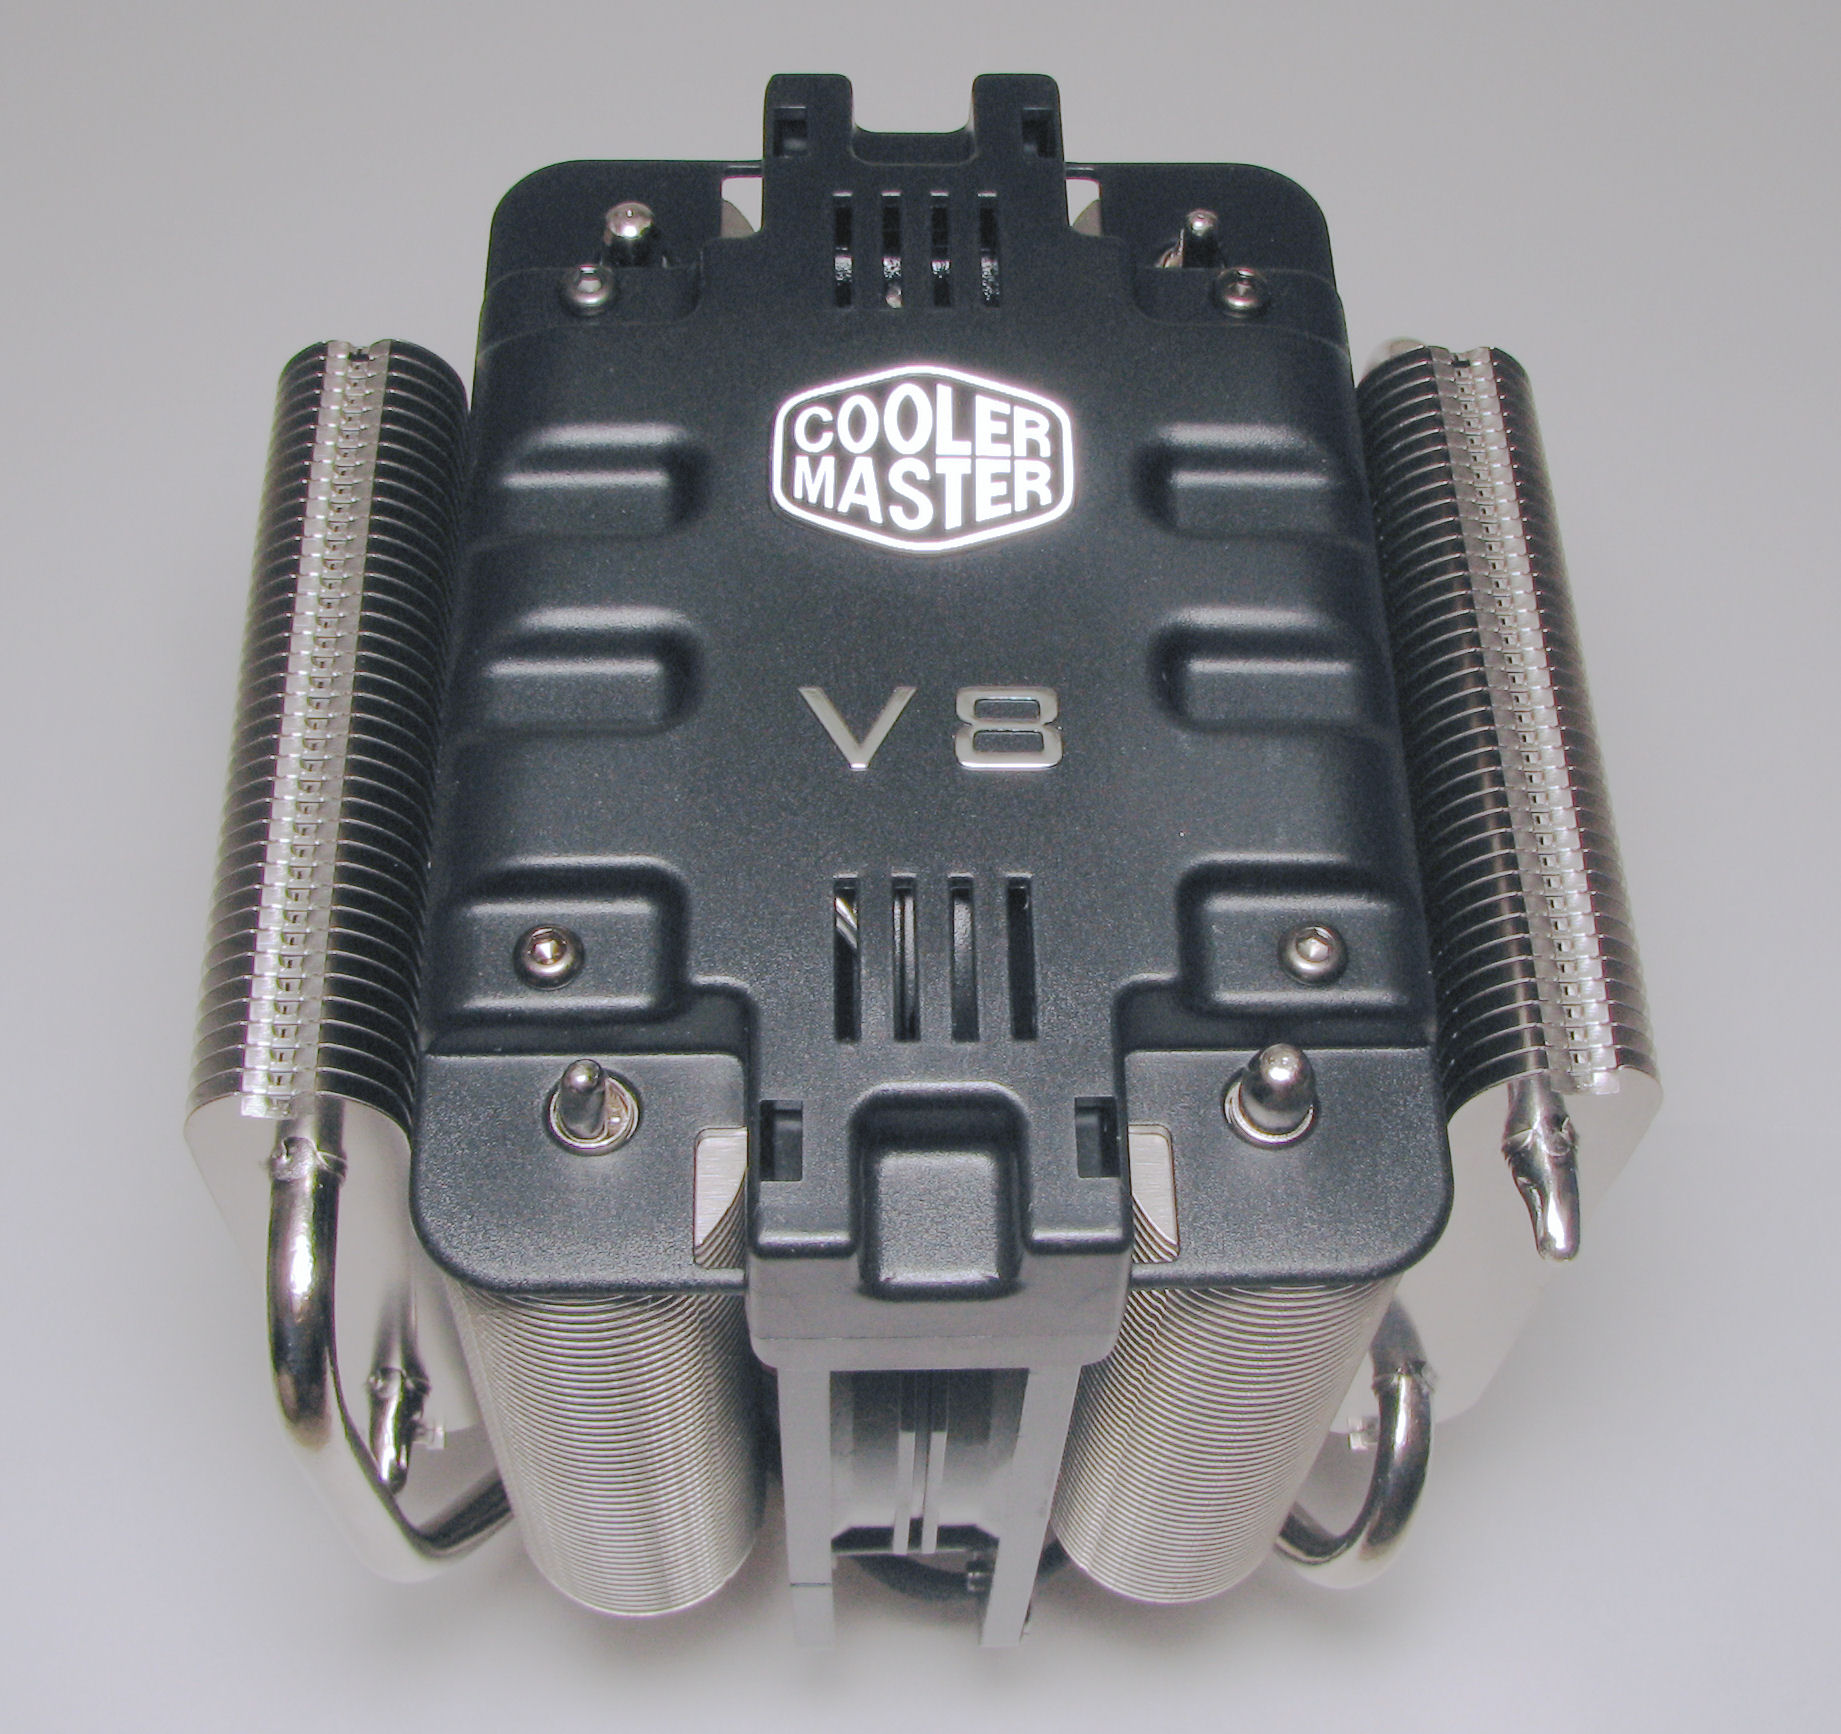


Cooler Master V8
This is one of the largest and best-performing CPU air coolers available. It turned out to be a bit more than I really need, and the CPU temperatures are consistently 30-40C below the maximum limit, even under full load of all cores. So there is plenty of headroom to explore further 4+ GHz overclocking with this cooler on board.
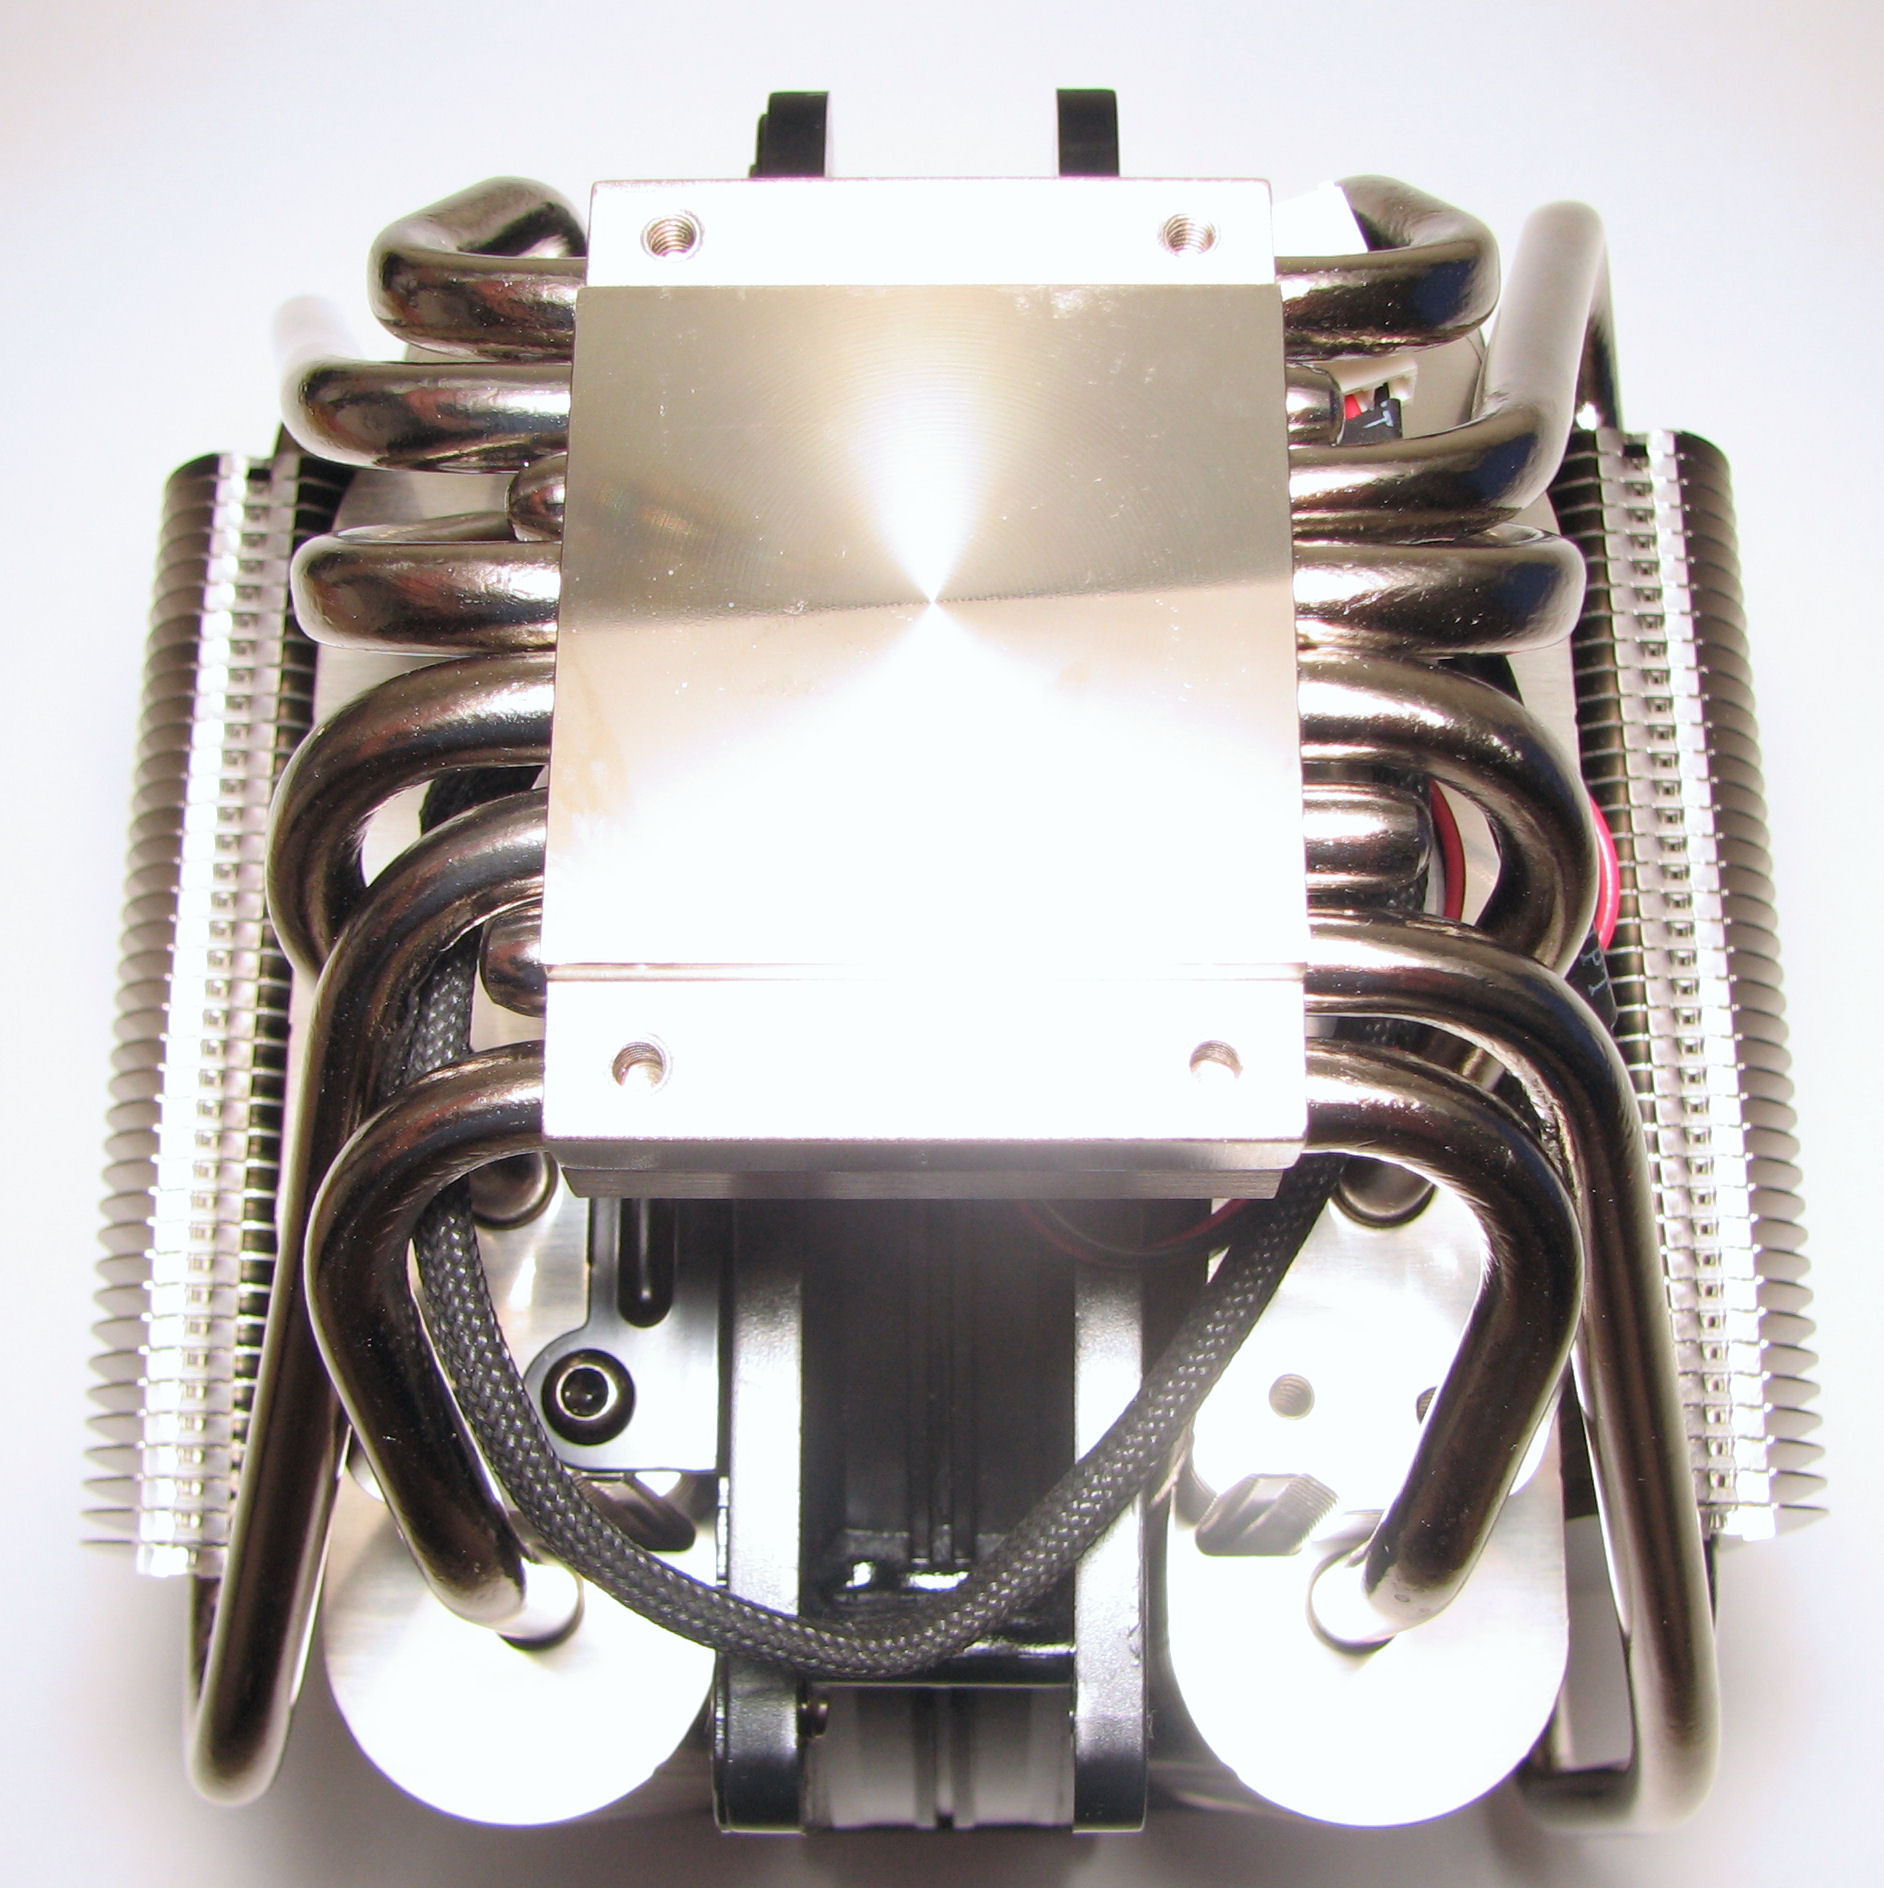

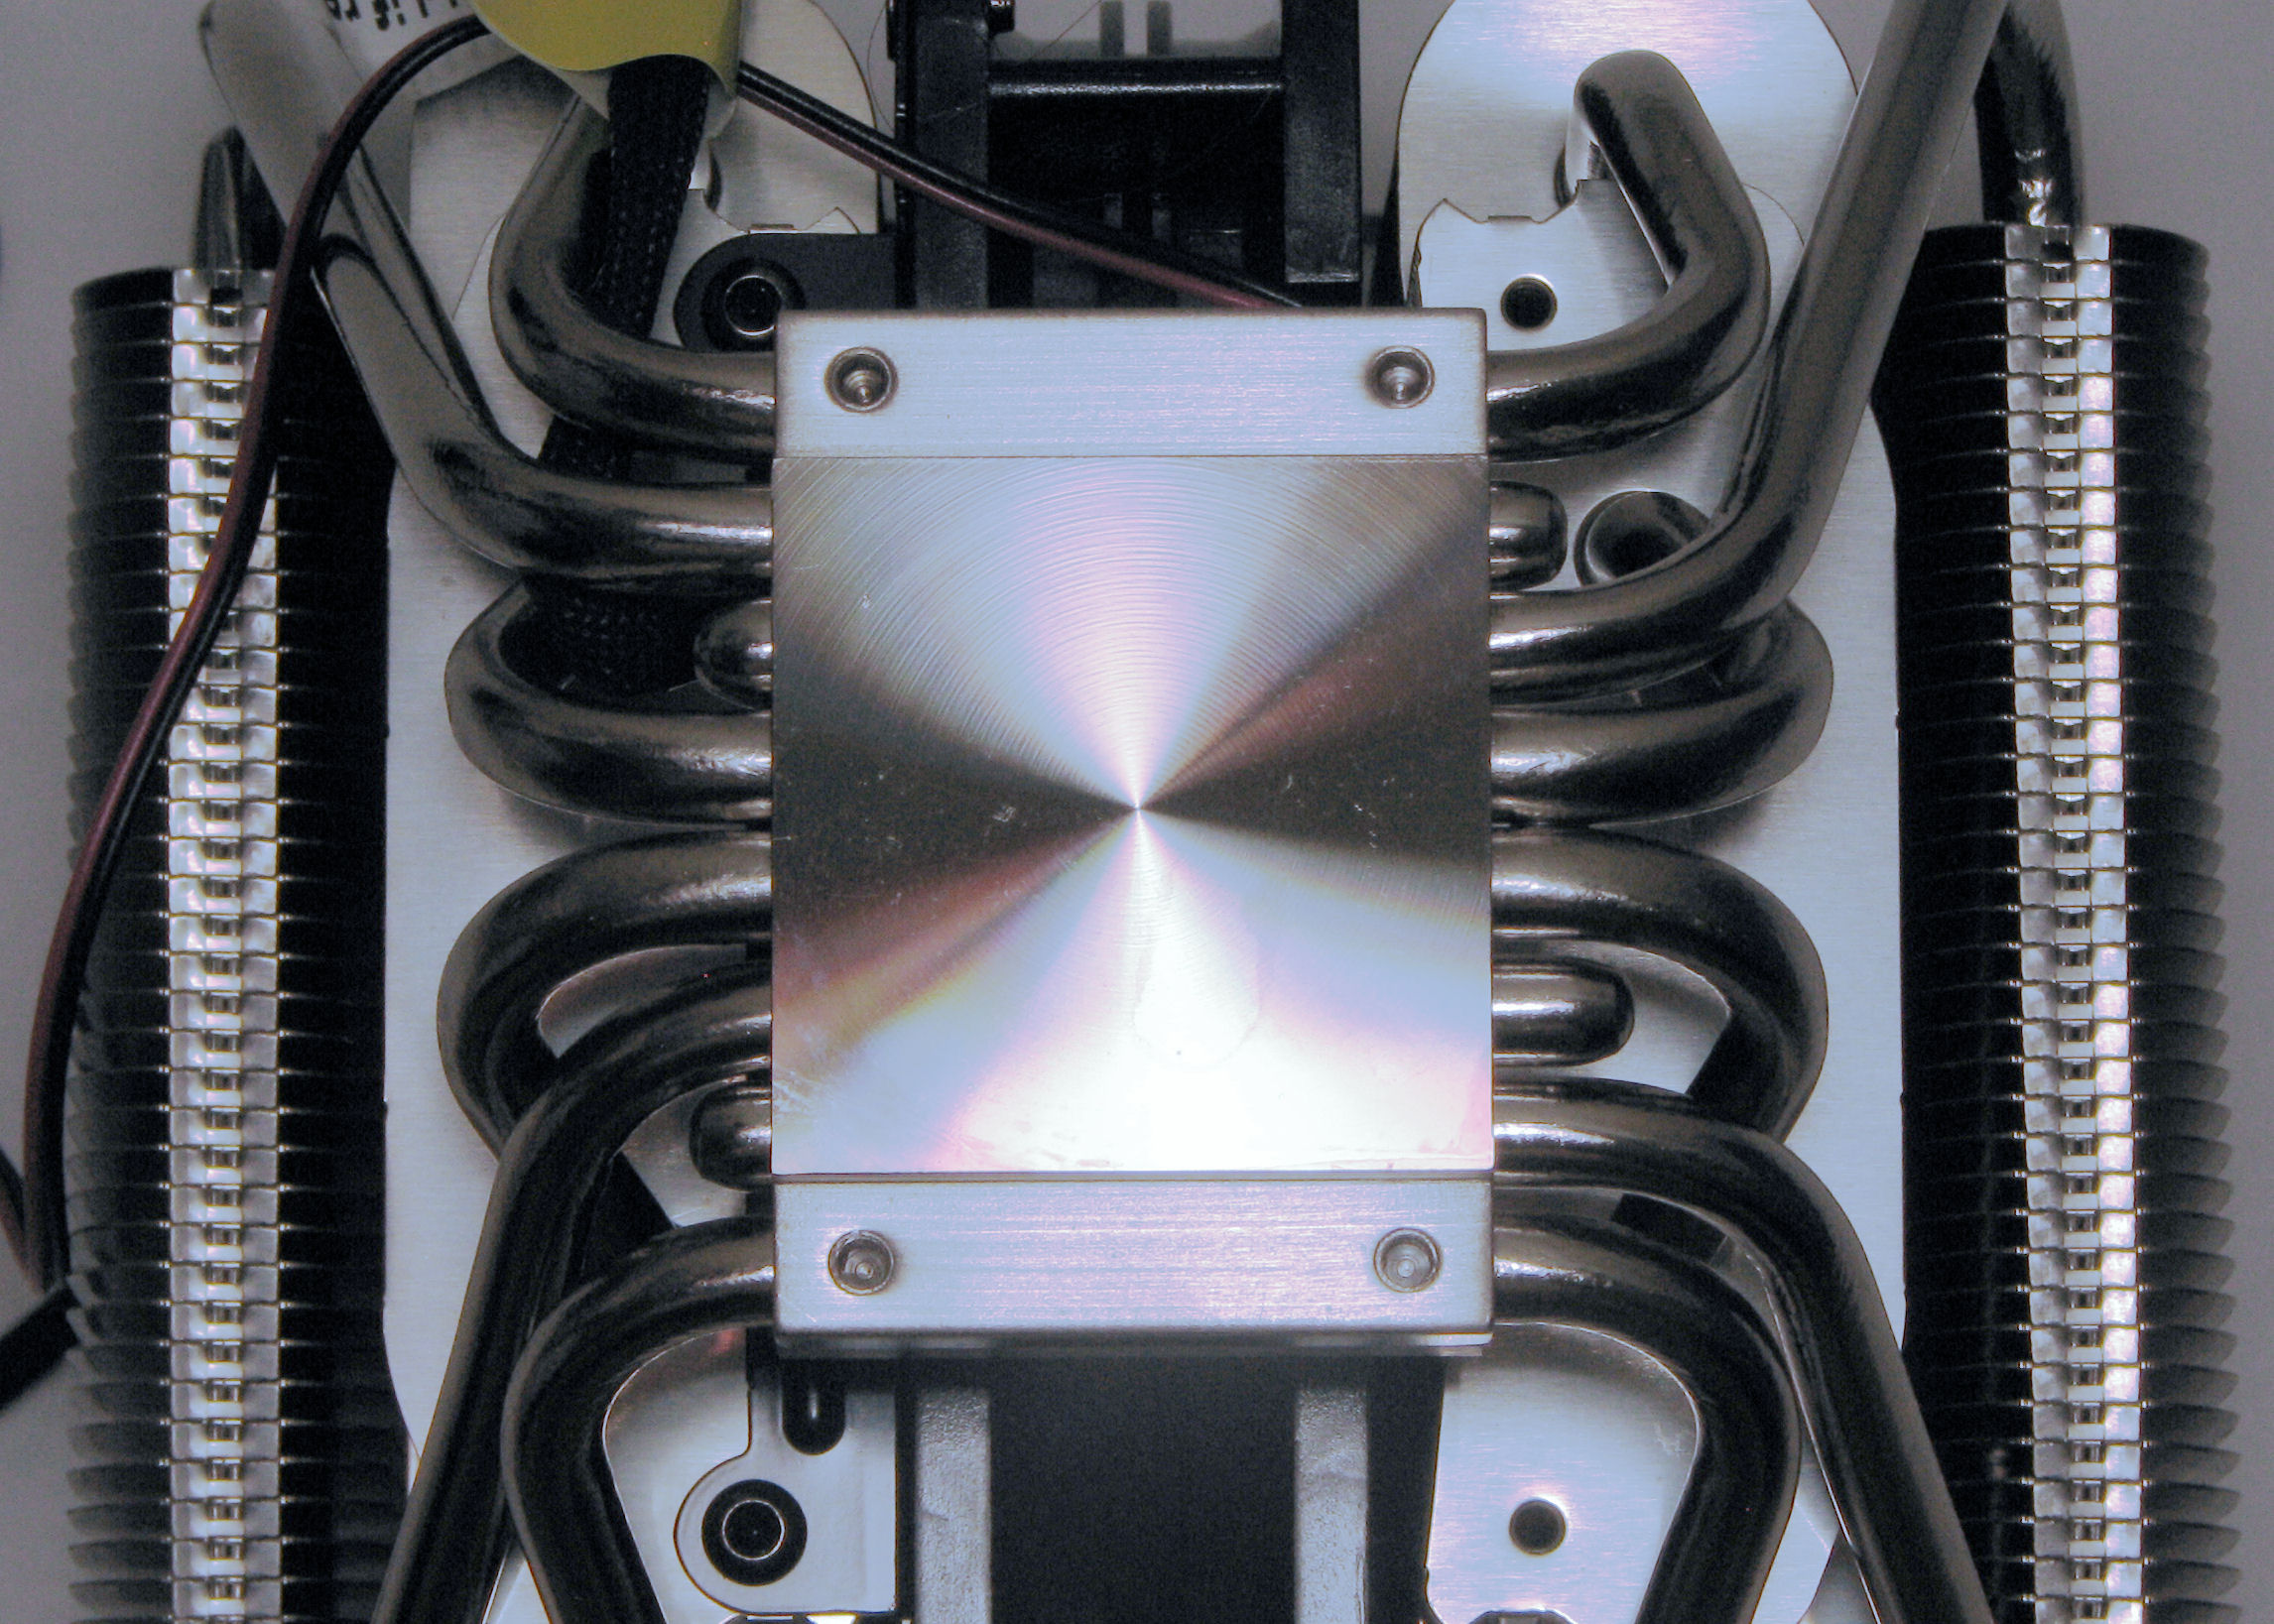
These are some close-up shots of the plate that actually makes contact with the CPU's head spreader. The circular tooling marks are prominent givent the right lighting, but they are actually very shallow. Still, this shows why a good thermal interface medium is important, since the contact area is greatly decreased without something to fill in these grooves. Any good silver-based compound will work well. I can't remember if I used the compound that came with the heat sink or the stuff from Antec.
Case
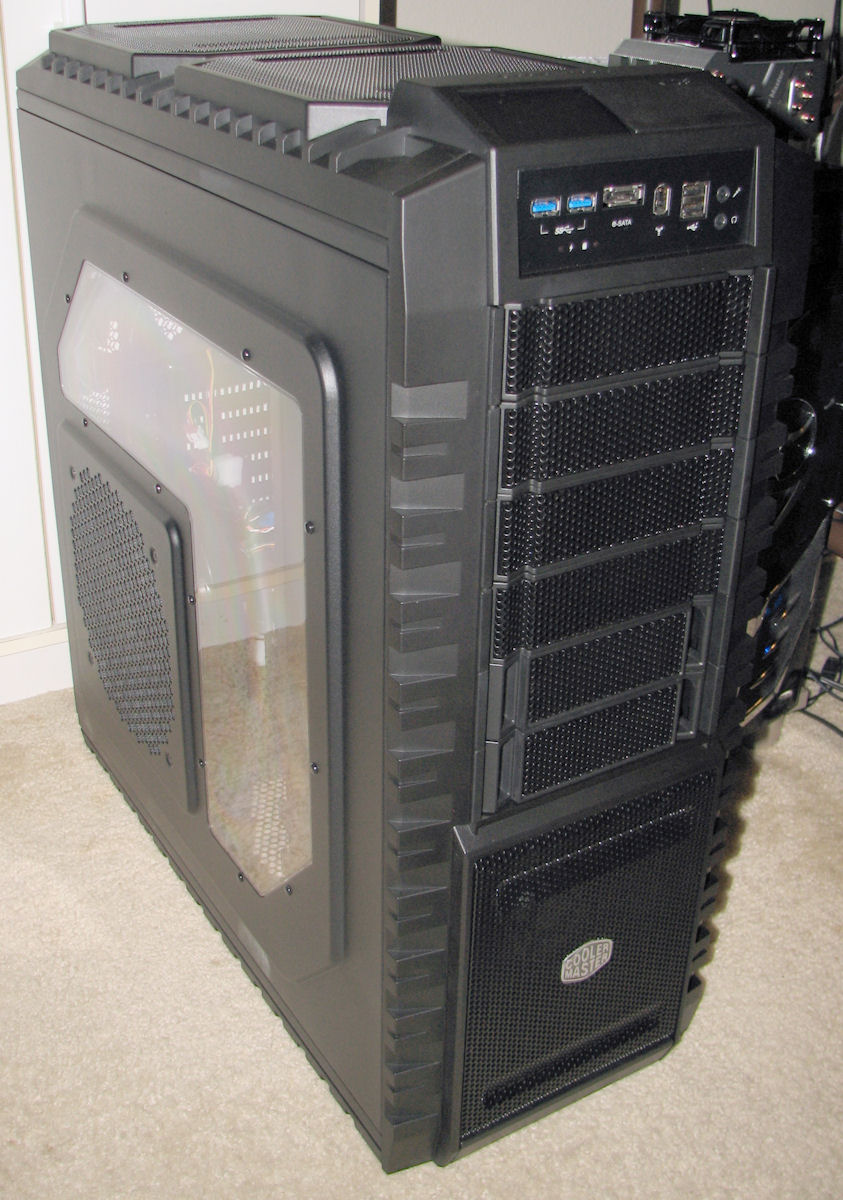
Cooler Master HAF-X
Finally, the case. This is, of course, what everyone sees when they first encounter a computer, and I wanted one that is both nice to look at and also highly functional. I was fed up with cheap cases with screw holes that are slightly off, sharp metal edges, inaccessible screws, and tiny noisy little fans. Plus, with my plans for overclocking, I wanted to make sure I could fit the very large V8 cooler.
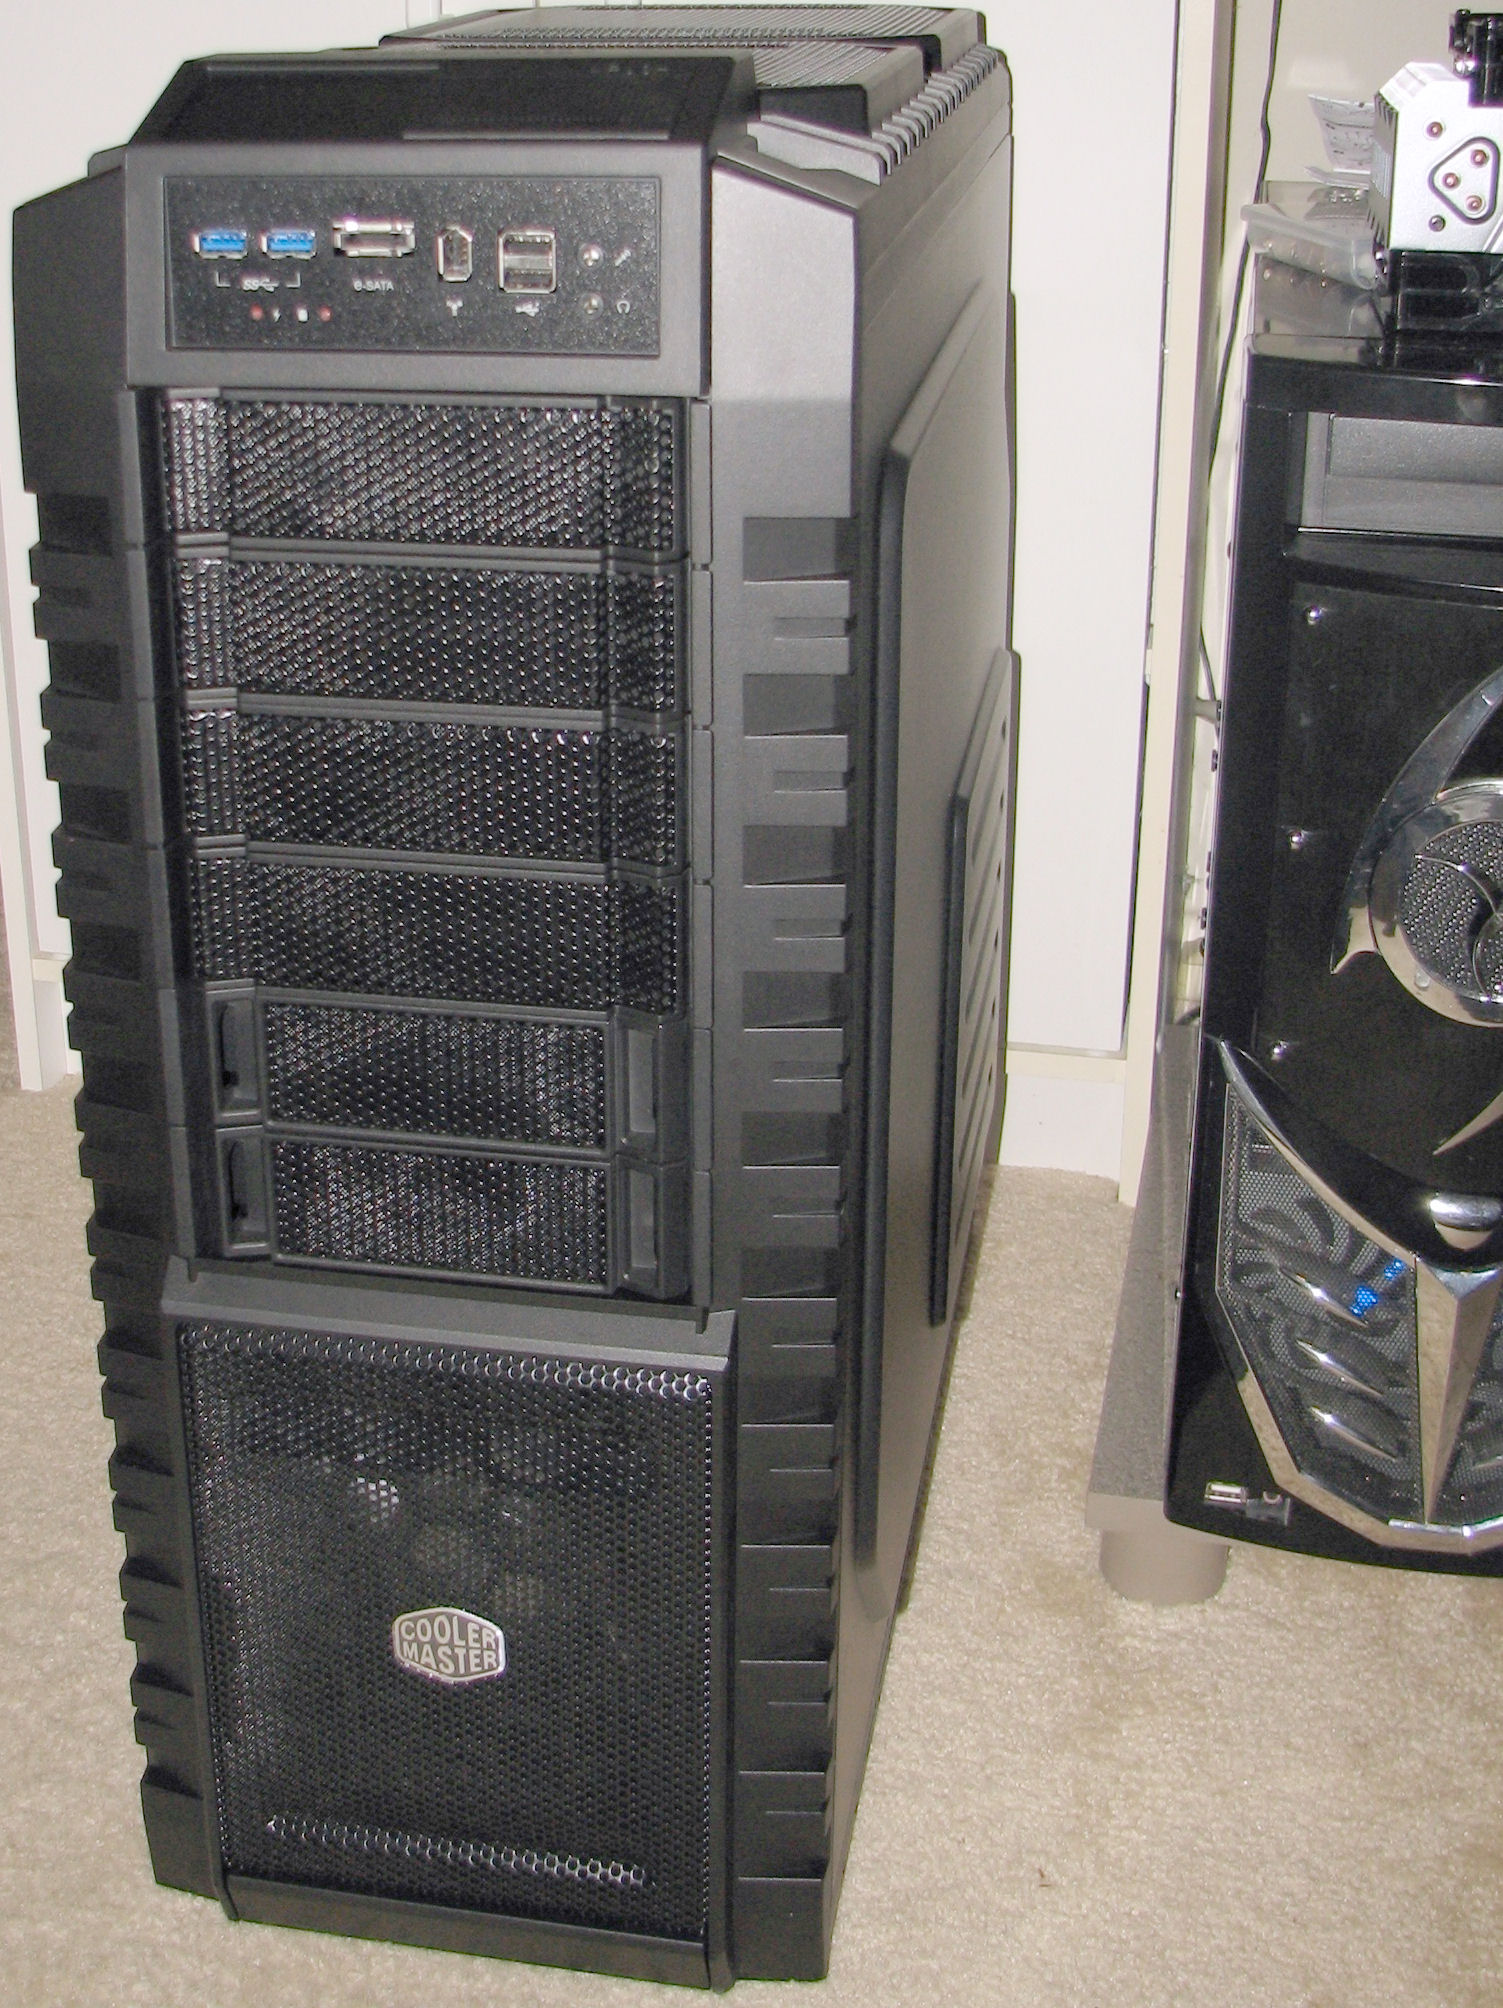
So I went for a monster of a case. The HAF-X is truly enormous. Here is it next to the Core-2 quad system, which is a standard tower case. Granted, this picture is not completely fair because the HAF-X is quite a bit closer to the camera, but you get a sense of how huge this thing is. It's 23.2" tall, 21.7" front-to-back, and 9.1" wide. It weighs 32 lbs.
The case comes with a 230 mm front fan, a 200 mm top fan, a 200 mm side fan, and a 140 mm rear fan, and supports one additional optional top fan.
This case is a joy to work with. Everything fits perfectly with no effort. The front panel and top come off with no trouble. The drive bays slide in and out with no sticking. Mounting hard drives into them is easy. It feels solid and precise and is wonderful. The only problem is that it is so relentlessly black inside, it's hard to see what you're doing.
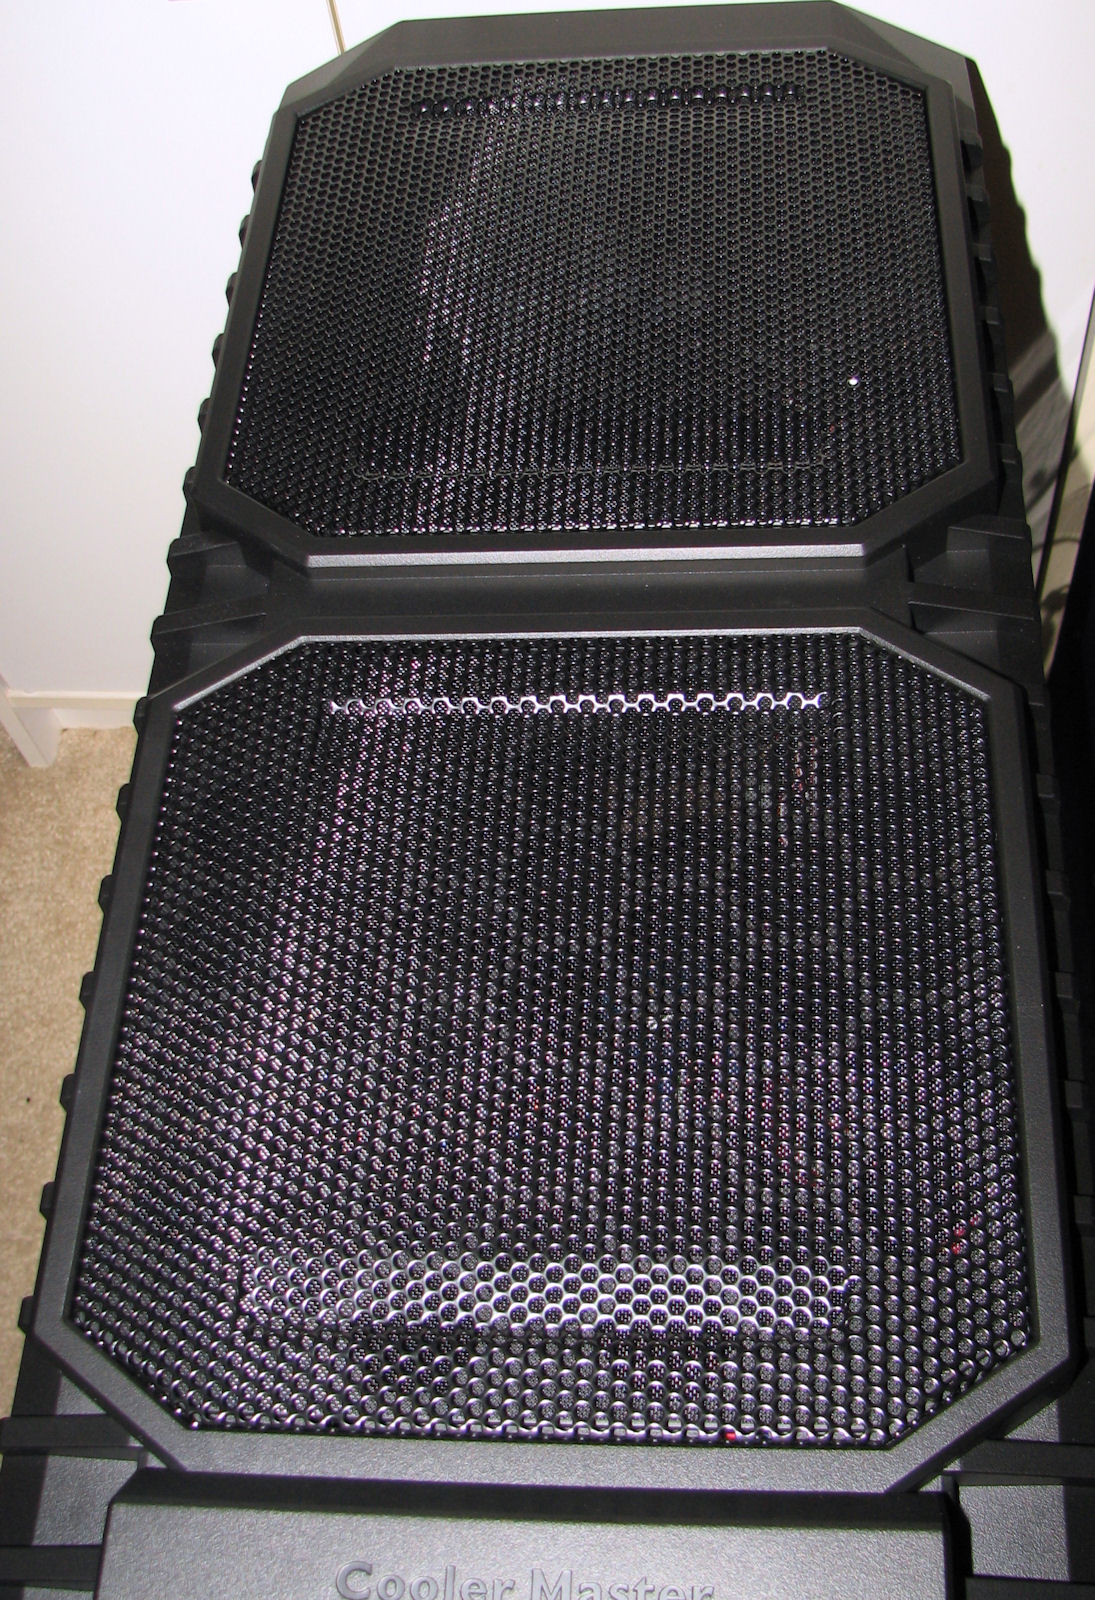
Above is a top view. You can see the large fan here, and the spot for installing the optional second top fan. The top opens easily for cleaning.

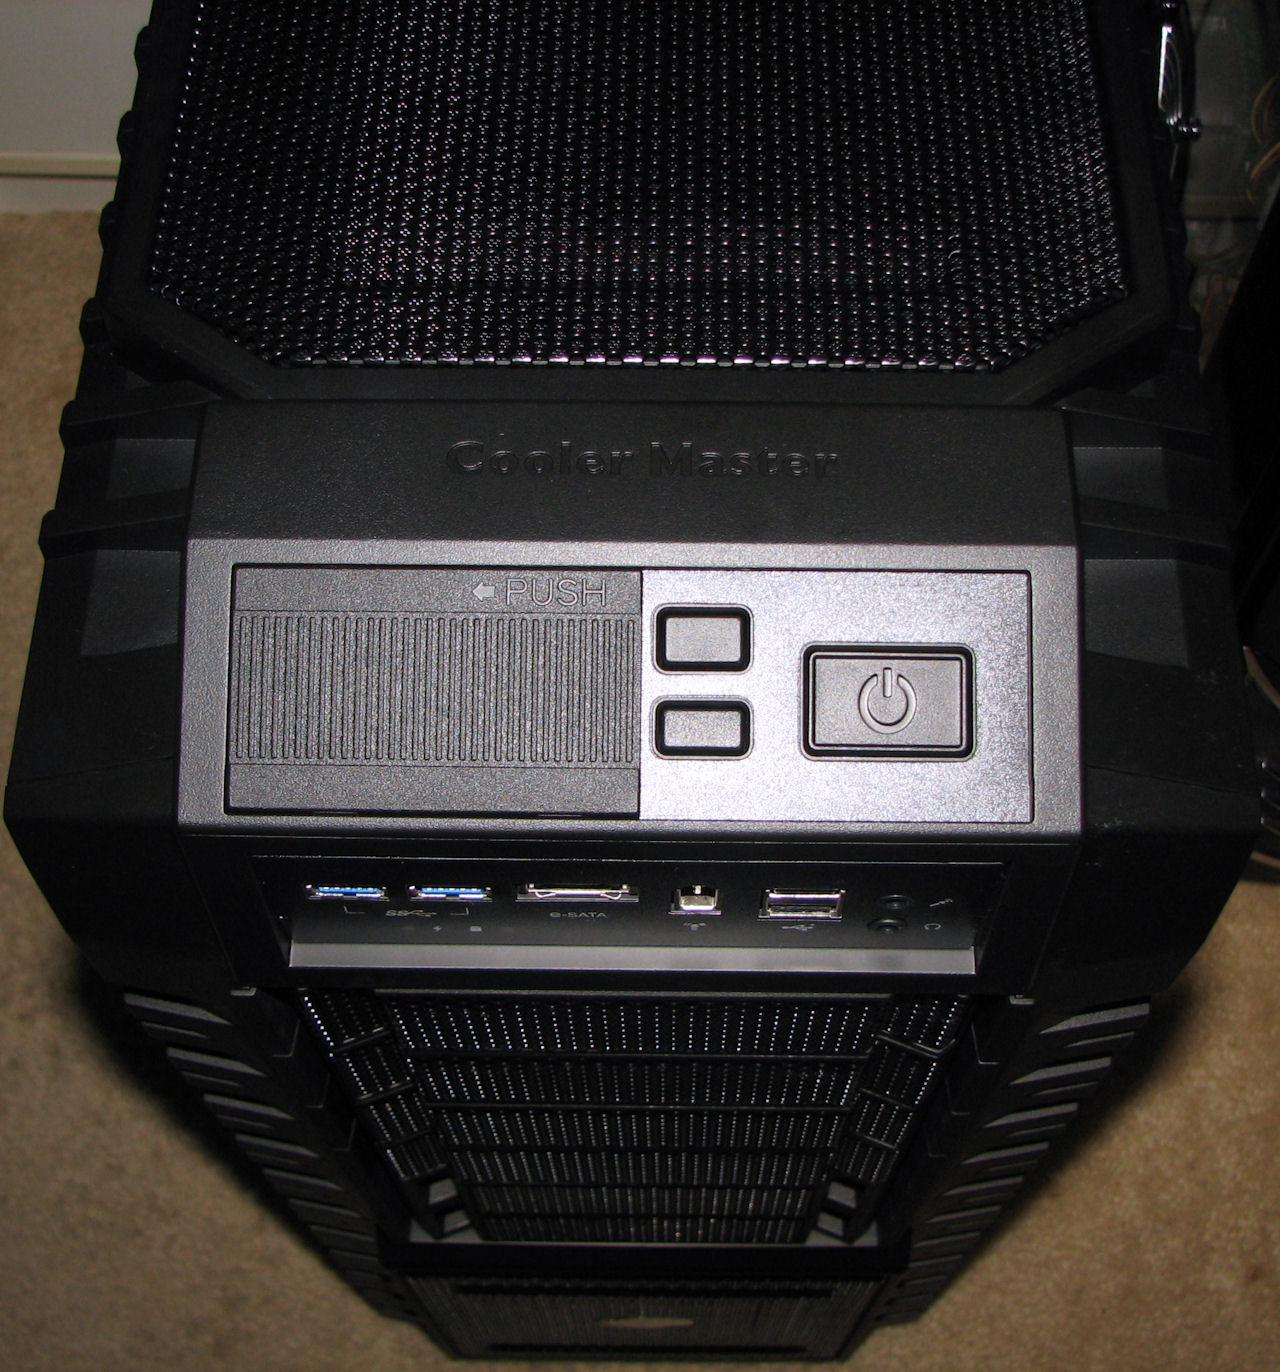
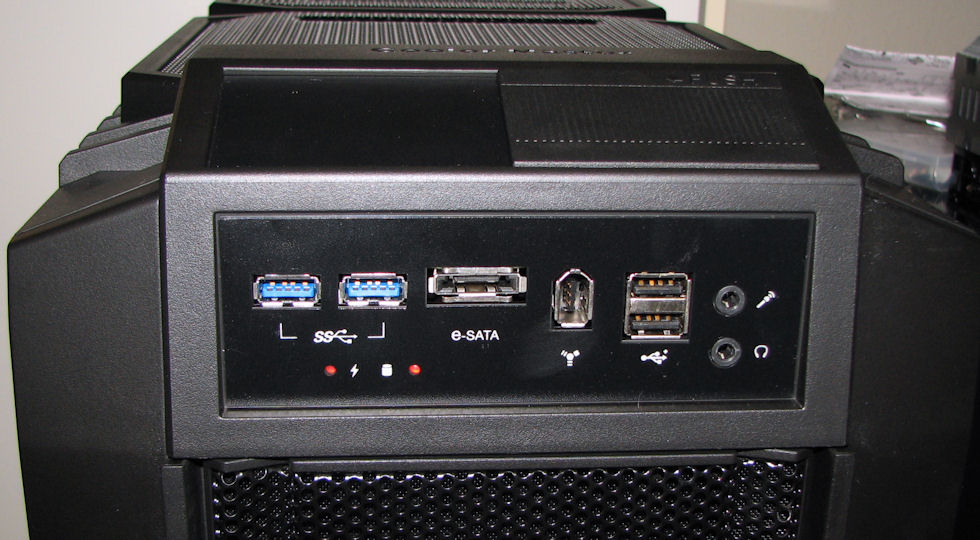
The three views above show the top panel with Power, Reset, and LED switches, and the front panel with the data and audio connectors. The top panel has a little door covering it to prevent accidental contact with the switches. One small detail I don't like about this case is that the switch that controls the front-panel LED is right next to the Reset switch, so you have to be really careful what you're doing if you want to turn on/off the front-panel LED while the system is running.
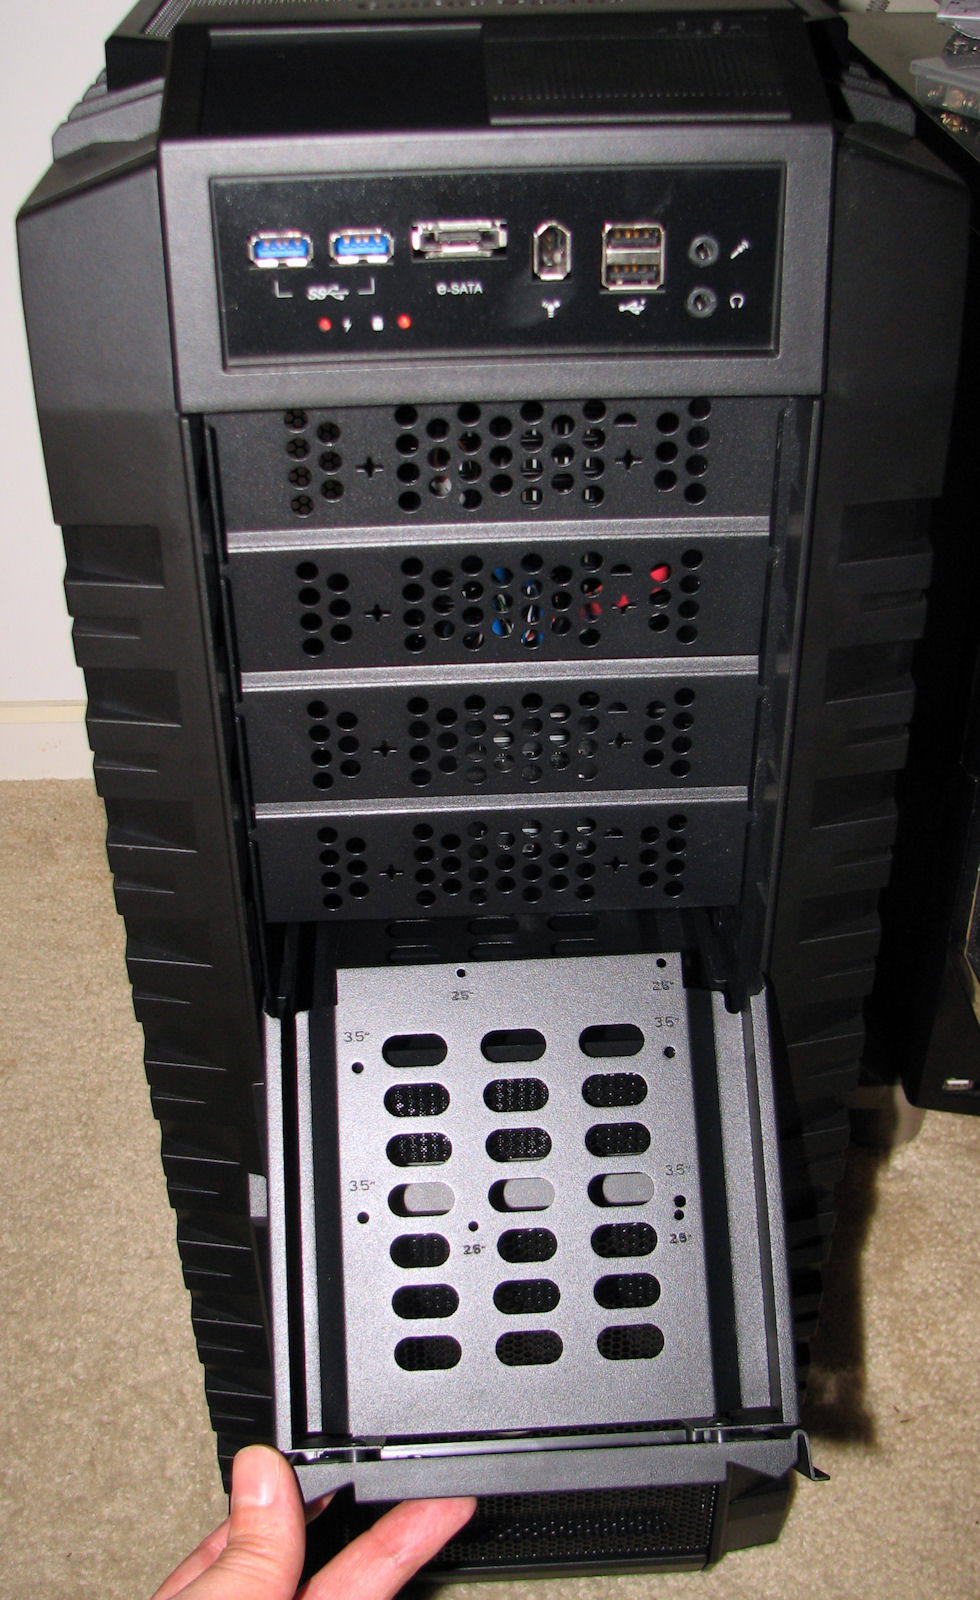
The case has two front-accessible hot-swap drive bays. That's my left hand there, and you may notice my freakishly hyperextensible interphalangeal joint. It can actually go much farther than that, beyond 90 degrees in fact, but it might scare small children to show it.
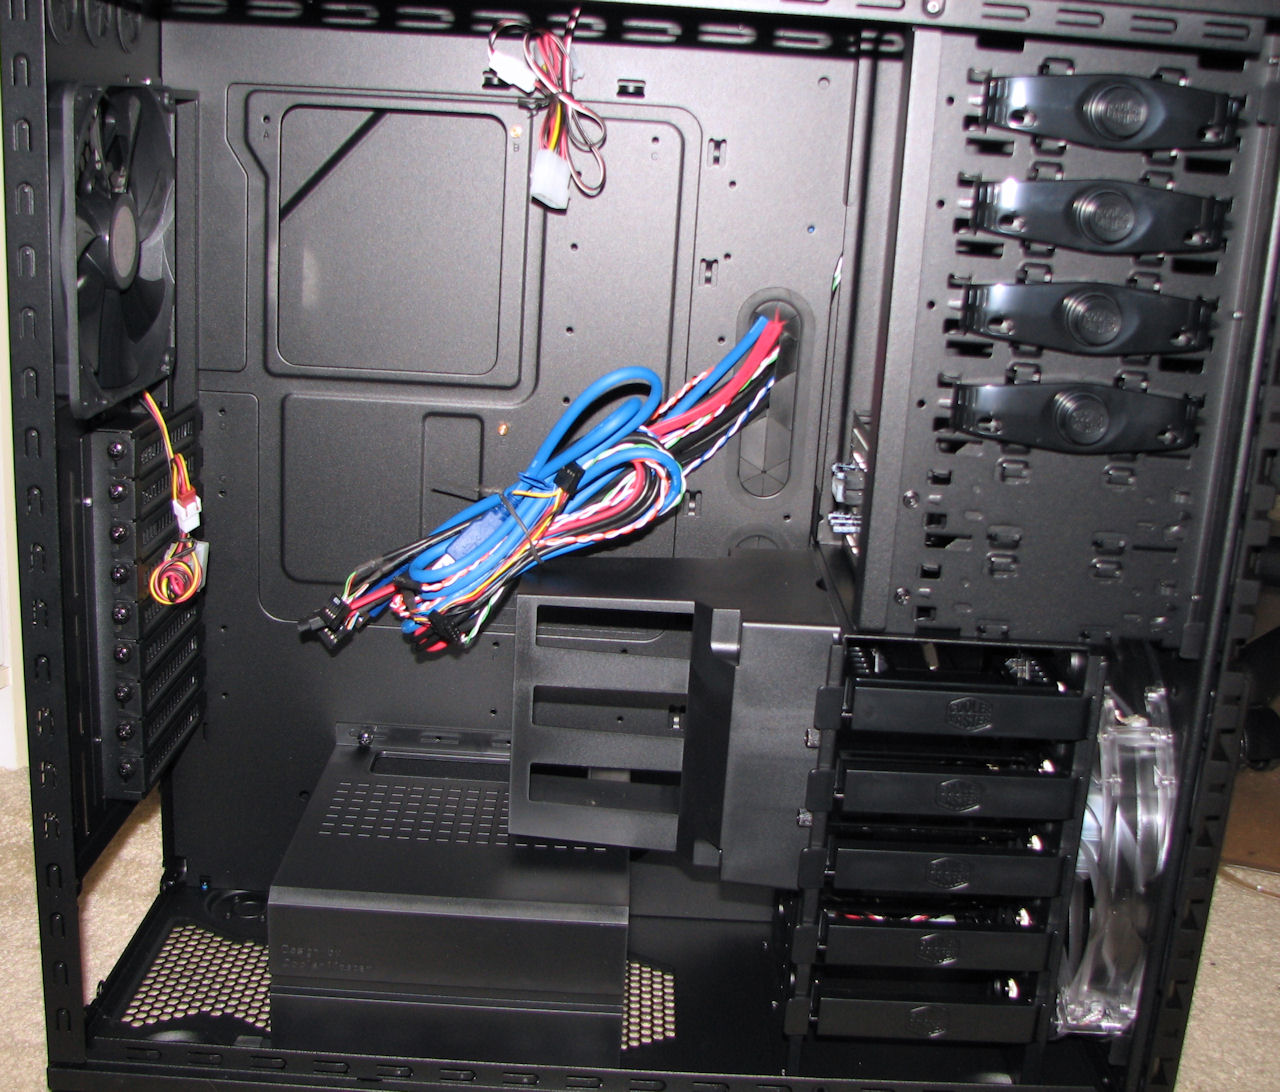
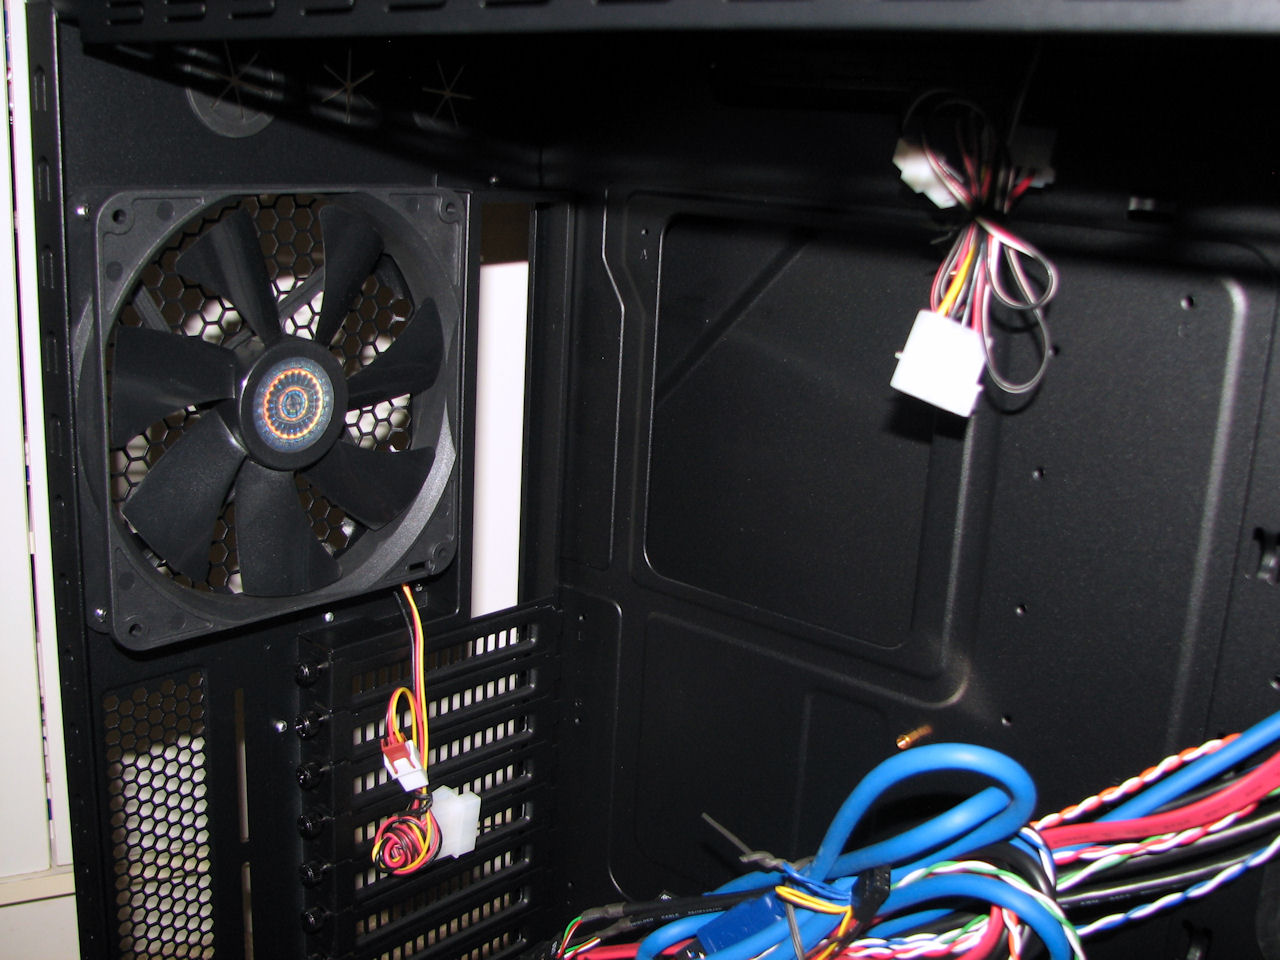
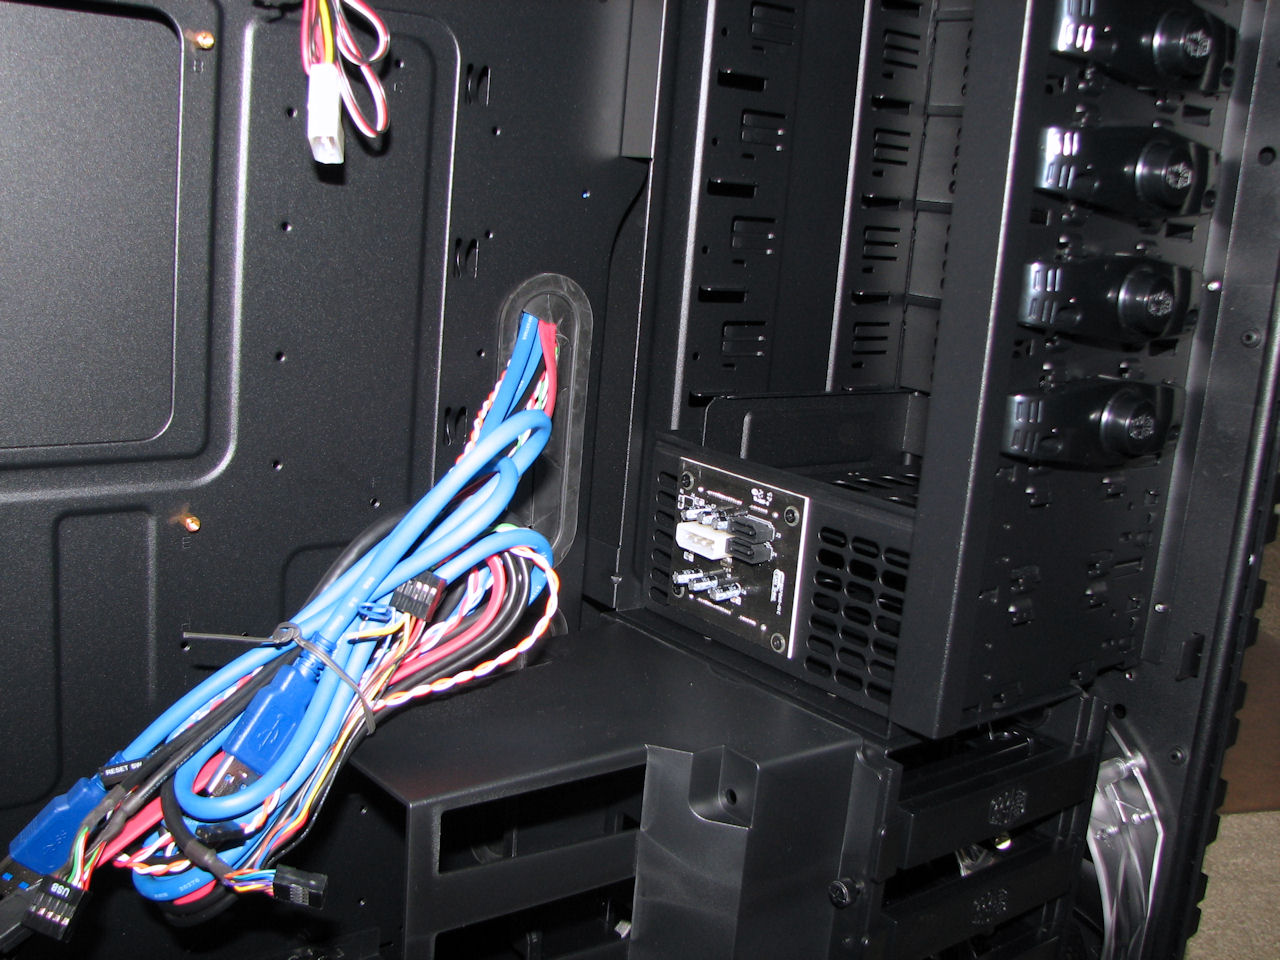
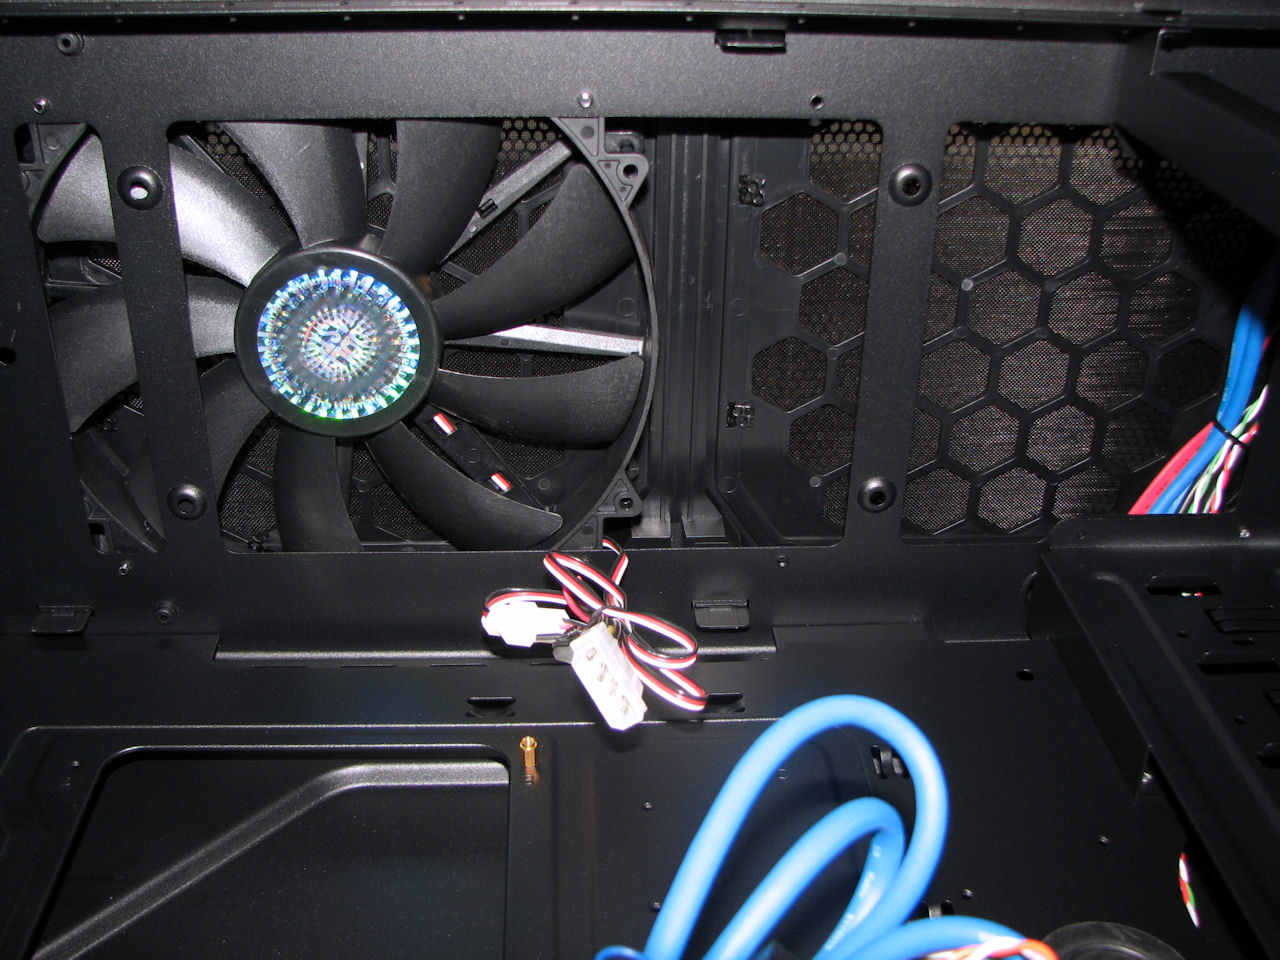
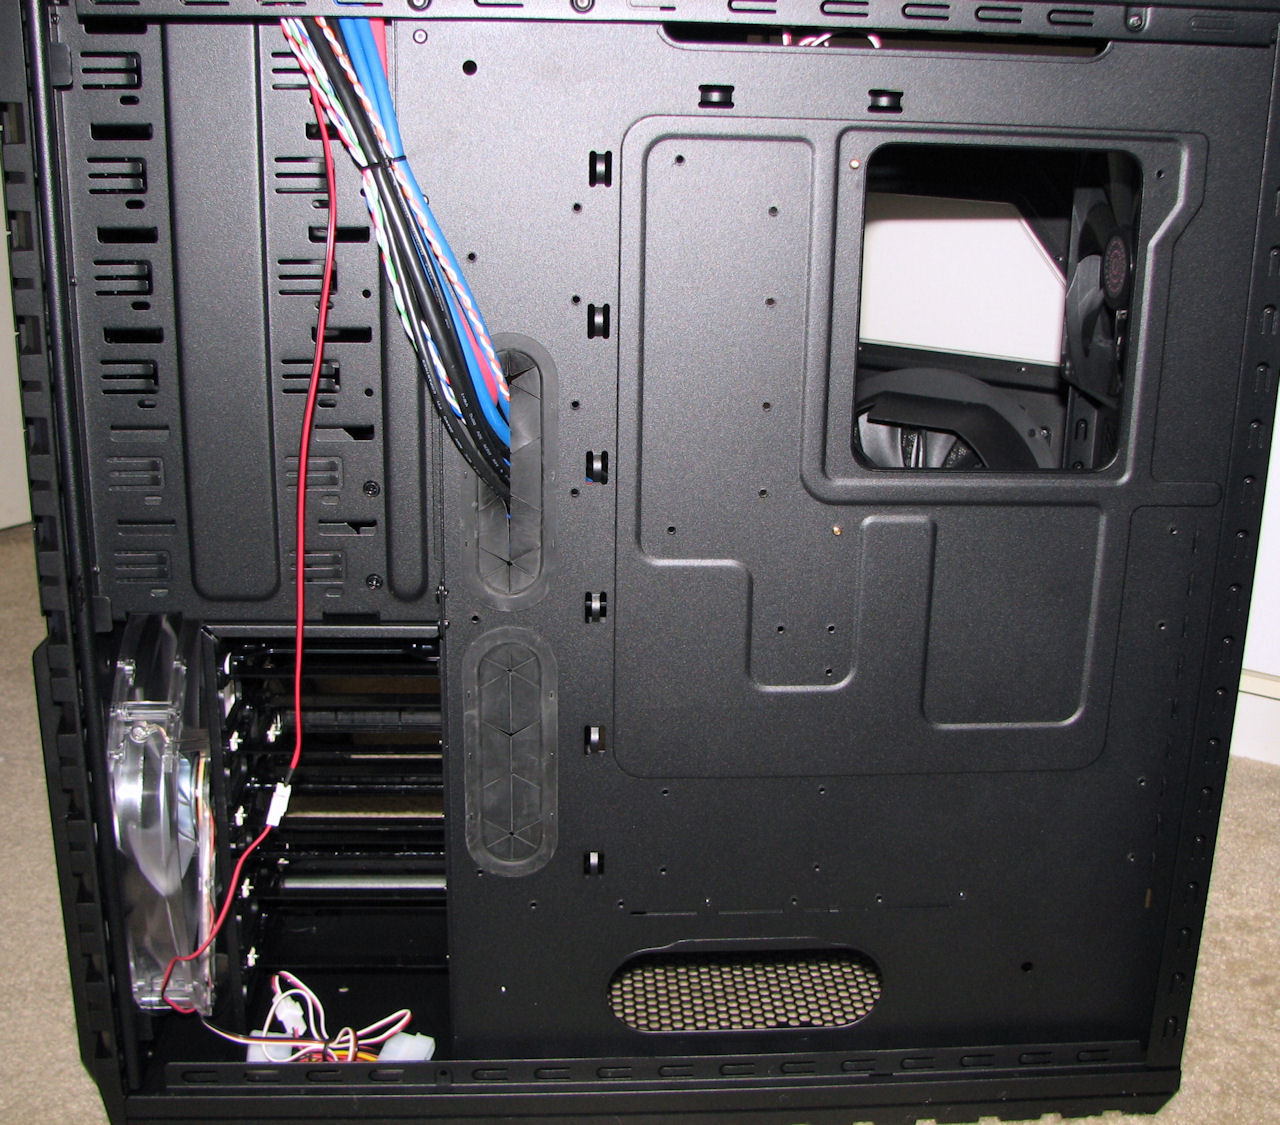
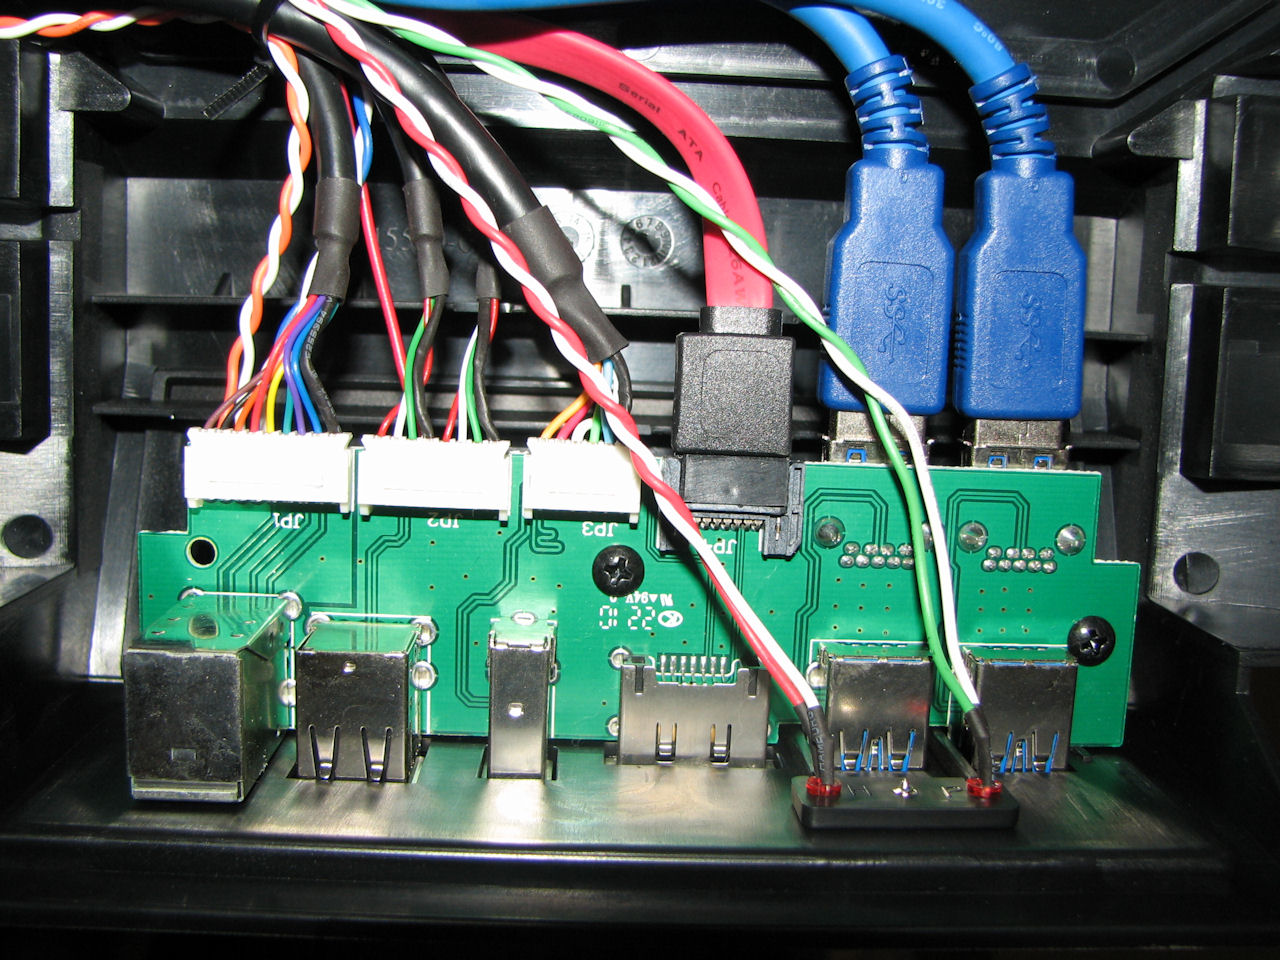
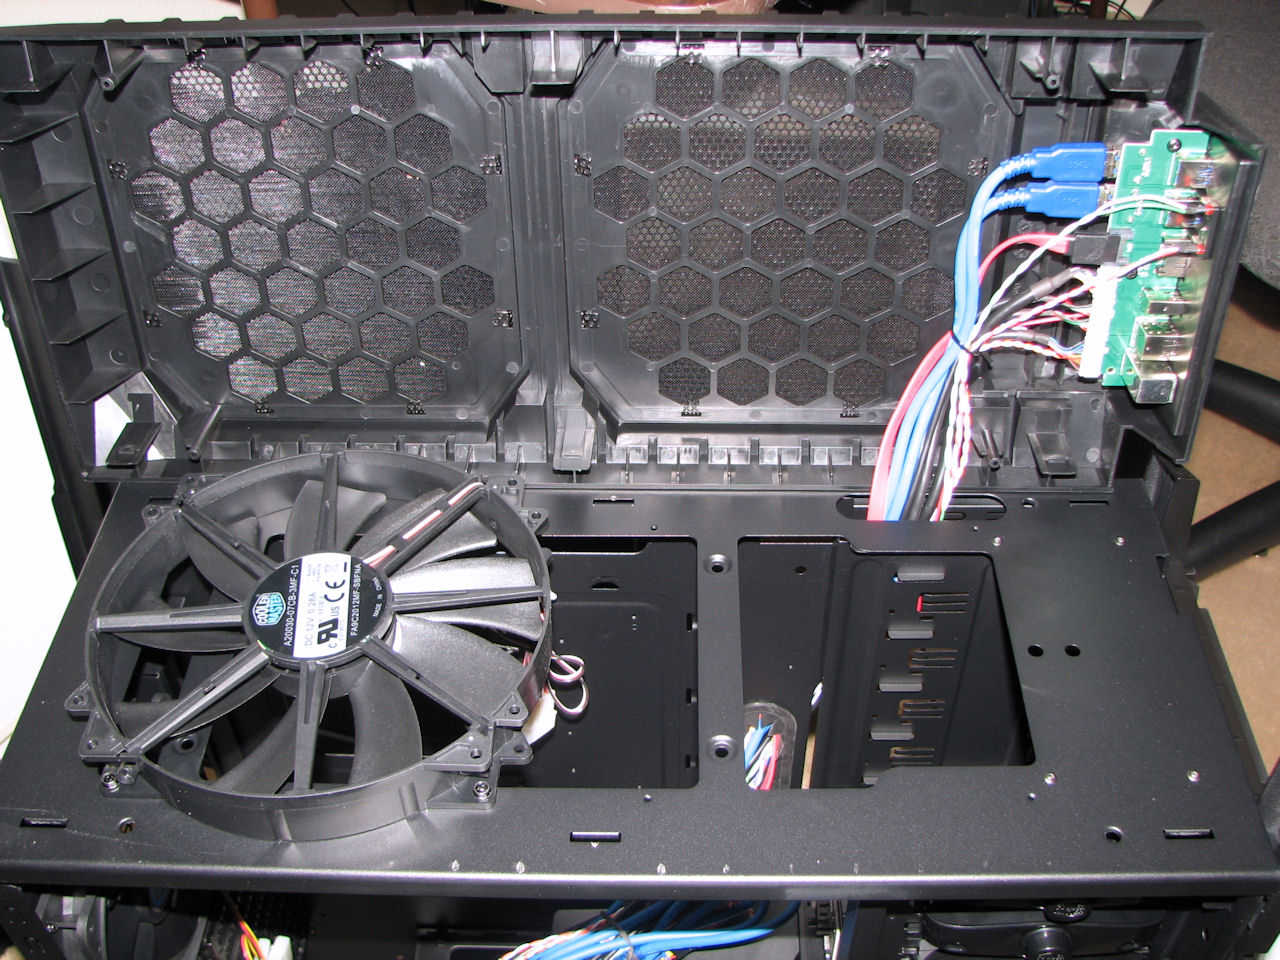
The above shots show the interior. From left to right, we begin with the main motherboard area. Six 5.25" drive bays are on top, and 5 hidden 3.5" drive bays are underneath. Wiring is routed through convenient holes with black rubber grommets; a similar set of holes is in the rear panel for running water cooling tubing. Next, you can see the rear fan and motherboard rear panel cutout. The third photo is a view looking toward the front, showing the connector panel for the hot-swap drive bays. The fourth picture is looking up from the inside at the top fan. The fifth picture is from the right side, showing the cutout for access to the rear of the motherboard where the heat sink mounting is. Finally, the photo on the right shows the front panel connector board.
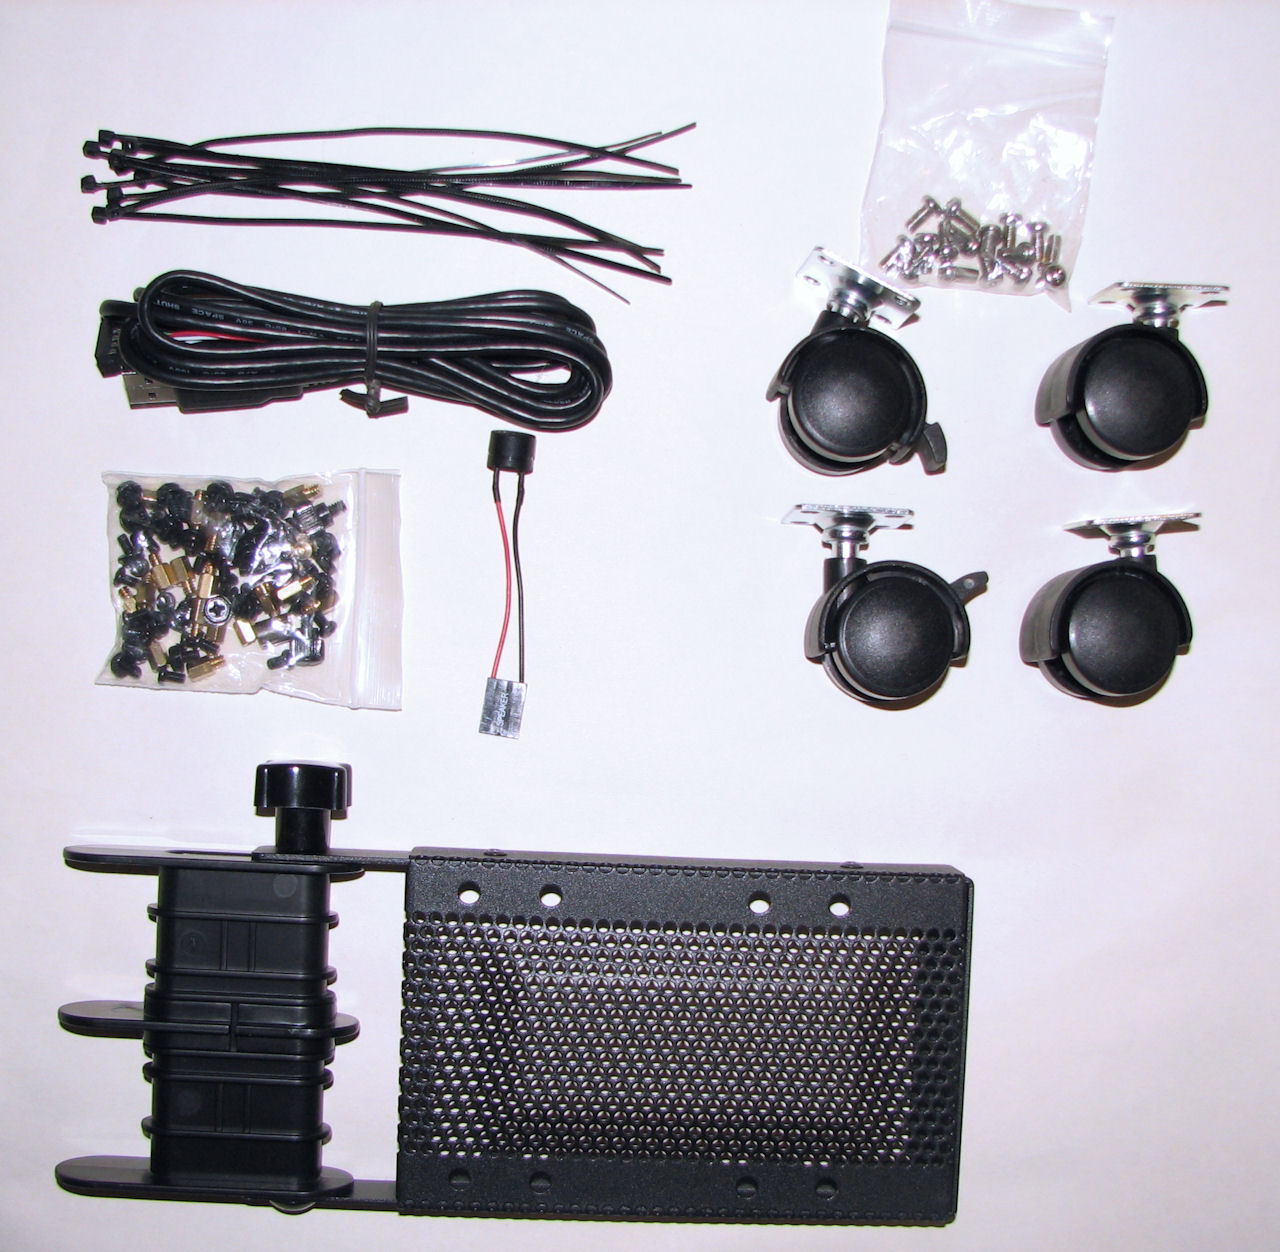
A handy set of accessories accompanies the case, including wheels, cable ties, screws, standoffs, etc. The large black unit at the bottom of this photo is for securing large video cards in place.
The Assembled System
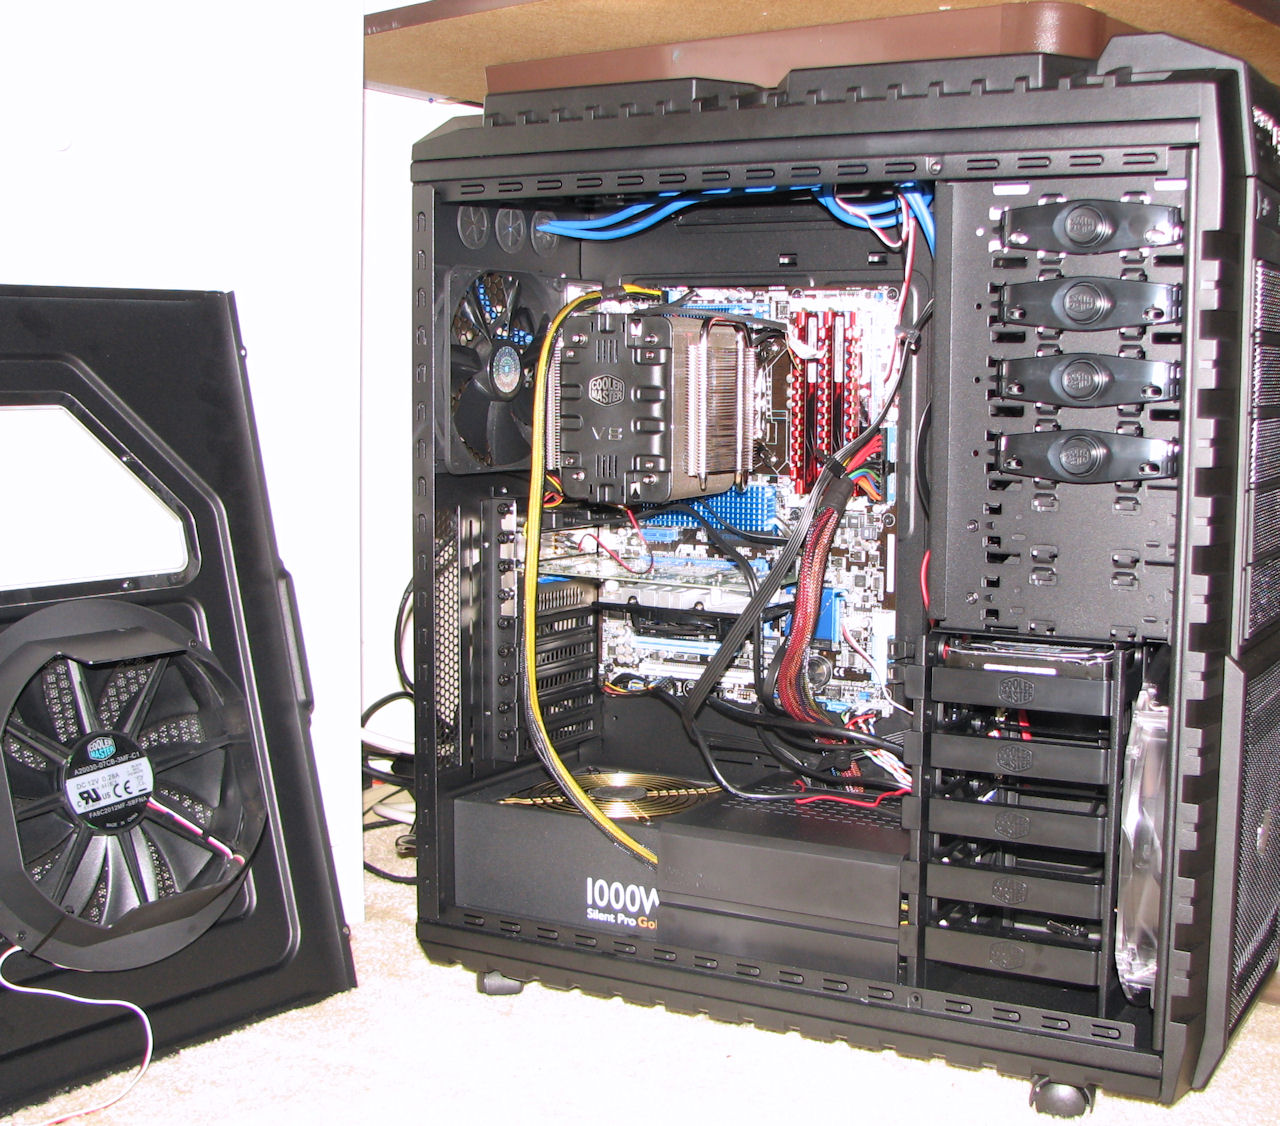
This shows the system nearly completely assembled. Some of the cable routing is a little messy, and I have subsequently cleaned it up. This is just the first shot of everything in place right after the first power-up attempt (which was perfectly successful, with no problems!)
The blue cables running along the top and out the rear grommet are for the front panel USB 3.0 connector -- the P6X58D motherboard only provides USB 3.0 connectors on the rear panel, so these cables are plugged into the rear panel connectors.
You can see the V8 cooler easily fits into this capacious case. The power supply came with an extra-long CPU power cable, the yellow/black thing that runs vertically next to the cooler. The HAF-X includes a nice black plastic cover that mounts next to the power supply, so the power supply cables are covered up, which looks nice and keeps things neat. A single LightScribe DVD drive is mounted in the top 5.25" bay, and one WD5001AALS hard drive is on one of the 3.5" bays. I later added two more of these in a RAID0 configuration. I am going to undo that and go back to a standard configuration since I have learned that hard drive failure rates are much higher than I had previously thought. But that is a topic for another time.
To the left in the photo, you can see the side cover wtih the enormous 230 mm fan and its shroud.
Finally, the clear front fan is visible at the lower right of the picture. This fan comes with a red LED that lights up the lower part of the front of the case.
General Purpose Workstation
The previous Core2-quad system has been upgraded in several ways, and is now the main working system for tasks like email, web site editing, and video editing.
CPU and Motherboard
The motherboard from the previous fractal system was salvaged, and the CPU was upgraded to a Core2 Extreme QX9650 running at 3.0 GHz. Memory was upgraded to 4GB of DDR2 RAM. The previous Core2 non-extreme Q6600 CPU was retired and is now enjoying the cool darkness of a little box in my utility closet, next to an old 8085 I have from way way back.
Video
Both the everyday workstation and the Core i7 980X fractal rendering system have 1GB EVGA NVIDIA GeForce GT240 video cards. The main workstation is dual-monitor, with the second monitor driven by the on-board video controller. The upgrade to the GT240 was driven mainly by a desire to have a CUDA-capable system, but MP4 decoding at high bitrates does also seem to be improved.
Audio
Production of these videos is mostly centered around choosing great fractal sequences, and then colorizing them nicely. But it also involves audio quite a bit, and the general purpose workstation has an ASUS Xonar Essence STX audio card. This is one of the best sound cards on the market in terms of pure audio quality for stereo (no 5.1 surround). The signal-to-noise ratio is a stunning 124dB. Previously, using the built-in sound hardware on the motherboard, I could hear buzzy noises that randomly came and went, and even little hissing when I moved the mouse around! Unacceptable!
To go along with this awesome sound card, I also upgraded my headphones. I got a set of Grado SR60 open-speaker, on-ear phones, which are super comfortable, but don't block out a lot of room noise (you can still hear the computer fans with them on), and a set of Shure SRH750DJ over-ear phones, which block most of the ambient noise in the room, but are a bit less comfortable after several hours of use, especially with my glasses on. Both these units are delightful, and the are a major step up from the low-end cans I had before. Sound is far richer, more detailed, brilliant, and crisper.
A pair of Bose Companion2 speakers are attached to both systems for when headphones are not needed or wanted.
All content Copyright by Michael Condron. All rights reserved unless otherwise noted.
You may download, save, and print a single copy for personal use only.
Music by various sources used with permission.
Please refer to individual video file credits for details.
